1981 Mako 17 Project - 1/27/09 Update

Classic Parker Boat Forum

Help Support Classic Parker Boat Forum:

This site may earn a commission from merchant affiliate links, including eBay, Amazon, and others.

gw204

Well-known member
Joined
Feb 27, 2006
Messages
943
Reaction score
1
Location
St. Leonard, MD
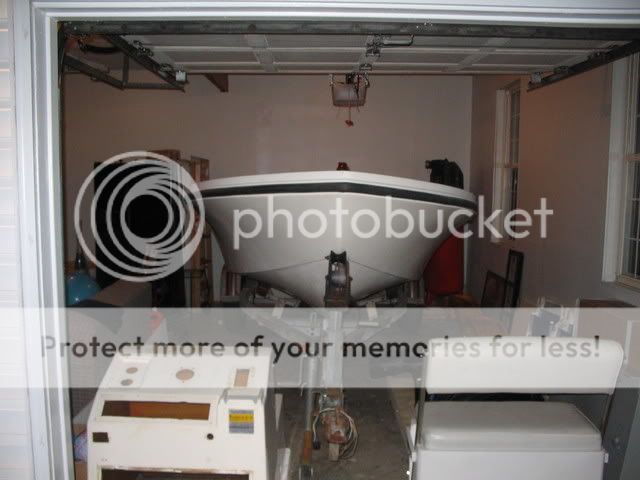
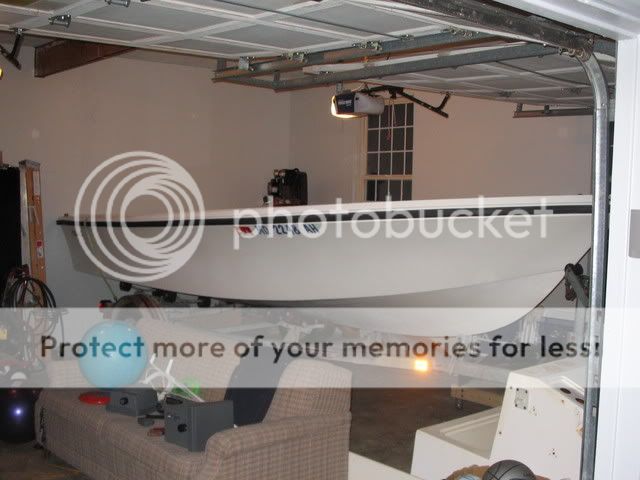
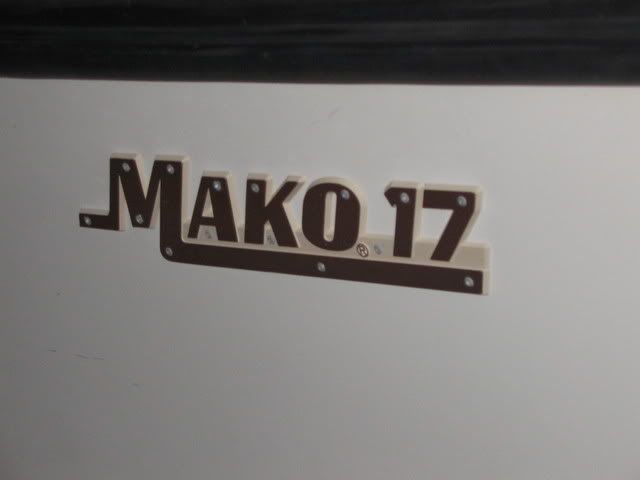
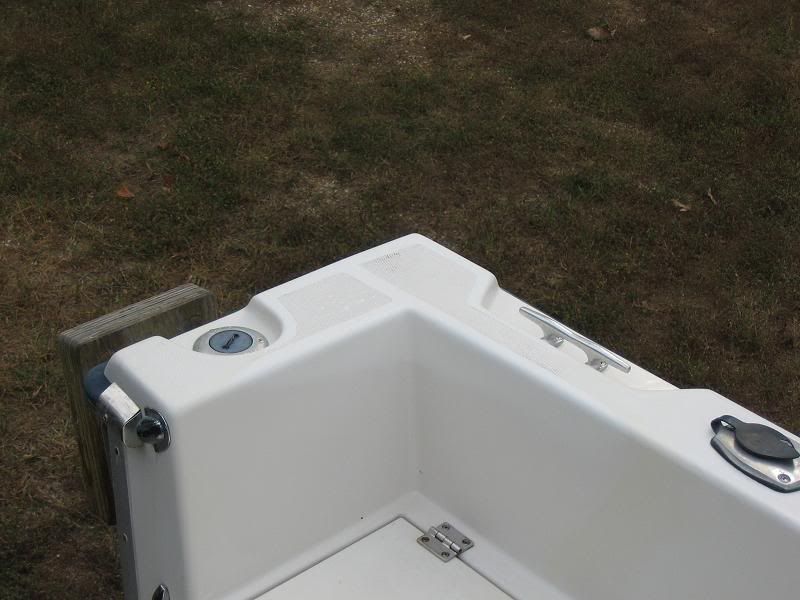
Well, it's official. I took delivery of my 1981 Mako 17 Standard earlier today. :D :D :D

IMG_7260.jpg


IMG_7264.jpg


IMG_7263.jpg


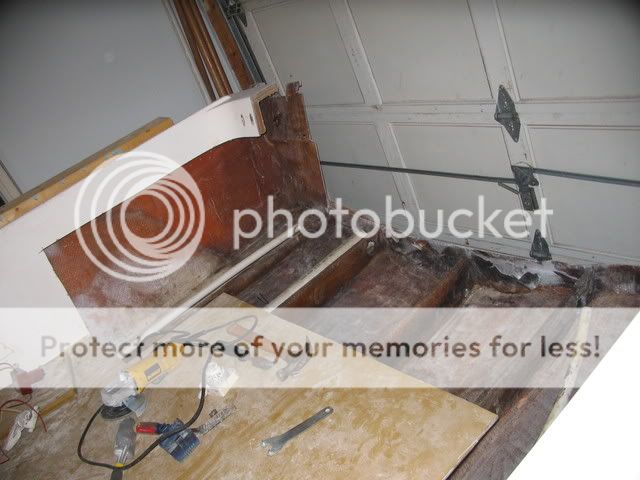
From what I can tell, this hull is in excellent condition with the exception of the transom. It has already been gutted and is awaiting reassembly. Decks and gunwales are solid all the way around and every piece of foam I can touch is dry as a bone. The gelcoat looks like it will shine up superbly with a little elbow grease and I don't think it's gonna take much to get the motor (1981 Merc 115 "Tower of Power") running and looking good.

Many thanks to Chris (aka bondstreet on ClassicMako) for helping me load and unload everthing this afternoon. :)
 
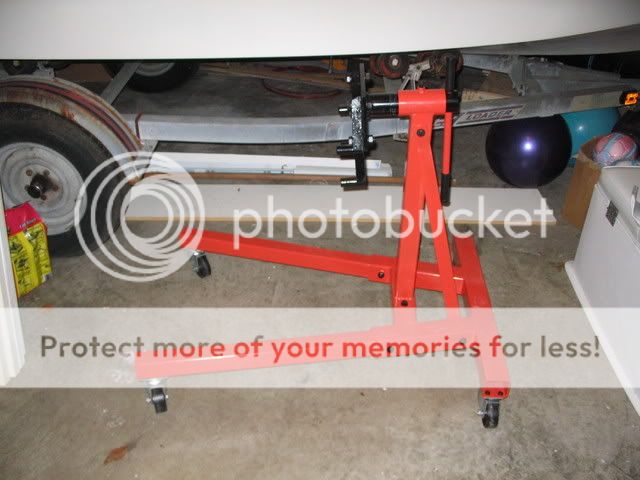
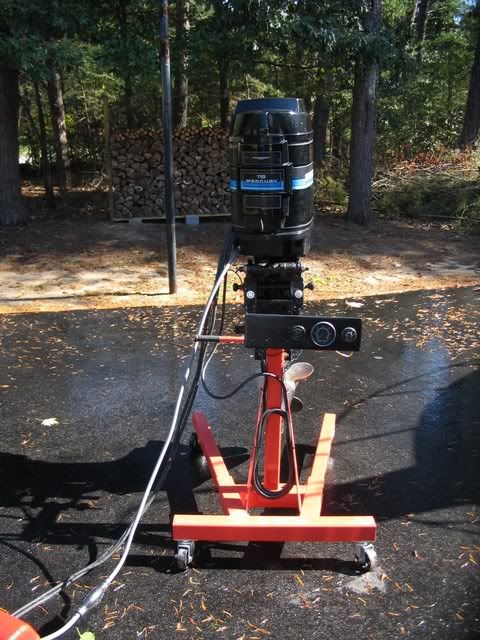
Unfortunately, I don't have any progress on the boat itself to report, but I did get my engine stand put together today. :)

A few weeks (maybe months) ago, I ordered the 2000 lb. capacity one from Harbor Freight. It's been sitting in my garage for a while now assembled, but the hardware wasn't tightened down. There were no washers supplied with the nuts and bolts and I wanted to get some on there before I snugged everything down.

However, I couldn't settle for just any washers....mine had to be the same color as the nuts and bolts...black. Yes, I am just that anal. :D I searched a few local hardware stores and kept coming up empty. I finally just bought standard steel ones and headed home. I then sprayed them all with a good blast of brake cleaner to clean/degrease them and let them dry. Then I shot them all (one side only) with two coats of flat black Rustoleum and let them dry overnight.

After I finished cleaning the Grady and fogging the Yamahas, I set out to do the final assembly on the stand. I removed each bolt, tossed the washers on, applied a drop of Loctite and snugged everything up. Hopefully I can get the motor hoisted up and mounted next weekend.

IMG_7496.jpg


My "custom" washers.... :D

IMG_7498.jpg


And if anyone is wondering, a 2000 lb. engine stand is way overkill for a 1982 115 Merc. What can I say?!?!?! :)
 
That engine stand would be perfect for a SBC buildup, or maybe even a Clifford 4.0 stroker AMC buildup for a Cherokee...

I'm just saying... :D
 
Megabyte":mhsq8ipb said:
maybe even a Clifford 4.0 stroker AMC buildup for a Cherokee...

How convenient. I even already have the 4.0 to build and the Cherokee to install it in. :D
 
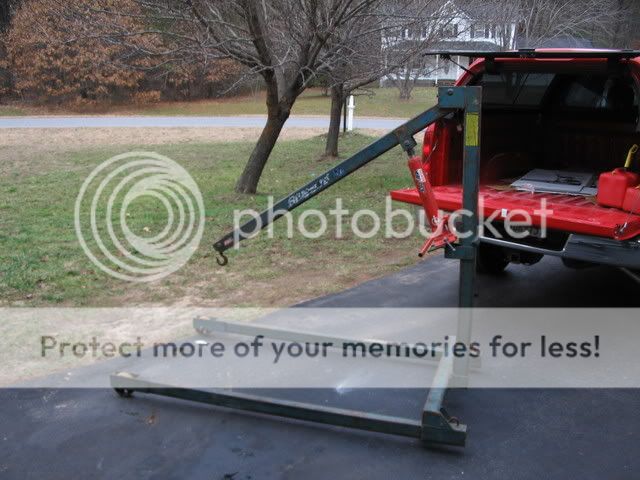
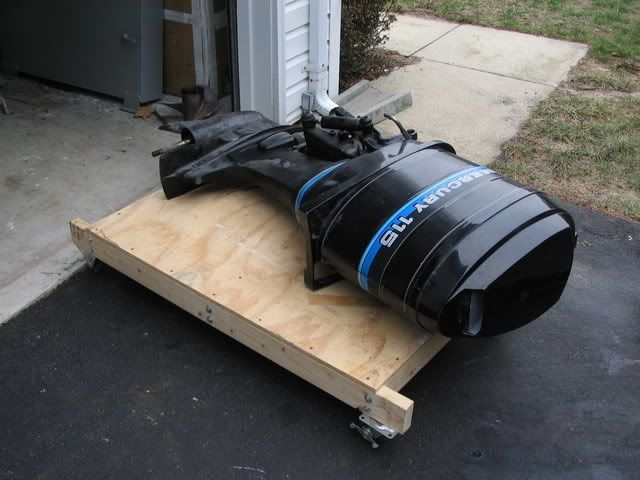
Got a bit more work done on/for the Mako today. After tossing the cover on my Grady, I headed down to the hardware store to rent an engine hoist so I could get the Merc. up on my stand.

Step 1: Assemble the hoist.

IMG_7501.jpg


Step 2: Wheel the motor out of the garage.

IMG_7502.jpg


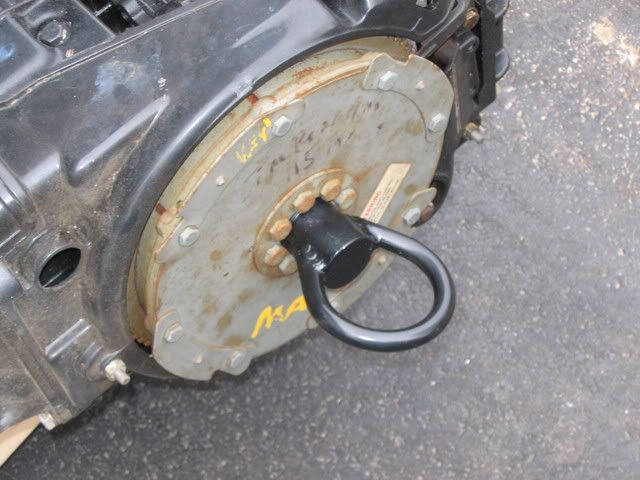
Step 3: Remove the cowlings and install the lifting ring.

IMG_7504.jpg


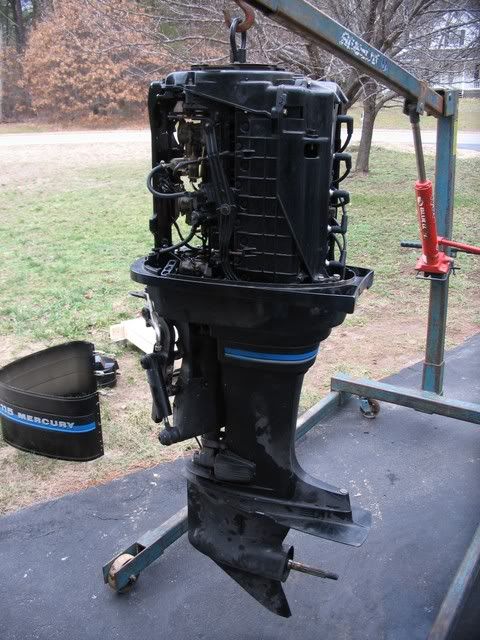
Step 4: Hook up the hoist and lift her up.

IMG_7505.jpg


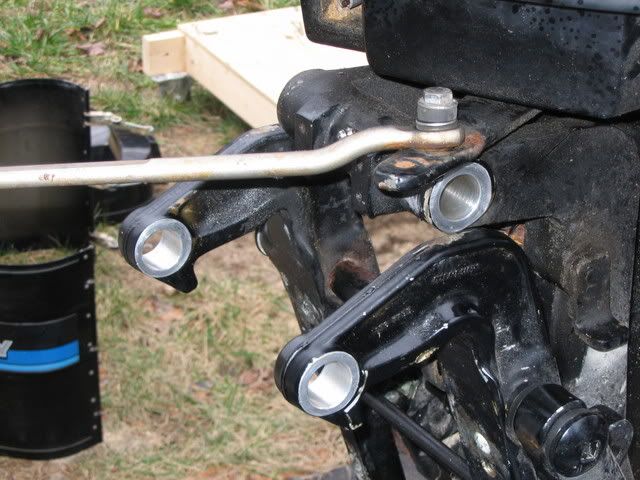
Step 5: Clean up a bunch of old grease to prepare for the installation of a new tilt tube.

IMG_7506.jpg


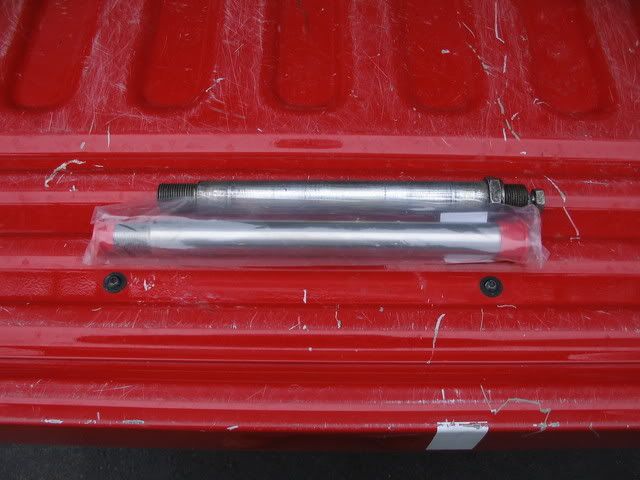
Step 6: Discover that the new tilt tube is longer than the original one and won't work.

IMG_7507.jpg


So, regrease the old one and put it back in until one of proper size can be found.

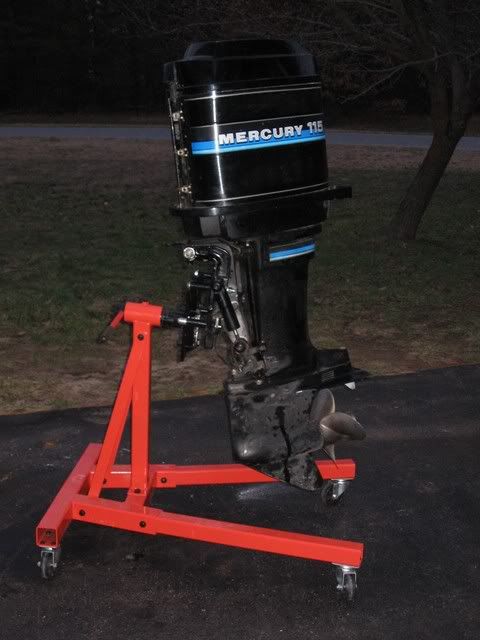
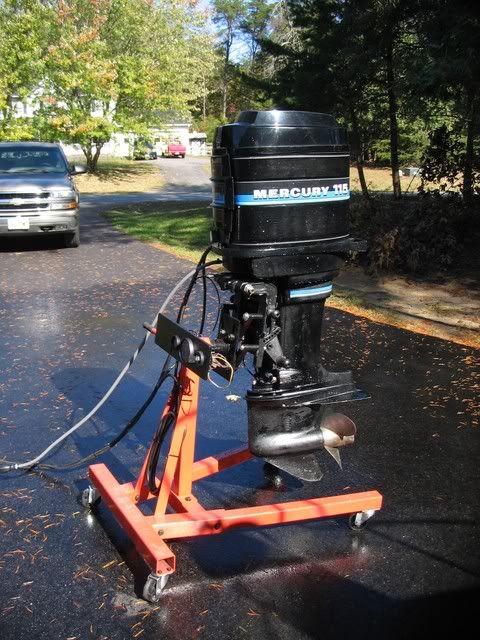
Step 7: Roll the stand into position, place the arms and bolt the motor on.

IMG_7512.jpg


I have the arms positioned pretty low and still have about 4" between the ground and the tip of the skeg. So there's plenty of room to hang a 25" motor on there should I ever need to.
 
Nice job Brian. Does the 115 need any other work, or is it ready to go?
 
I think it's been 2+ years since the motor was run, so I am going to go through it with a fine tooth comb. I spun the flywheel by hand yesterday while I was threading on the lifting ring, and compression seems real good (the powerhead was supposedly replaced some years ago). The spark plugs look new from the outside, but I didn't remove them. Carbs look a little dirty so I am going to pull all three as well as the fuel pump and rebuild them. I'll replace all the under-cowling fuel lines and some of the wires look questionable, so I'll do those as well. When I stood it up, some oil starting leaking out of the cooling intake. It looks like gear oil so I need to investigate that when I pull the lower unit for water pump replacement. New thermostat will go in too...if I can find where it goes. :) I think the hydraulic tilt-assist cylinders need to be replaced as well.

Lastly, I'm hoping to get permission from the admiral to cart it up to Almar's for a new paint job and new decals. It looks pretty good now, but you know how I am.... :D
 
gw204":287lb7ot said:
Lastly, I'm hoping to get permission from the admiral to cart it up to Almar's for a new paint job and new decals.

Verado or Opti emblems? :D
 
Since there's no chance I'm going to make my July 4th splash date, I decided to change directions a bit and dive deeper into this boat than originally planned.

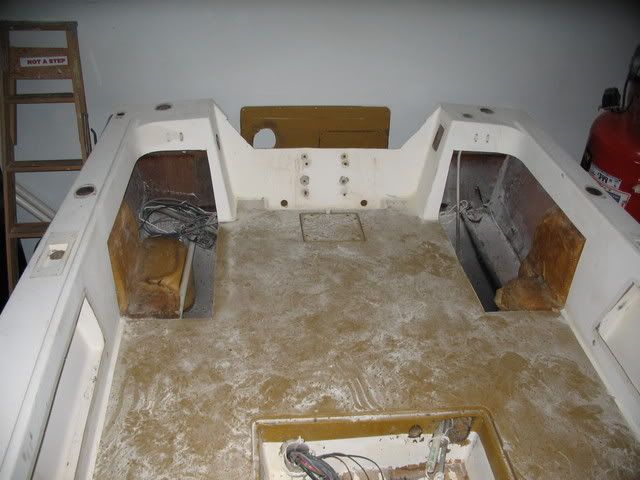
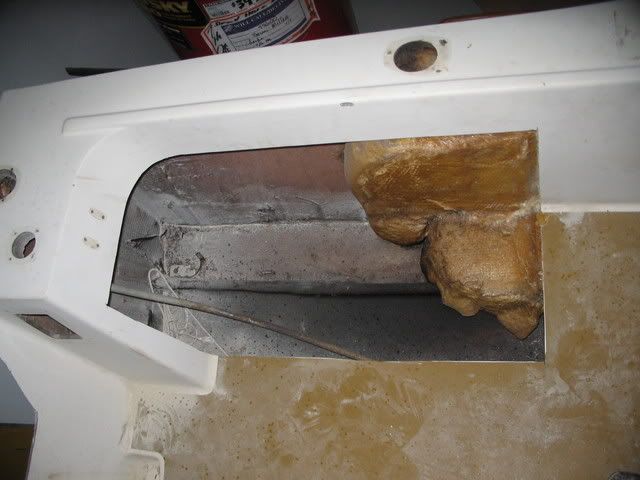
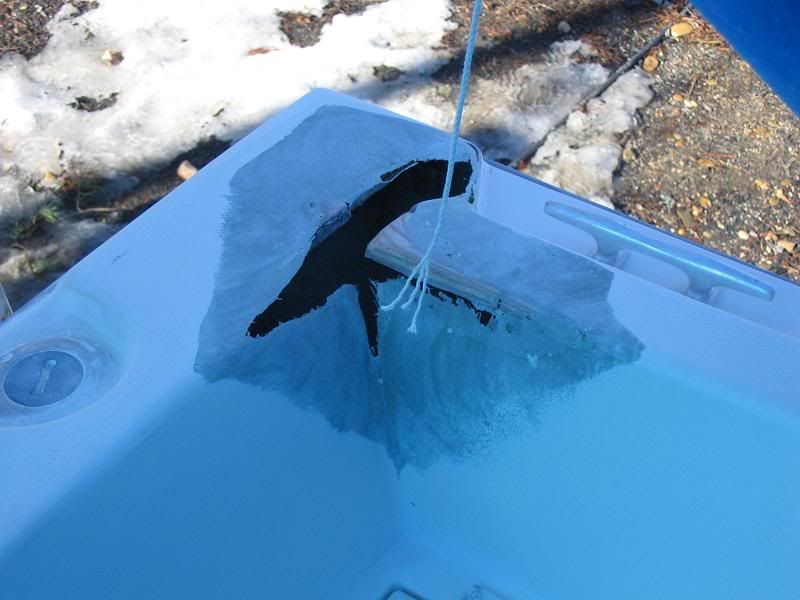
So, I broke out the grinder, slapped on a cutoff wheel and went to town. 45 minutes later, I had two big holes in the cockpit. :D

IMG_7729.jpg


IMG_7730.jpg


IMG_7731.jpg


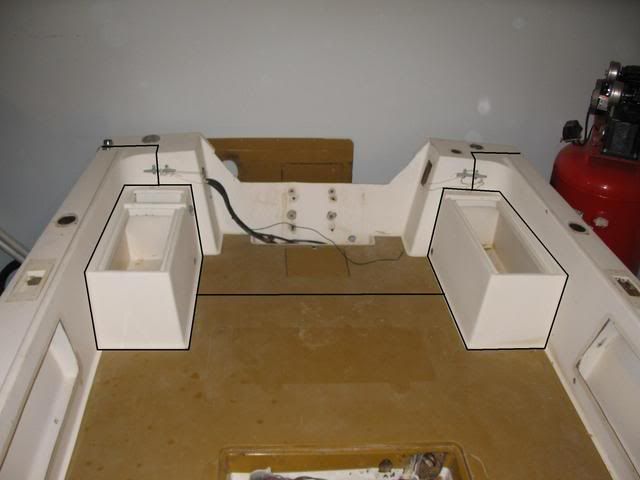
The plan is to mold some plugs to complete the inner liner and extend the floor all the way to the sides. The boxes that used to be there offered minimal storage, but took up a lot of much needed cockpit space.

I have a few more cuts to make across the floor and transom to really open her up. That will give me access to do the transom from the inside, make any required stringer repairs and whatever else I decide needs to be done after the floor comes up.

Option3.jpg


If all goes well, I'll have the rest of the interior cutting done and the aft section pulled out by the end of the weekend.
 
Sweet...
Removing those boxes will give you a lot more deck room.

Will the new floor cover the area you cut out, or are you planning on putting deck hatches in those two spots for under deck access and storage?
 
The new floor will cover the entire area. There's really not enough room under there for any storage compartments.

I am saving the boxes though. Evenually, I may want to put them in the floor forward of the console. There's a lot more room under the floor up there on the centerline.
 
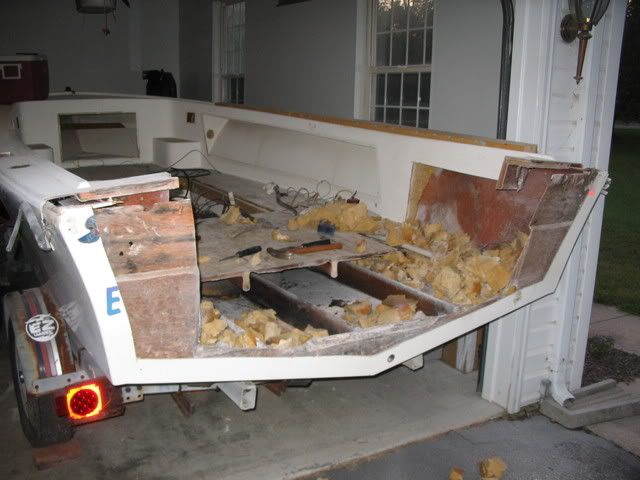
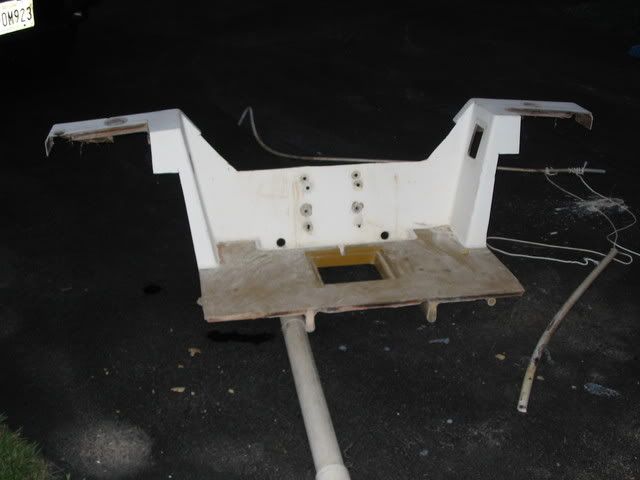
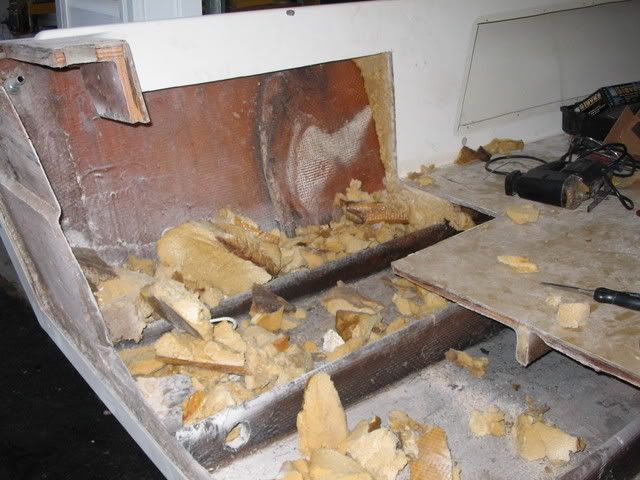
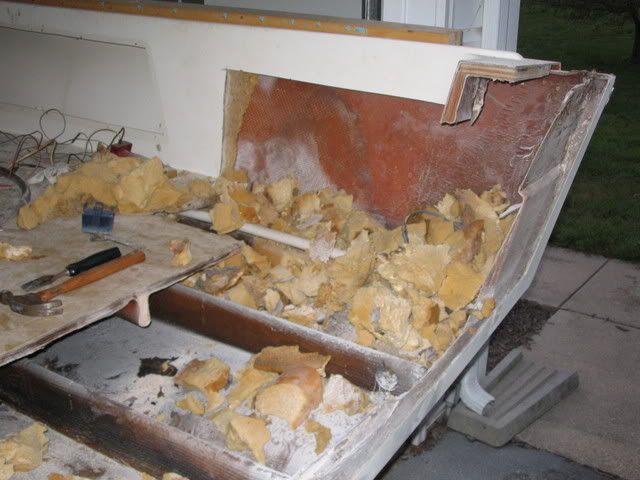
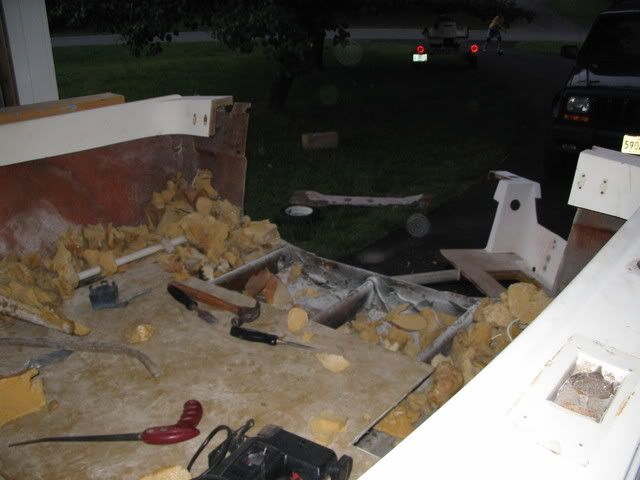
Got the aft section of the cap/deck out this evening. What a pain in the butt that was. Took me two solid evenings with the grinder, hand saw, hammers, chisels, etc., but it's done now.

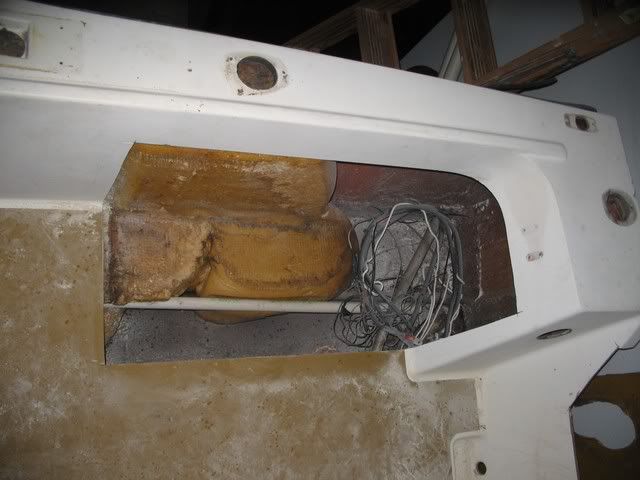
I also removed the foam that was exposed when I took out the storage boxes. While doing so, I discovered that it was wet down at the bottom. I assume that's from the caps on the ends of the holders leaking and then the water simply making it's way down to the bottom of the boat. I'm going to do everything I can to dry that foam, but if that doesn't work, I'll dig out what I can get to without cutting up any more of the deck and refoam.

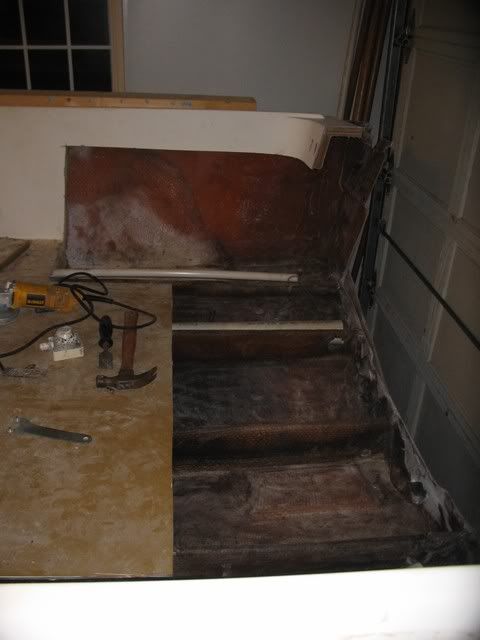
Anyway, here's the pics...

IMG_7786.jpg


IMG_7787.jpg


IMG_7788.jpg


IMG_7789.jpg


IMG_7790.jpg


And after a bit of cleanup with the shop vac...

IMG_7791.jpg


IMG_7792.jpg


Based on what I can see of the stringers now, I think they're gonna need some work. The limber holes appears to have never been sealed and the glass that encapsulates everything looks to be roven woven only...and it's porous in places. Oh goodie... :cry:

The next step is the cut out the remaining parts of the transom inner skin, cut back the stringers and start preparing for a new core.
 
Brian - you are one brave man. I just cringe when I have to drill a hole into glass. Good luck on the project.

Brad
 
Thanks Kev. You need to see it up close though... It's not as pretty then. :)


Brad,

It's not as bad as it seems. You just have to jump it with both feet. The nice thing about glass and gelcoat is if you don't get it right, you just grind it off and do it again. This was my first attempt at glass work...a big crack in the cap on my old boat.

After grinding...

IMG_0248.jpg


Glassed, gelcoated and non-skidded...almost perfect.

IMG_0627.jpg


The key is to take your time. :)


Greg,

When was the last day of the MSSA tourney? That's the last time I fished... The wierd thing is I really don't miss it. :?:
 
Haven't touched the boat in a while, but I did start tinkering with the motor. I wanted to see how much of a mess I had on my hands as I believe it's been about 4 years since it was last run...

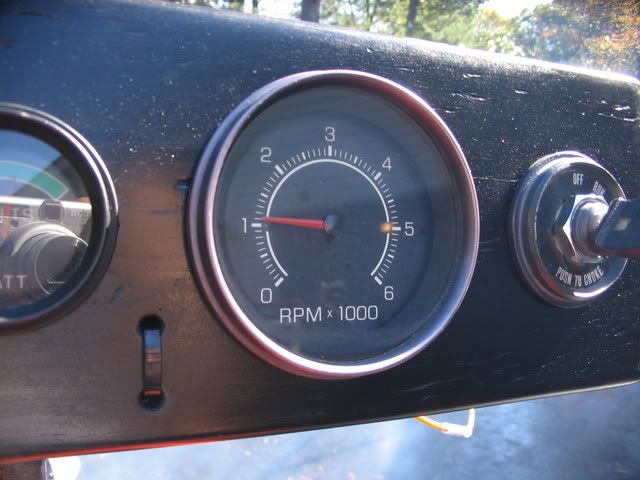
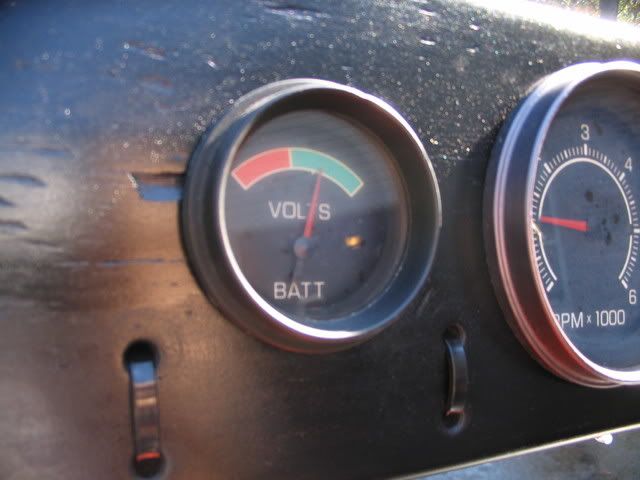
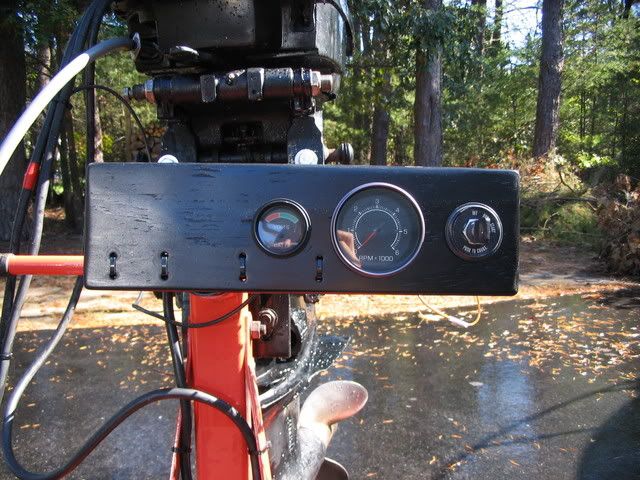
So, last weekend I made a few quick wiring repairs and built a crude instrument panel to attach to the engine stand. I layed it out and positioned it so it would be easy to repetitively hit the key while manually working the throttle lever inside the cowling. I was expecting the motor to give me quite a fight... Anyway, after that was mounted, I connected the wiring harness and battery battery cables. But before doing a test spin, I removed all the plugs (two had a bit of rust on them...uh oh) and shot a healthy amount of Seafoam in each cylinder to lube them. After cleaning the plugs and putting them back in, I put a few turns on her by hand and compression seemed good and smooth. So, I decided to hook the battery up and try the starter. Nothing. Oops, forgot to fix one wire. After a quick crimp and turn of the key, she spun over nice and strong. Then I put her away until this weekend.

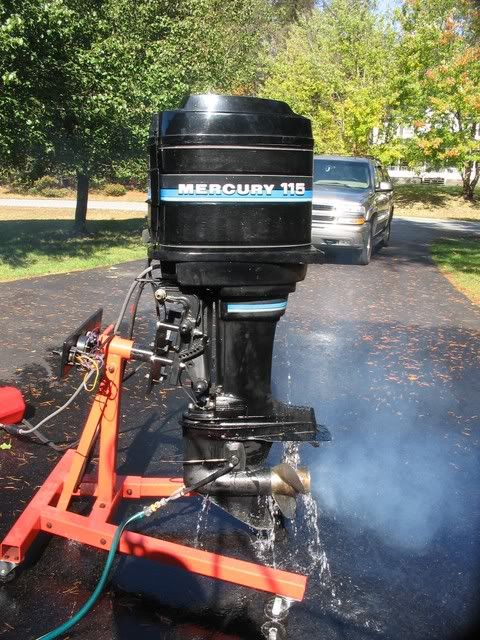
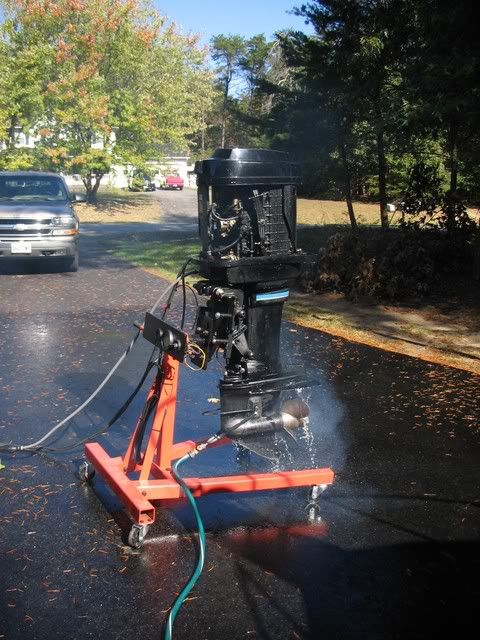
First step today was to change the lower unit oil (one of those just in case things). Some of it came out a bit milky, so I might have some seal issues to deal with. Second, I gave it a quick bath with my power washer. Then I connected the battery and fuel and took a few "ready to fire" shots.

IMG_7885.jpg


IMG_7883.jpg


IMG_7884.jpg


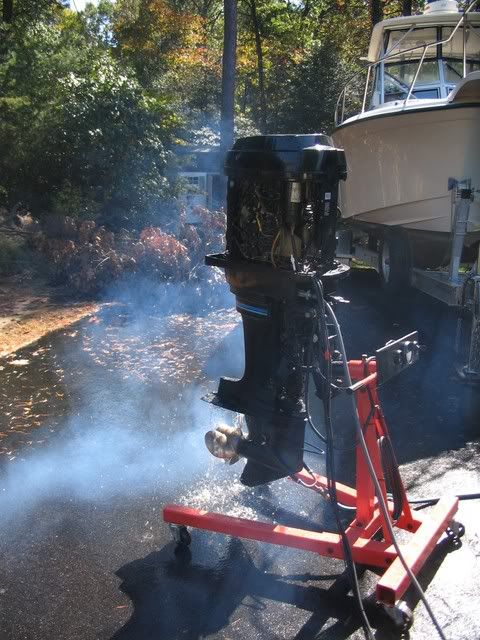
And last, the moment of truth...once I slapped on the flush muffs and pumped the fuel ball. Left hand on the key, right hand on the throttle lever, prepared for a long fight. About the third or fourth attempt, the old Merc roared to life and settled into a silky smooth idle at 1100. No coughing. No sputtering. Not a single stall. OK...I wasn't exactly expecting that. Even more surprising was the fact that the idle seemed smoother than that of the 225 OX66s Yammies that I used to have on my Grady. It definitely had a cooler sound than the big V6s. Must be something about the inline six design... Who knows???
IMG_7886.jpg


IMG_7887.jpg


IMG_7888.jpg


IMG_7889.jpg


IMG_7890.jpg


The pee stream was a little weak and I think the carbs will need to be rebuilt as they started leaking gas after about 30 minutes (the ethanol probably started eating away at things). I'll also rebuild the fuel pump and change out all the fuel lines for good measure. I thought about doing all that stuff first, but decided to make sure I had a running engine before I put a bunch of money into it. Once the mechanical work is done, I'll treat her to a paint job and new stickers.

But all in all, I am super pleased. Next weekend, I'll fire her again and get some hot compression numbers. If those look good, I'll do a proper winterization, start collecting some parts and scratch any thoughts I had about repowering.

BTW - Fuel mixture was 3 gal on 92 octane, 15 oz. oil (25:1 ratio just to be safe), 6 oz. Ringfree (shock dosage) and twice the maintenance dose of Stabil.
 
Back
Top