gw204
Well-known member
I started this project about a year ago and lost momentum when my wife and I found out we were having another baby and needed to put our house on the market. Anyway, I started up again about a week ago and the project is rapidly approaching completion.
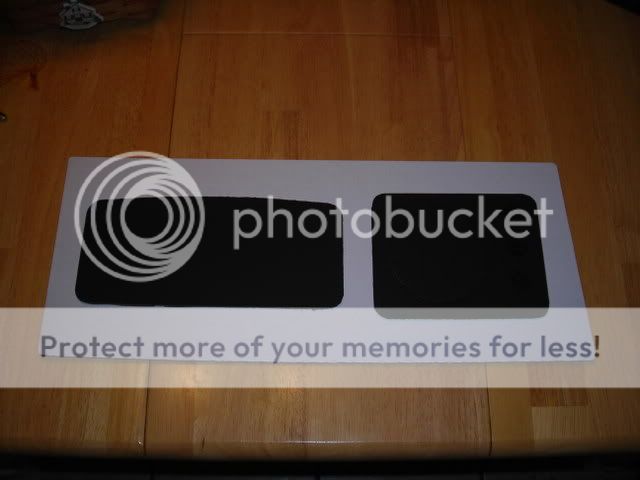
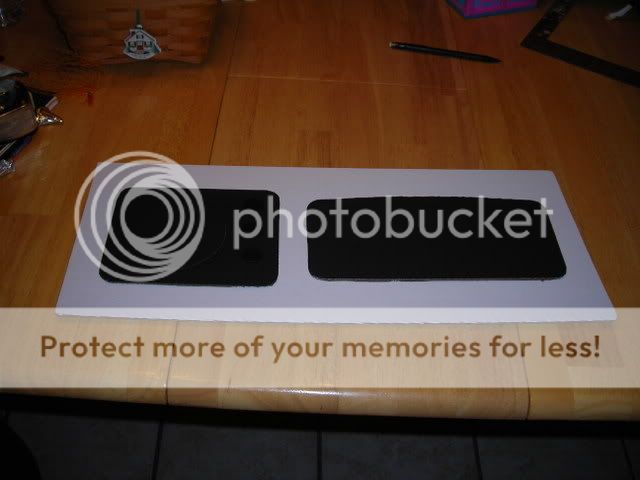
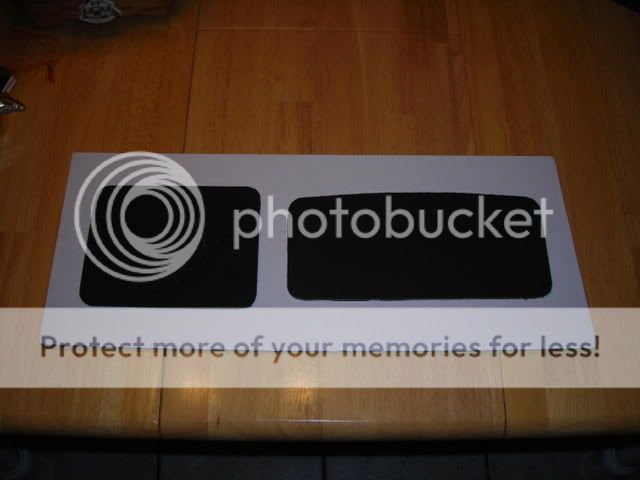
02/27/07 - My initial attempts at laying the upper panel out.
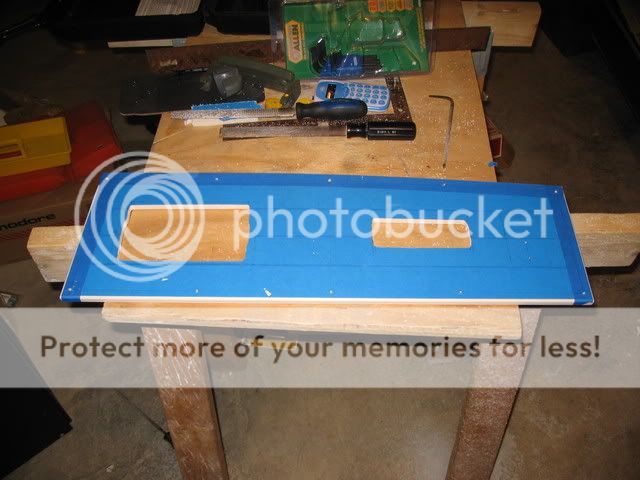
Templates are cut and I chopped some holes for the radios this evening to see how things would look.
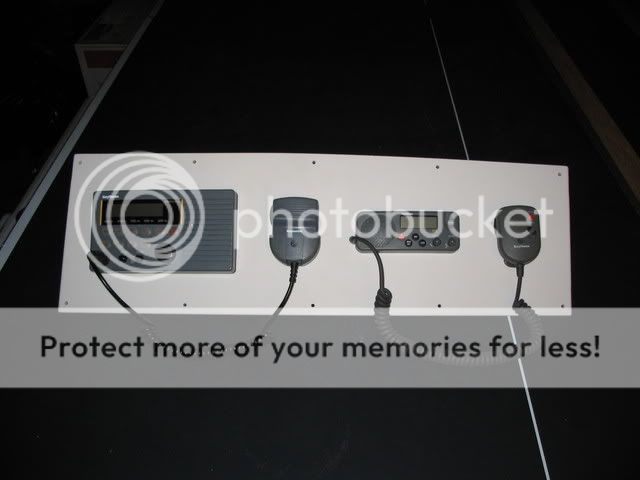
1st attempt....main radio placed on the right since I'm right handed and will be operating it with my right. Mics mounted so the cords runs are kept long to prevent them from hanging down into my line of sight. Notice how the template tapers down a bit on the right.
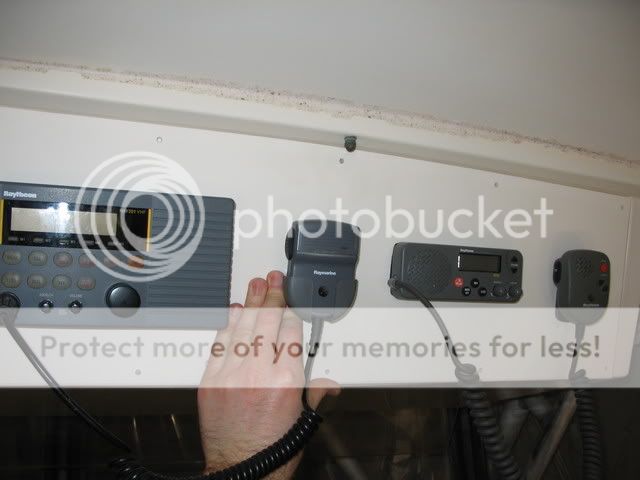
2nd attempt...I moved the larger radio to the left side so it would fill the area a bit better. In this case, I simply flipped the first template over and traced the opening. I forgot that this would force me to place the mics on the same sides that the cables exit, so things are quite "dangly" in this case.
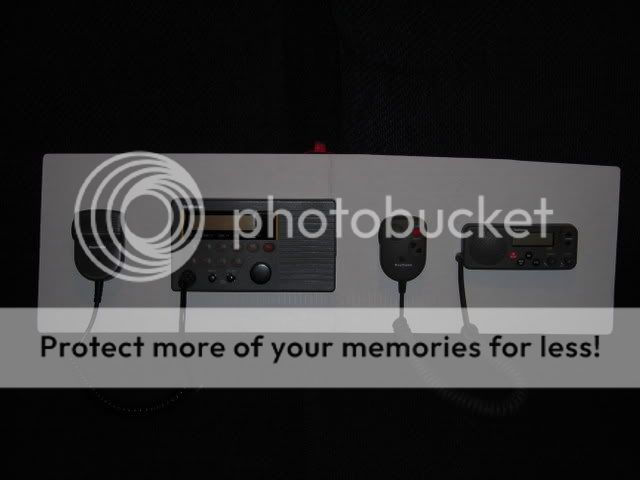
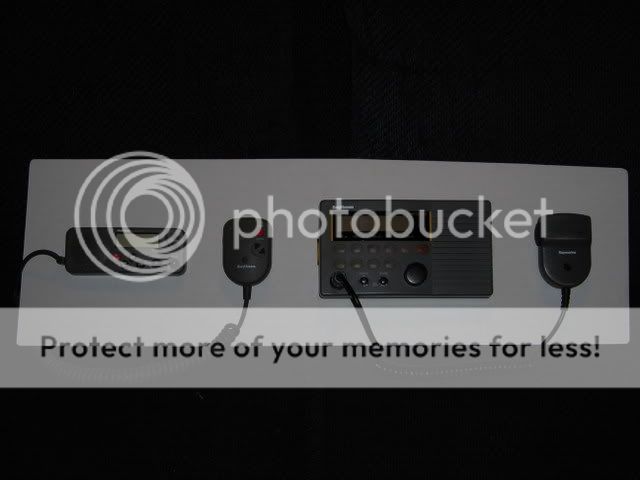
3rd attempt...will be made when I get more cardboard. This one will have the radios shifted right (layed out like attempt 2 with the big one to the left), but the mics will be mounted like attempt 1. I think this will be the ticket and is what I will implement.
03/07/07 - Laying out the lower panel.
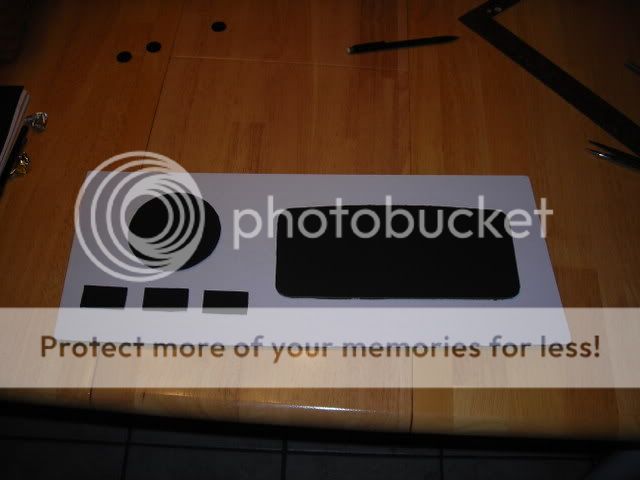
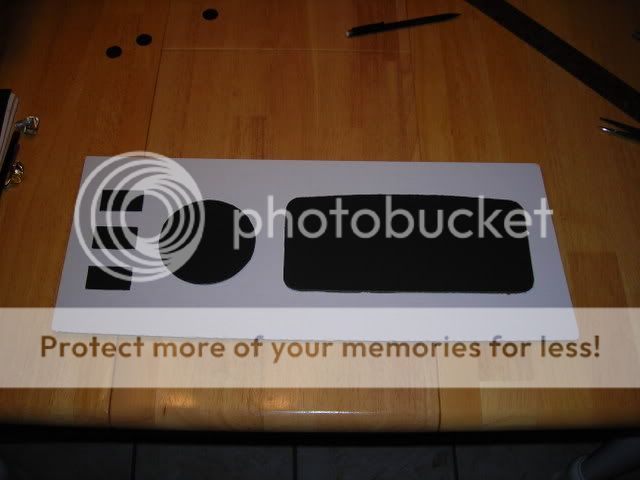
Layout options for the bottom electronics box are below. The various shapes represent the following items:
1. Large black rectangular box = stereo housing
2. Black circle = Floscan 9000 head unit
3. Small black rectangles = OEM Grady rocker switches
4. Small black circles = toggle switches
The switches are for the following functions associated with the Floscan:
1. Totalizer reset
2. Port/stbd. engine fuel burn select
3. GPH/MPG select
My original plan was to mount the Floscan and the OEM Grady rocker switches on a piece of black engraving stock and have the above functions engraved in the panel. The engraving will be done to avoid having to use generic stick or screw on labels which would make it look cheap. I wanted to used the OEM switches to try an maintain a consistent look with the rest of the instrumentation, but I don't think I've got the space on the panel for that. Keep in mind the white panel represents Seafoam Starboard. So, my options are...
Stereo to port, Floscan and OEM switches to stbd, no engravings or switch labels.
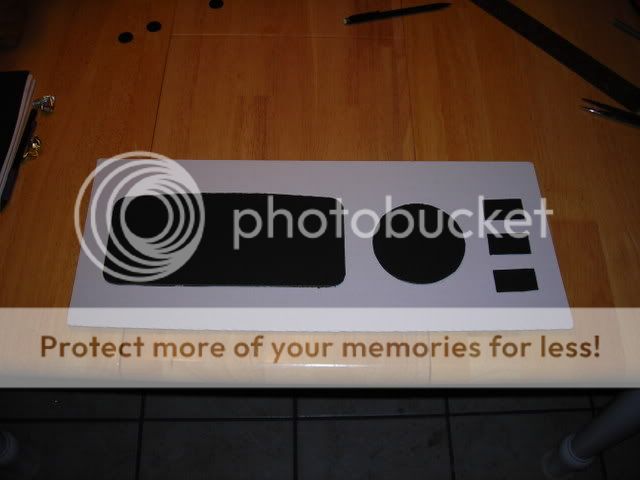
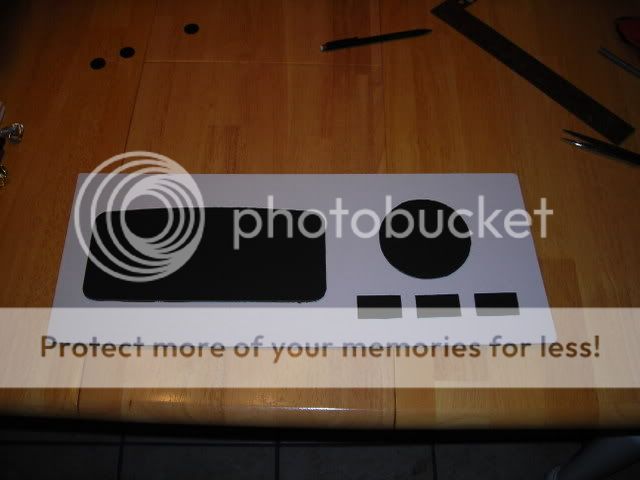
Floscan and OEM switches to port, stereo to stbd, no engravings or switch labels.
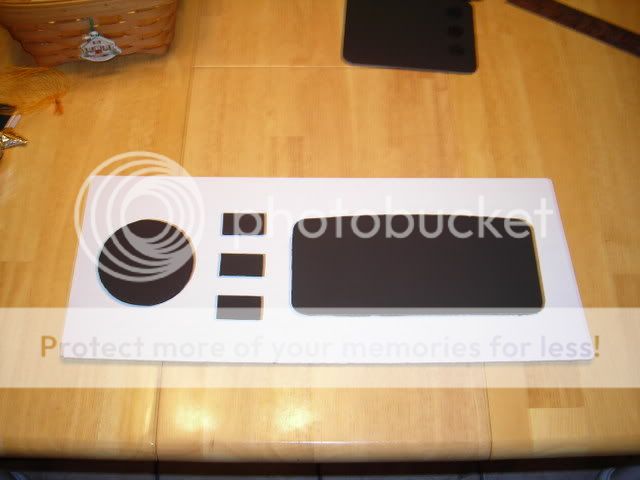
Stereo to port, Floscan and toggle switches to stbd, no engravings or switch labels.
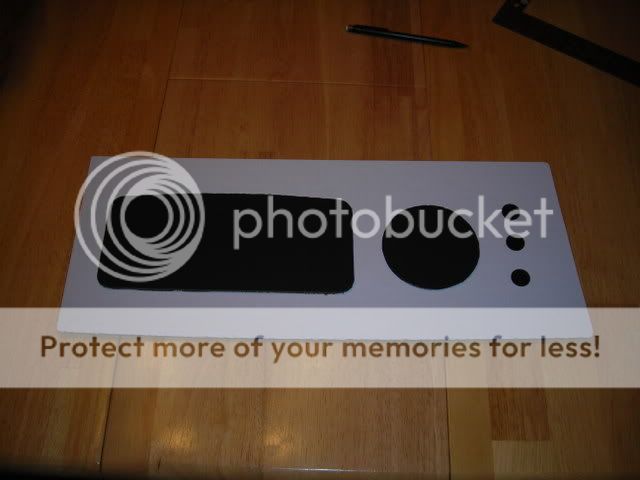
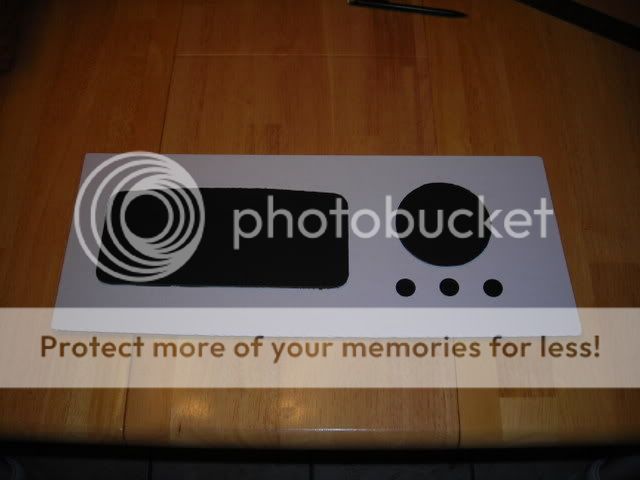
Floscan and toggle switches to port, stereo to stbd, no engravings or switch labels.
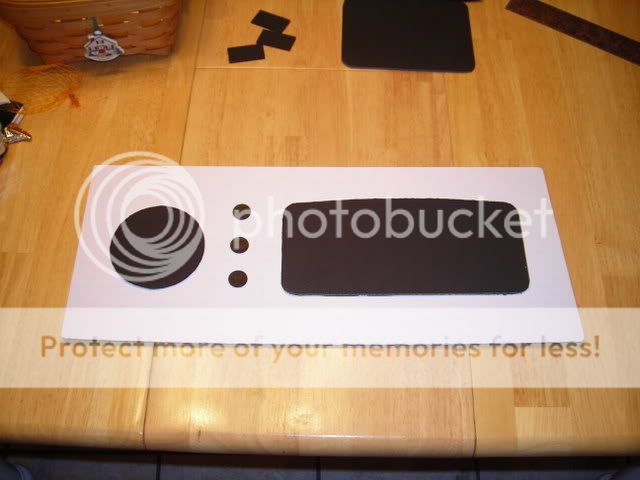
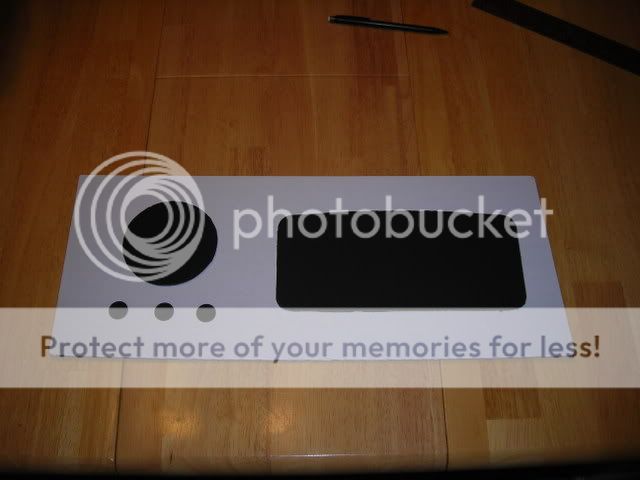
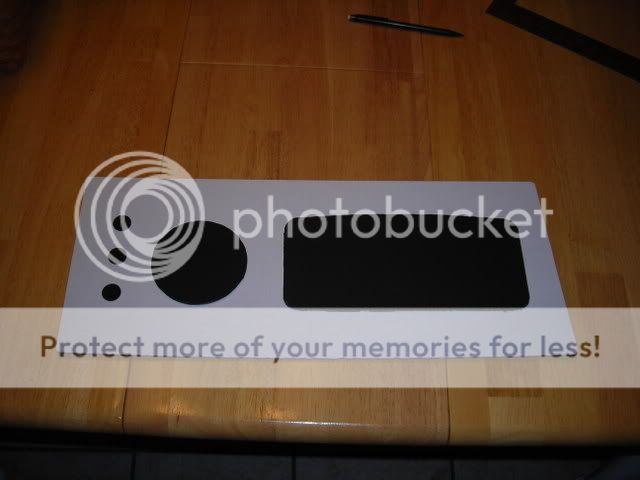
Stereo to port, Floscan and toggle switches to stbd and mounted in a black engraved panel (use your imagination a little here... ).
).
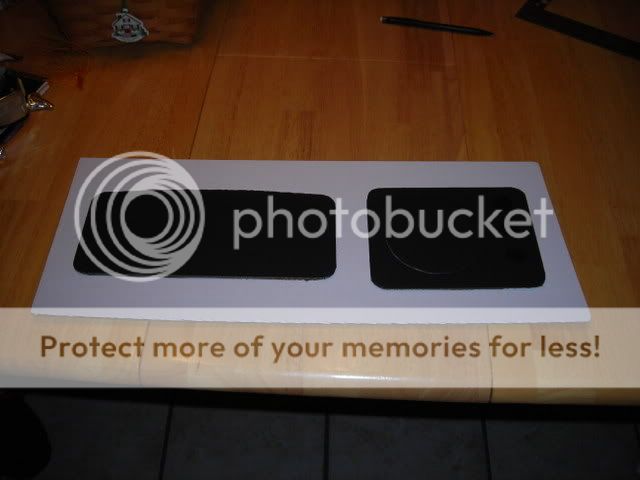
Floscan and toggle switches to port and mounted in a black engraved panel, Stereo to stbd.
I'm pretty sure I want to keep the stereo to port so I have a clearer line of sight from the cockpit to use the remote. That way I won't have to get up from my seat next to the cooler to change the station or volume.
What do you all think, have I overlooked any other options. Right now, my favorite is the stereo to port and Floscan with toggle switches in the engraved panel to stbd. It's this one if you lost track from all the mess above...

02/28/08 - Back to work.
Well, after nearly a year's hiatus I am back to work on this project. I took some time on Saturday to trace my templates on to the 3/8" Seafoam Starboard. I actually traced them slightly larger than I need them to be so I can fine tune them for an exact fit. Then I cut out the basic shapes on my tablesaw.
That was as far as I got though. I had to wheel the tablesaw out in the driveway because it makes too much of a mess inside my garage. It was about 40 degrees and the wind was howling so I called it quits being that I'm just getting over a cold and didn't want to get sick again. I'll post some pics later tonight, but they don't show much.
02/24/08 - Sizing the panels.
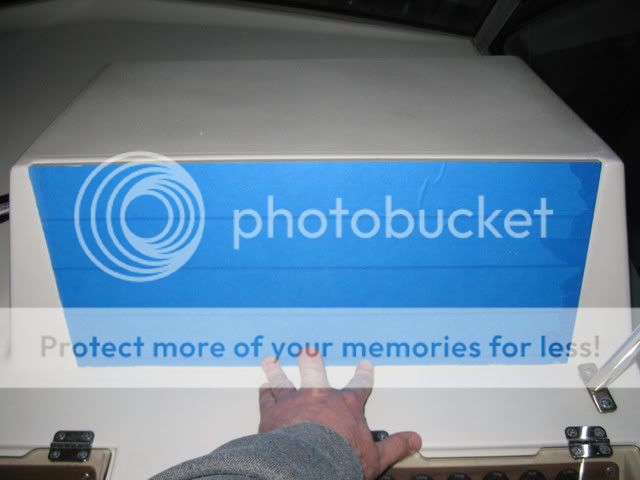
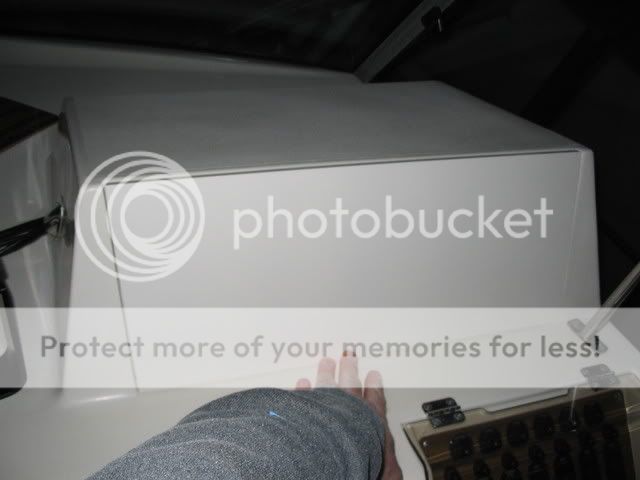
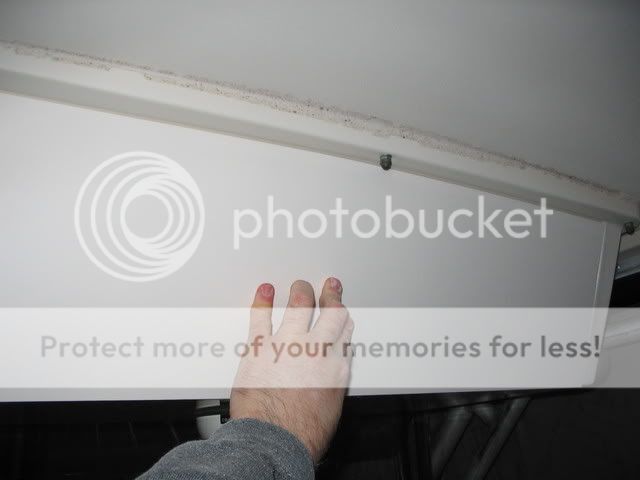
Both the upper and lower e-box panels are now cut to size. I now have to make the cutouts for the VHFs and stereo and put a 1/8" roundover on the edges before I can install the stuff and mount the panels. The Floscan won't be moved in this initial effort. That's being put on hold for now...
02/27/07 - My initial attempts at laying the upper panel out.
Templates are cut and I chopped some holes for the radios this evening to see how things would look.
1st attempt....main radio placed on the right since I'm right handed and will be operating it with my right. Mics mounted so the cords runs are kept long to prevent them from hanging down into my line of sight. Notice how the template tapers down a bit on the right.

2nd attempt...I moved the larger radio to the left side so it would fill the area a bit better. In this case, I simply flipped the first template over and traced the opening. I forgot that this would force me to place the mics on the same sides that the cables exit, so things are quite "dangly" in this case.

3rd attempt...will be made when I get more cardboard. This one will have the radios shifted right (layed out like attempt 2 with the big one to the left), but the mics will be mounted like attempt 1. I think this will be the ticket and is what I will implement.
03/07/07 - Laying out the lower panel.
Layout options for the bottom electronics box are below. The various shapes represent the following items:
1. Large black rectangular box = stereo housing
2. Black circle = Floscan 9000 head unit
3. Small black rectangles = OEM Grady rocker switches
4. Small black circles = toggle switches
The switches are for the following functions associated with the Floscan:
1. Totalizer reset
2. Port/stbd. engine fuel burn select
3. GPH/MPG select
My original plan was to mount the Floscan and the OEM Grady rocker switches on a piece of black engraving stock and have the above functions engraved in the panel. The engraving will be done to avoid having to use generic stick or screw on labels which would make it look cheap. I wanted to used the OEM switches to try an maintain a consistent look with the rest of the instrumentation, but I don't think I've got the space on the panel for that. Keep in mind the white panel represents Seafoam Starboard. So, my options are...
Stereo to port, Floscan and OEM switches to stbd, no engravings or switch labels.


Floscan and OEM switches to port, stereo to stbd, no engravings or switch labels.


Stereo to port, Floscan and toggle switches to stbd, no engravings or switch labels.


Floscan and toggle switches to port, stereo to stbd, no engravings or switch labels.


Stereo to port, Floscan and toggle switches to stbd and mounted in a black engraved panel (use your imagination a little here...


Floscan and toggle switches to port and mounted in a black engraved panel, Stereo to stbd.


I'm pretty sure I want to keep the stereo to port so I have a clearer line of sight from the cockpit to use the remote. That way I won't have to get up from my seat next to the cooler to change the station or volume.
What do you all think, have I overlooked any other options. Right now, my favorite is the stereo to port and Floscan with toggle switches in the engraved panel to stbd. It's this one if you lost track from all the mess above...

02/28/08 - Back to work.
Well, after nearly a year's hiatus I am back to work on this project. I took some time on Saturday to trace my templates on to the 3/8" Seafoam Starboard. I actually traced them slightly larger than I need them to be so I can fine tune them for an exact fit. Then I cut out the basic shapes on my tablesaw.
That was as far as I got though. I had to wheel the tablesaw out in the driveway because it makes too much of a mess inside my garage. It was about 40 degrees and the wind was howling so I called it quits being that I'm just getting over a cold and didn't want to get sick again. I'll post some pics later tonight, but they don't show much.
02/24/08 - Sizing the panels.
Both the upper and lower e-box panels are now cut to size. I now have to make the cutouts for the VHFs and stereo and put a 1/8" roundover on the edges before I can install the stuff and mount the panels. The Floscan won't be moved in this initial effort. That's being put on hold for now...


