This project might seem simple to most here, but hopefully it will help anyone who needs a few more rod holders in their washboards, and needs the incentive to 'just do it'. :wink:
Understand that this is not the only way to do this job.
This is the method that I used. If you have a better method, feel free to modify to suit.
My boat had the factory installed 4 rod holders - 2 to each side, which was fine for a lot of years.
After installing my outriggers last year, I found that I didn't like using my rocket launchers to hold the rods that were using the riggers, so I decided to remedy that.
My normal trolling spread is 6 to 7 lines.
2 lines off of each outrigger, 2 lines off the stern, and a WWB line.
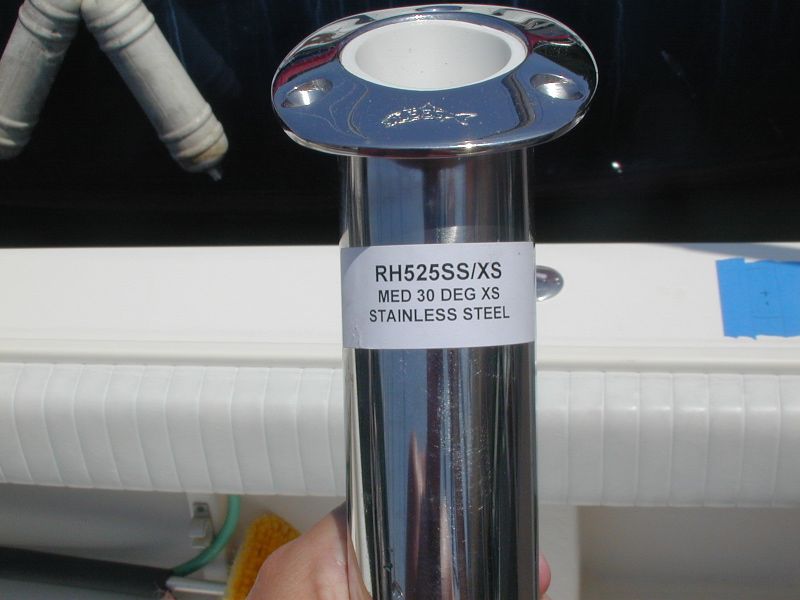
I bought a set of Lee 30 degree rod holders from Jim at BOE Marine, and set out to add a third rod holder on each washboard for use on the outriggers.
Here are the rod holders I sourced:
First, I found a good spot, making sure there was nothing below that would interfere and nothing I'd drill into or cut. :shock:
Measure 3 times, cut once.
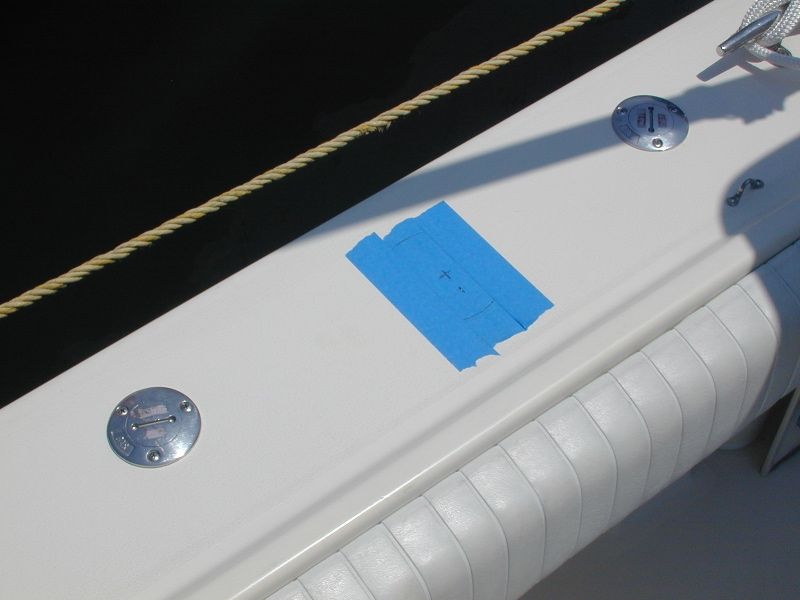
Since I'm kind of OCD about my projects, I looked for the best way to drill the 30 degree hole that I wanted.
What I found was this little item at Home Depot.
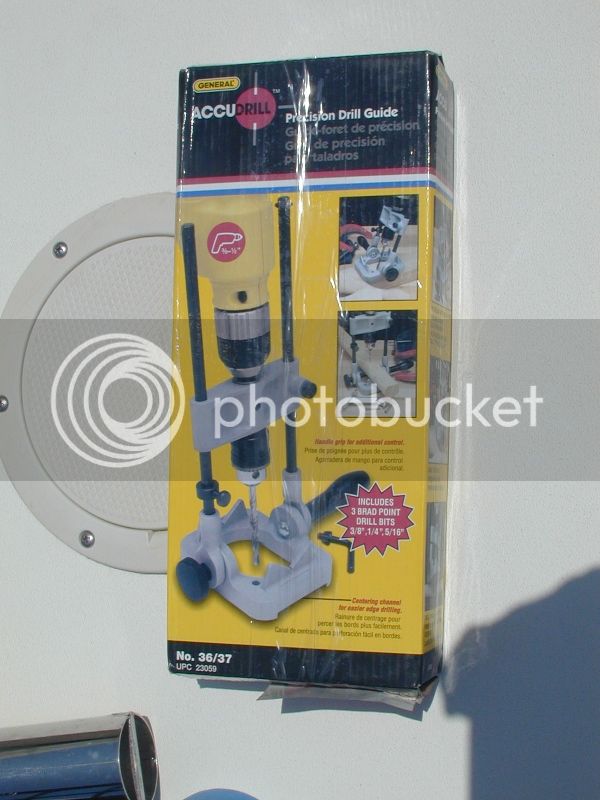
It is a drill jig that has degree marks on it and it allows you to make precise holes at whatever angle you'd like.
Here are the parts...
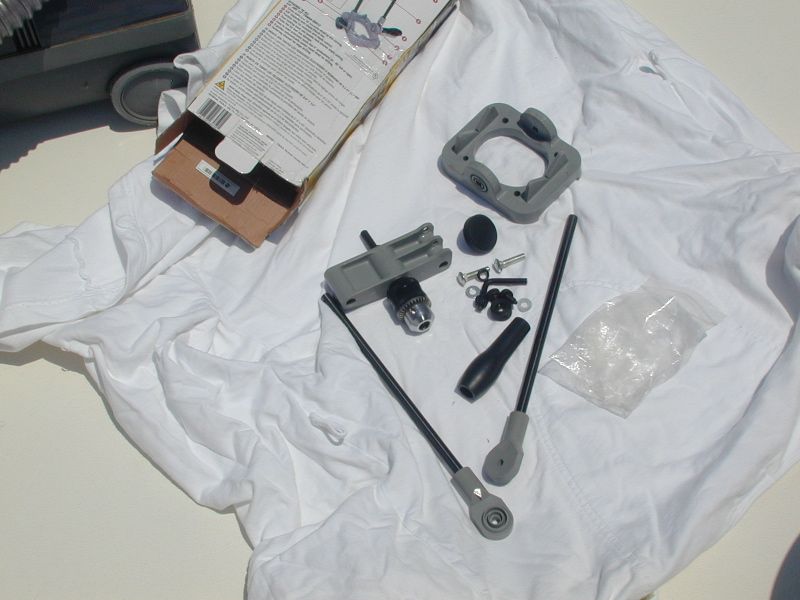
And the assembled jig ready to make my 30 degree pilot hole.
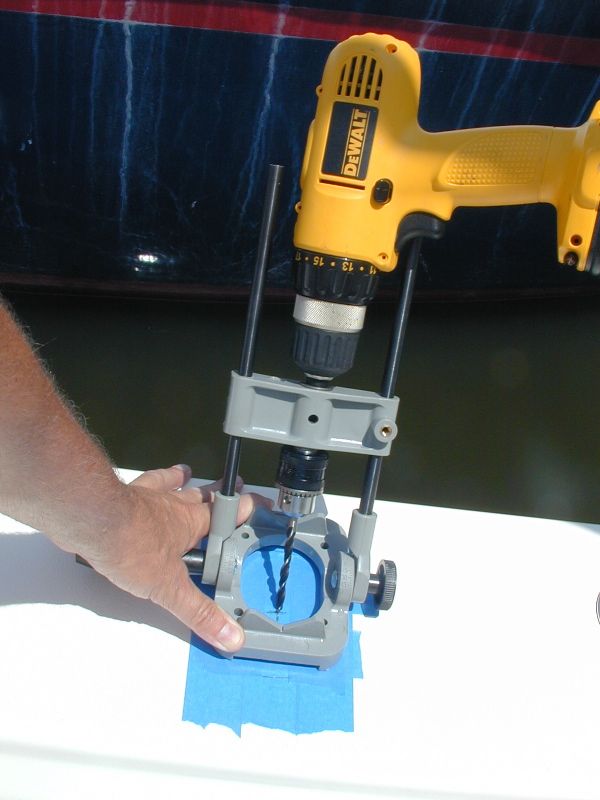
Once the pilot hole was drilled, it was a simple task to use the hole saw to make the finished cut at the proper angle.
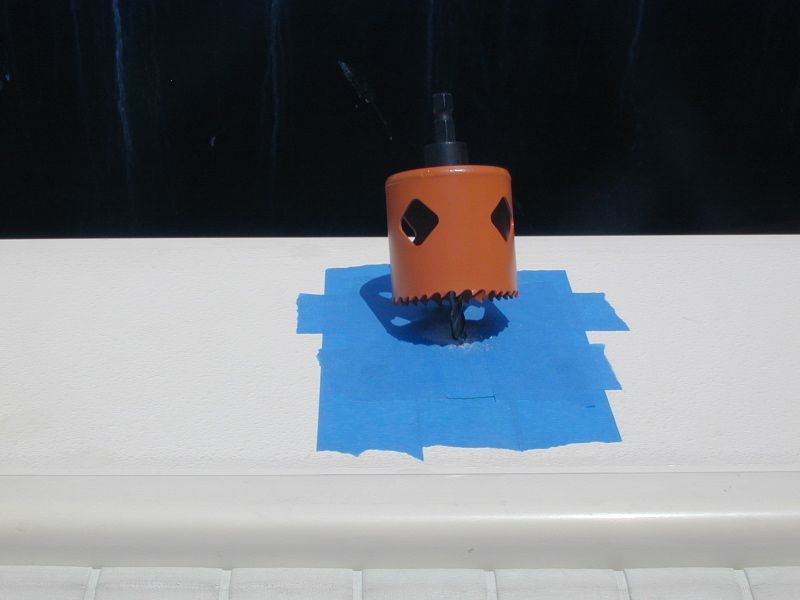
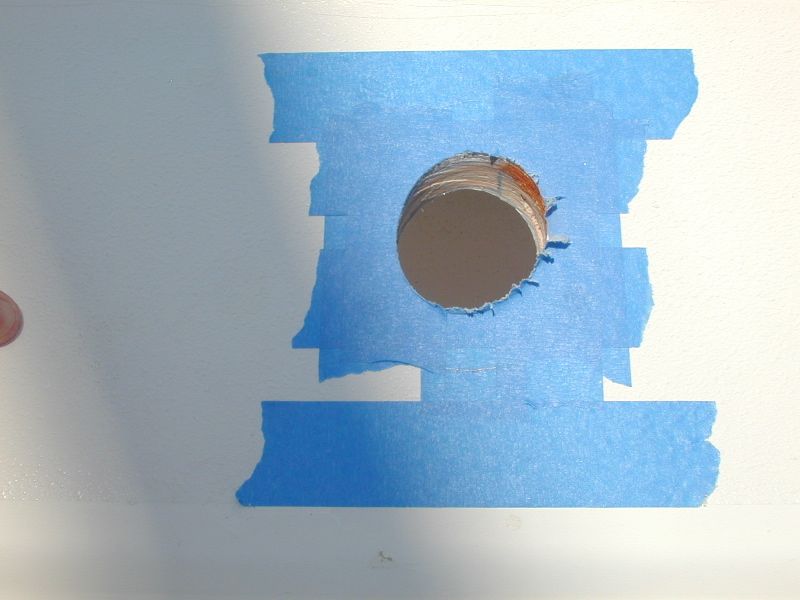
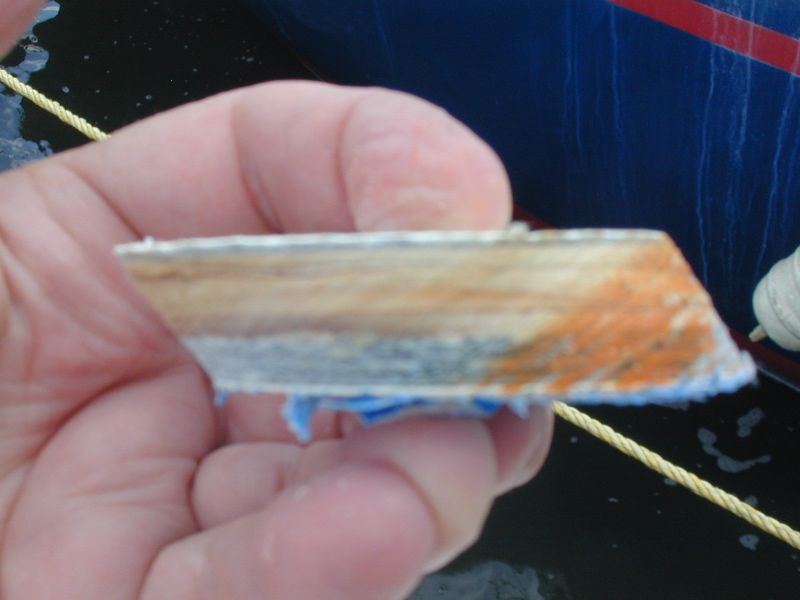
And in case anyone wants to know how thick a 1996 Parker 2520 washboard is, it's 3/4 of an inch.
Dry fit to check everything, then mark and drill the mounting holes for the 1/4-20 bolts.
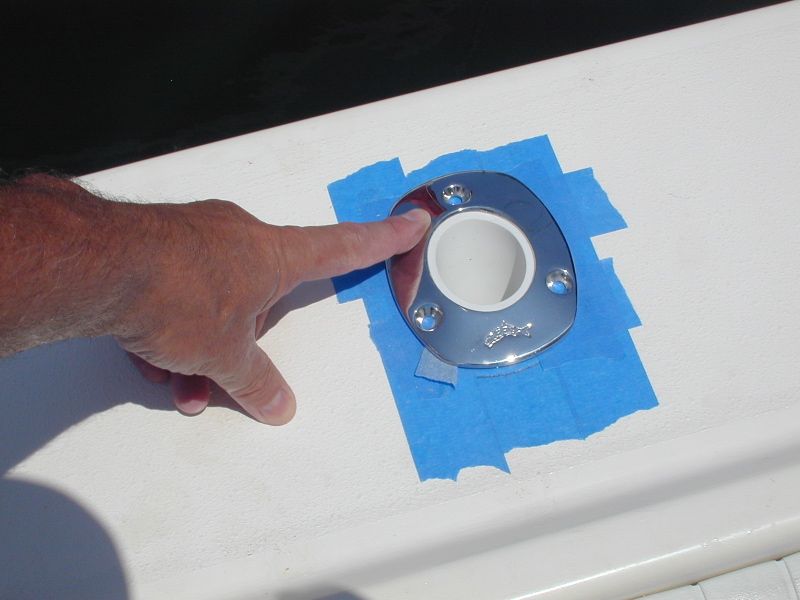
Next step, mix up some West Systems epoxy and generously wet out the wood in the opening and the bolt holes.
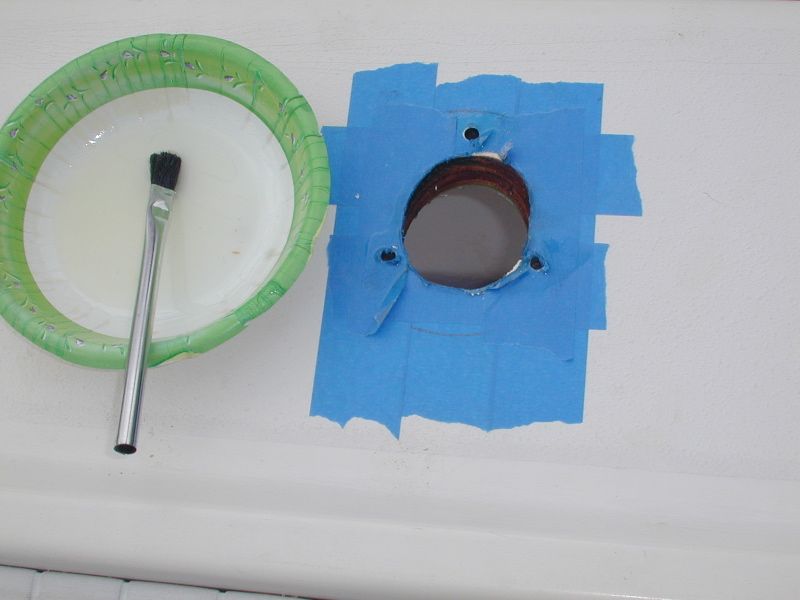
I gave everything 4 to 5 coats to make sure it would be protected.
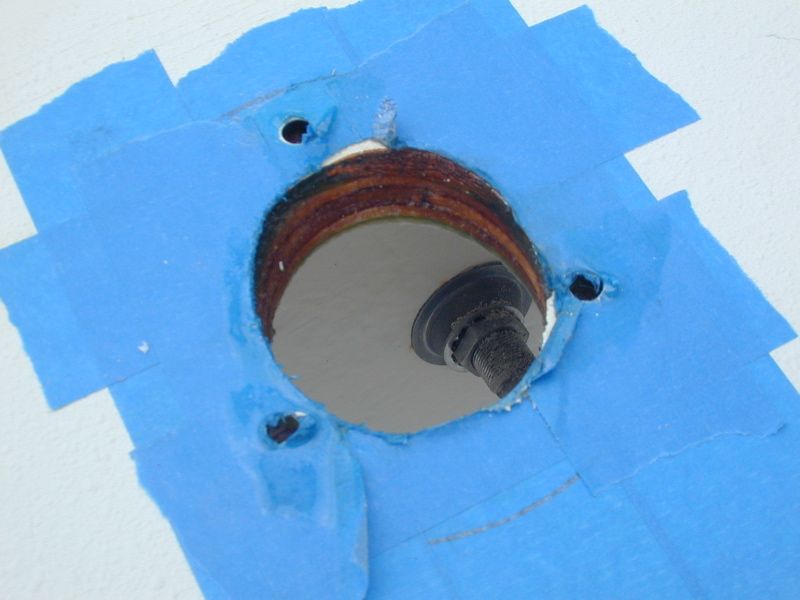
NOTE! - Do Not wait for the epoxy to dry completely before removing the tape.
The West Systems will wick under the tape and if you wait too long, you might never get that tape up.
Use a paper towel to wipe up any epoxy that had gotten under the tape.
After the epoxy dries, drop in your hardware and bolt it all down.
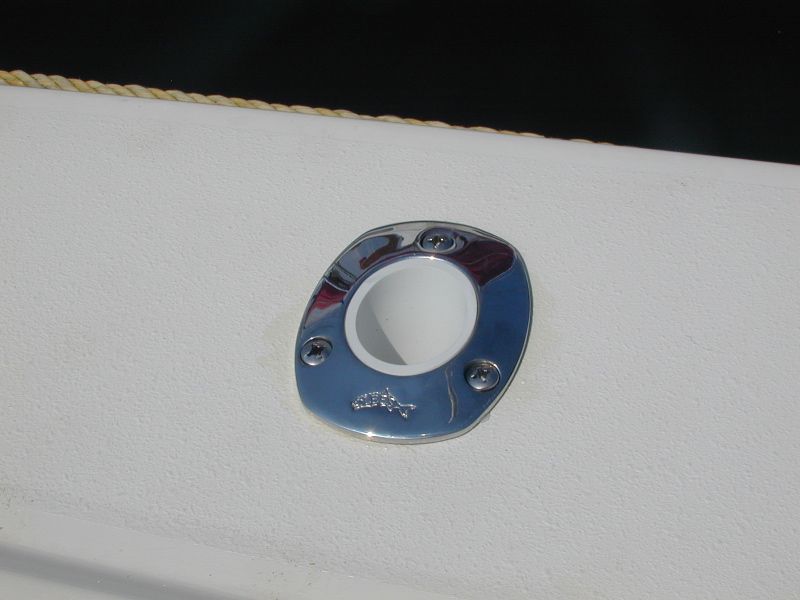
I applied a bead of clear silicone sealant to the base of each rod holder as a further hedge against moisture getting in there, but it probably wasn't needed since the epoxy will perform a pretty good barrier by itself.
Still, I'd rather be safe.
Done!
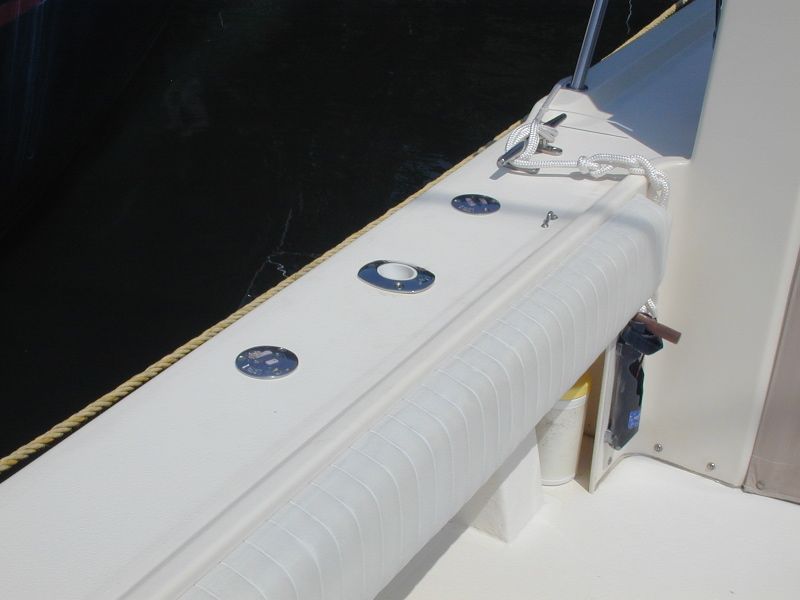
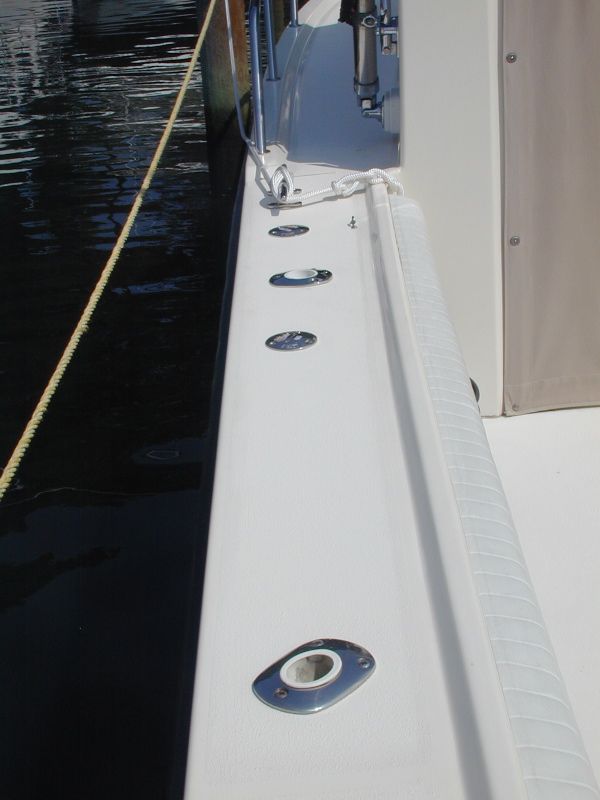
Rear rod holder goes straight off the stern.
Mid-ship holder is at 45 degrees.
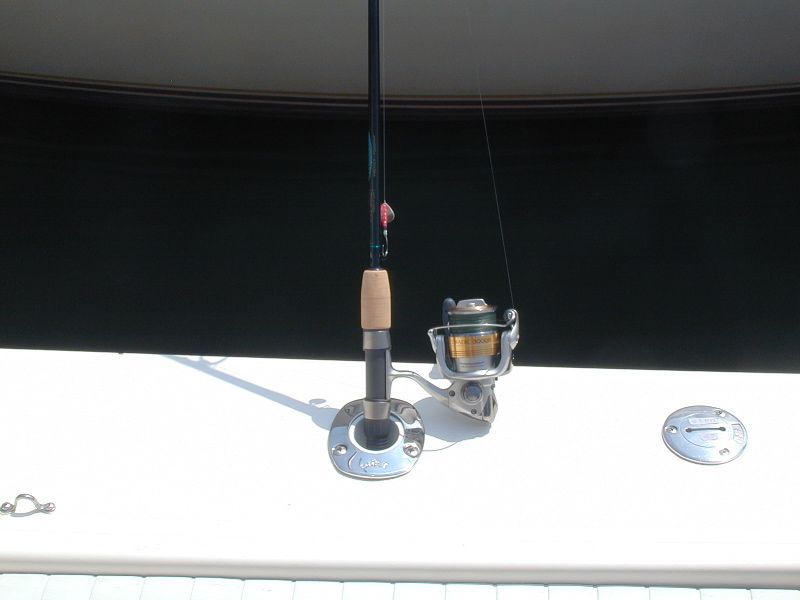
Newest holders are at 90 degrees.
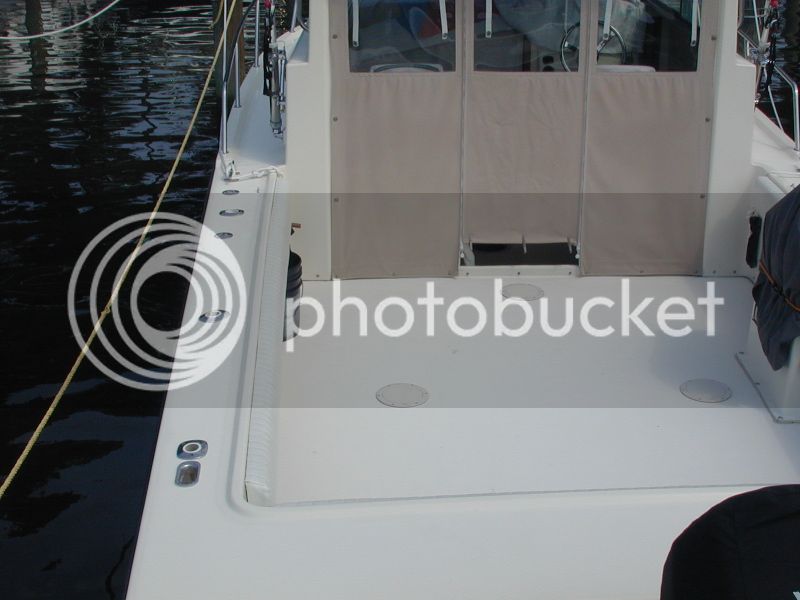
Hope that someone finds this helpful!
Understand that this is not the only way to do this job.
This is the method that I used. If you have a better method, feel free to modify to suit.
My boat had the factory installed 4 rod holders - 2 to each side, which was fine for a lot of years.
After installing my outriggers last year, I found that I didn't like using my rocket launchers to hold the rods that were using the riggers, so I decided to remedy that.
My normal trolling spread is 6 to 7 lines.
2 lines off of each outrigger, 2 lines off the stern, and a WWB line.
I bought a set of Lee 30 degree rod holders from Jim at BOE Marine, and set out to add a third rod holder on each washboard for use on the outriggers.
Here are the rod holders I sourced:

First, I found a good spot, making sure there was nothing below that would interfere and nothing I'd drill into or cut. :shock:
Measure 3 times, cut once.

Since I'm kind of OCD about my projects, I looked for the best way to drill the 30 degree hole that I wanted.
What I found was this little item at Home Depot.

It is a drill jig that has degree marks on it and it allows you to make precise holes at whatever angle you'd like.
Here are the parts...

And the assembled jig ready to make my 30 degree pilot hole.

Once the pilot hole was drilled, it was a simple task to use the hole saw to make the finished cut at the proper angle.


And in case anyone wants to know how thick a 1996 Parker 2520 washboard is, it's 3/4 of an inch.

Dry fit to check everything, then mark and drill the mounting holes for the 1/4-20 bolts.

Next step, mix up some West Systems epoxy and generously wet out the wood in the opening and the bolt holes.

I gave everything 4 to 5 coats to make sure it would be protected.

NOTE! - Do Not wait for the epoxy to dry completely before removing the tape.
The West Systems will wick under the tape and if you wait too long, you might never get that tape up.
Use a paper towel to wipe up any epoxy that had gotten under the tape.
After the epoxy dries, drop in your hardware and bolt it all down.

I applied a bead of clear silicone sealant to the base of each rod holder as a further hedge against moisture getting in there, but it probably wasn't needed since the epoxy will perform a pretty good barrier by itself.
Still, I'd rather be safe.
Done!


Rear rod holder goes straight off the stern.
Mid-ship holder is at 45 degrees.
Newest holders are at 90 degrees.

Hope that someone finds this helpful!


