My '95 2530

Classic Parker Boat Forum

Help Support Classic Parker Boat Forum:

This site may earn a commission from merchant affiliate links, including eBay, Amazon, and others.

warthog5

Well-known member
Joined
Feb 23, 2006
Messages
4,475
Reaction score
681
Location
Pensacola, Fl.
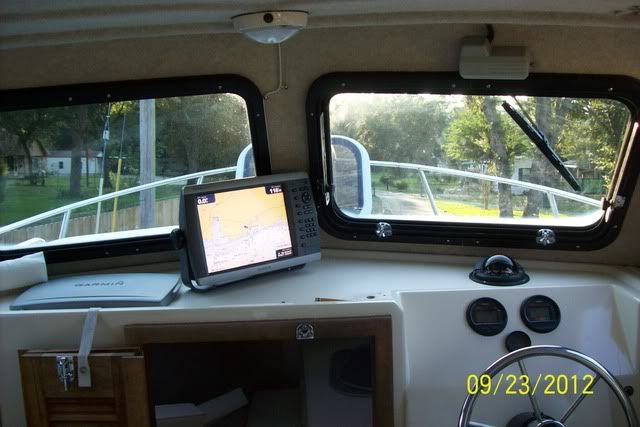
Guess this is where I'll load the server done from now on with this boat. I can't leave it alone....I have to cut on it. :)

So here's the 1st cutting.

Before:

100_3966_zpsaec71815.jpg


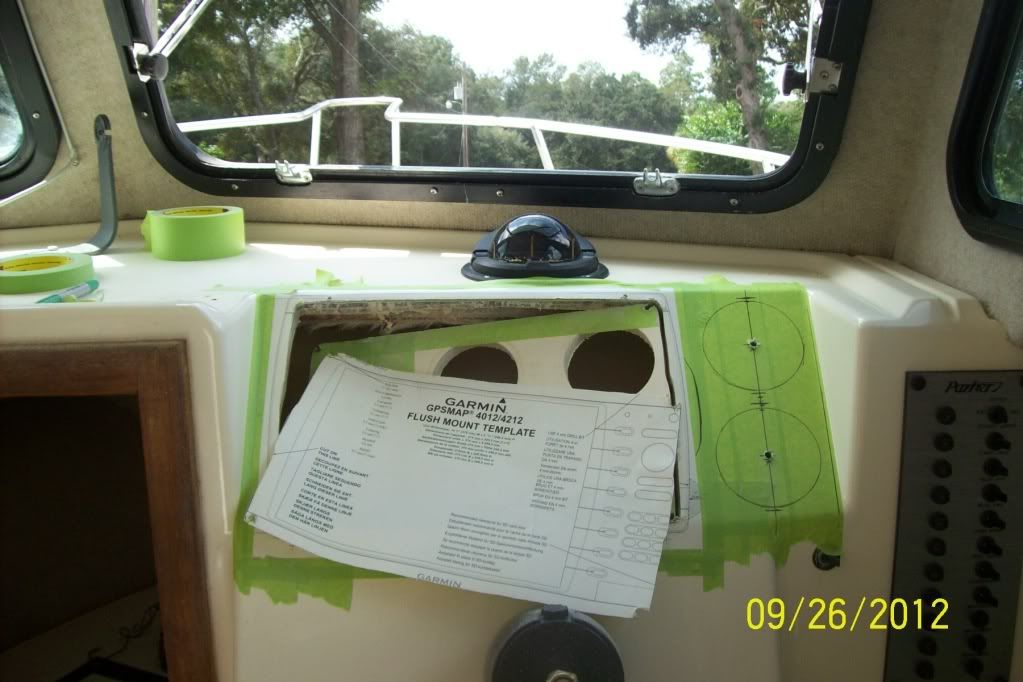
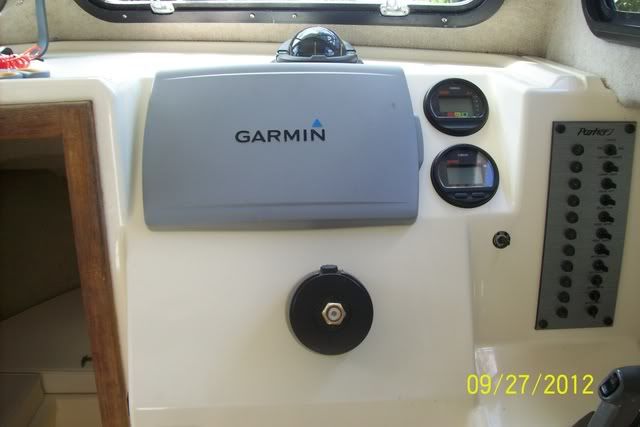
Thinking about where I wanted it. Kevin's 10in is shifted toward the STB side.
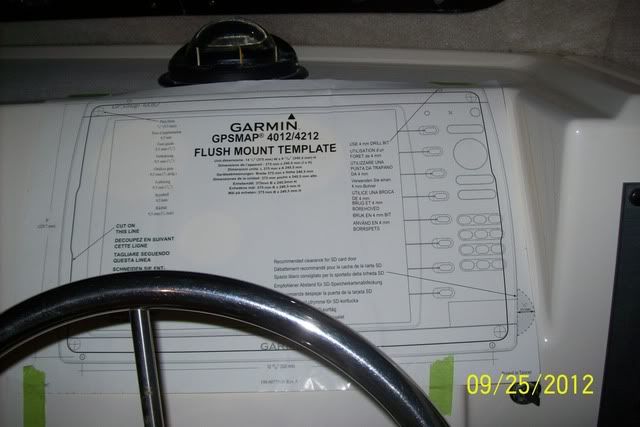
100_3997.jpg


A few things entered into my head.
1] The wiring was already tight all down the boat,so I'd have to cut every tie wrap.
2] If someone else is running the boat it is farther to reach the buttons for me to make a adjustment.
3] The way that pull tab stuck out for the cover.

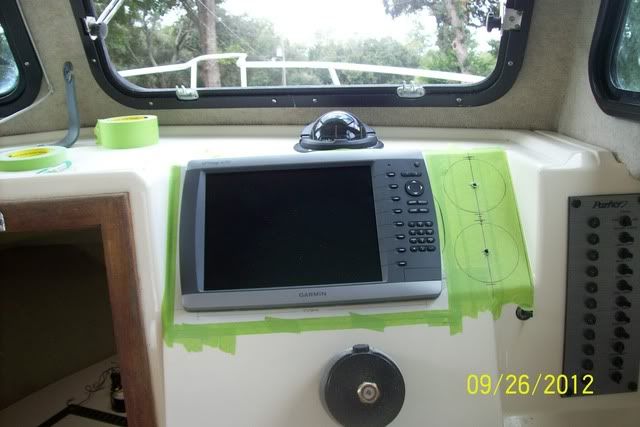
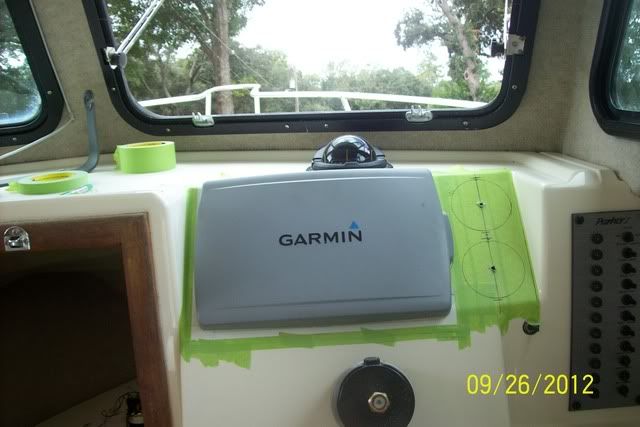
Final decision:
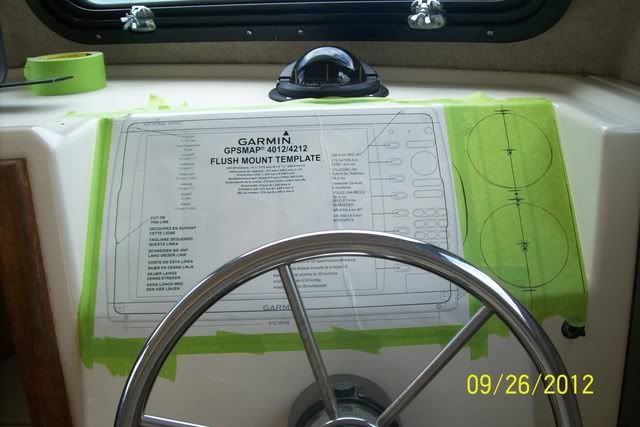
100_3998.jpg


To Late now. :)

100_3999.jpg


100_4001.jpg


100_4000.jpg
 
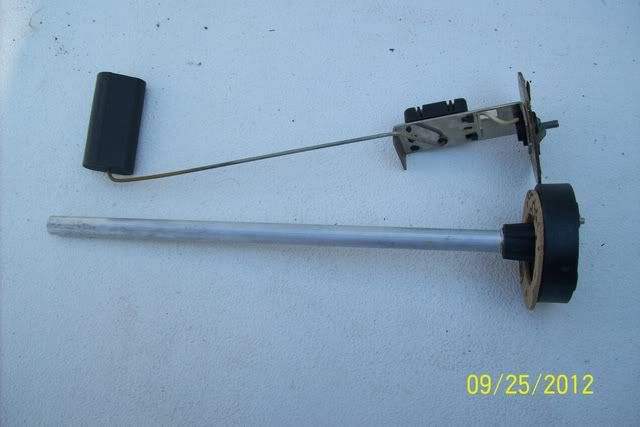
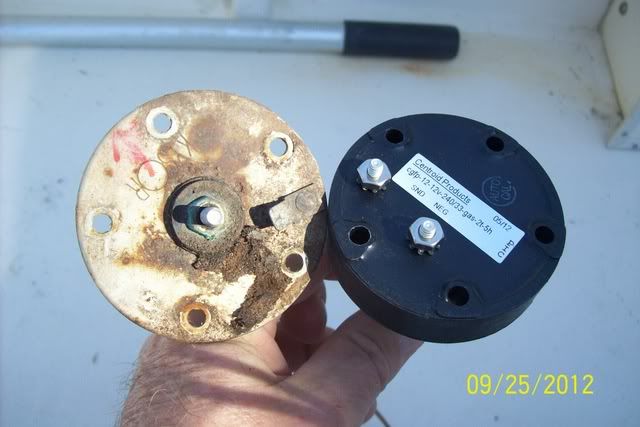
Both Fuel sending units were defective.

This is showing the old float type and the new Haden unit.

100_3984.jpg


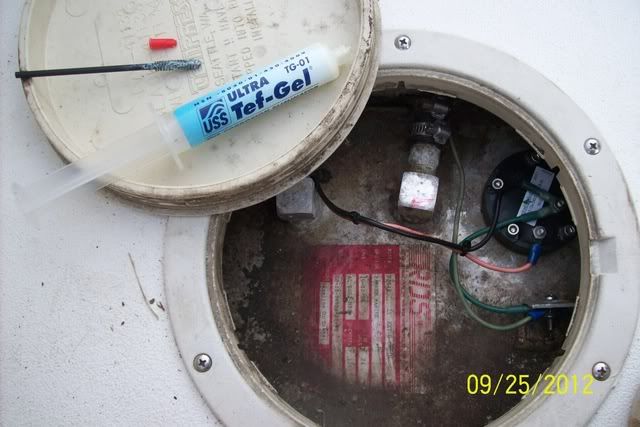
I hate those Spade terminals on the Gnd.

100_3985.jpg


No screws were broken. New Socket Head fasteners installed with Tef-Gel

100_3986.jpg
 
Having problems with PhotoBucket. Hmmmmmmm! :( All pix's were resized to 640 X 480. And the last one is weird with that 4th pix being a double, yet it doesn't show when I try to edit it.
 
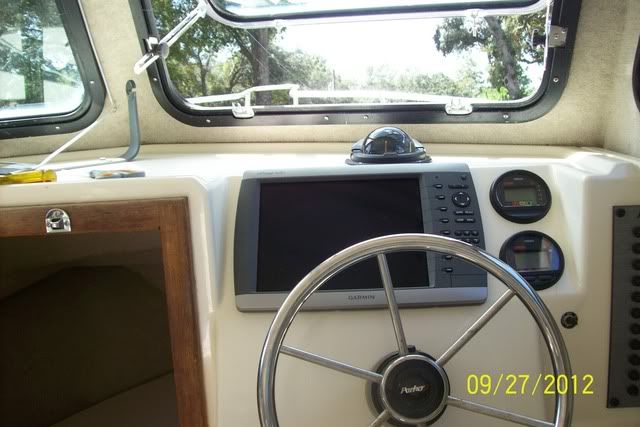
Much better location for the chart plotter! Looking forward to following your upgrades
 
Yea....Where it was you had to reach, cables hanging down the the V berth overhead. :( and it blocked view out the Port windshield. I was lucky enough to pick up a cut pattern locally.
 
Very nice!!

Did the magnetic card door screw up the compass?? Mine did by a few degrees.

Looking forward to many more!! :mrgreen:
 
I'll check that. It's just sitting in the hole right now. So I can just note it and lift it out to see if any change.


Went to all the tool supply shops in town + the box stores looking for a 3 3/8in holesaw today. Grainger will have one tomorrow to cut the new gauge holes.
 
Nice work!

GW204 did all of my cutting on the helm while I held the vacuum underneath. :D
I had just had hand surgery so he was a *huge* asset!

Checked my compass before, and then after, and it did not change.
Guess I got lucky!

Nice work Bobby! 8)
 
So you need a Garmin for your new driveway queen. :lol: :lol: :p Nice project and boat, good luck with getting it the way you want it.
 
Yea i had the same problem off about 4 degrees. Shame on garmin for putting a magnet in that door. So many other options they could have gone with. Still best electronics going in my oppinion.
 
Nice work on that install Bobby!

Megabyte":2f884csa said:
GW204 did all of my cutting on the helm while I held the vacuum underneath. :D
I had just had hand surgery so he was a *huge* asset!
I grew up as a locksmith, as my Dad was a 2nd generation one ... and I paid for college expenses by installing deadbolts on the doors, paid $10 per install. I'd tape a large paper bag (large type with handles) around both sides of the door, just below the d-bolt location, to catch all the dust and debris from the hole saw ... as we didn't have to sweep per se, but had to make sure all wood/metal pieces were caught. Let's just say I was making $30-40 an hour @ 19-years old :D !

So ... if no 2nd helper like our good Capt Kevin is around to catch your debris ... think about the paper bag trick! Oh, I also prefer cutting frp with a downward cutting 'laminate' jigsaw blade ... super clean cut and that too forces all of the debris into the collection bag ;) .
 
I actually own a Roto Zip. Haven't used it in a Loooong time. I have found better tools to do the job with. A Roto Zip is nothing but a Tiny router. They throw Crap EVERYWHERE! Including fiberglass dust on you. I try to do everything I can to NOT do that. :)


Got the 3 3/8in Holesaw today. Gauges are all in. By the way a 2 1/16in holesaw is what you really want for 2in gauges. It slips right in perfect....No fuss...No Muss. :)

100_4011.jpg


100_4013.jpg


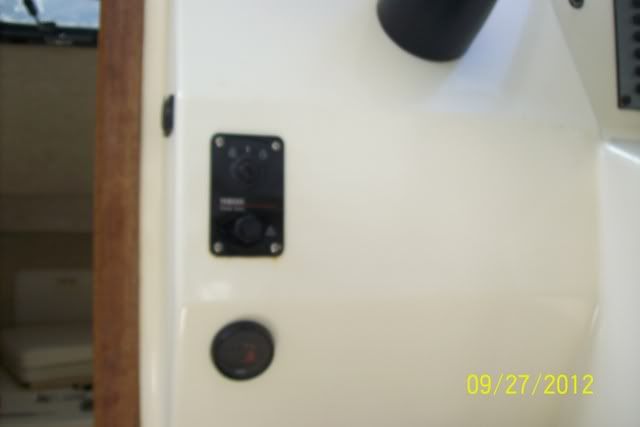
Hourmeter installed under the key switch. Down and out of the way where it should have been put. It also keeps the Tick Tocking of the clock out of your ears. There is no reason to have that gauge in your face all the time. It is a maintenance gauge.

100_4012.jpg
 
I hooked the gauge wires back up.....Not the routing I want yet. Turned the Master switch on......Squeezed the ball a bunch of times after the motor was tilted down [manually] Turned the key and it made about 4 revolutions and fired up. That sucker is loud and it was 7:00 in the morning so I shut it down after 1 1/2min. I’ll fire it again later.

100_4015.jpg
 
Looking good Bobby! To keep that 250hp running good, somewhere on here we have a the info from Bill Grannis as a DIY "How To" for keeping the O2 sensor on that puppy clean and runing well.
 
Thanks....Today my Son & Granddaughters Ha! unbolt the motor to attack the 2 other bolts on the tilt/trim motor. Acetylene torch is on hand for heat.


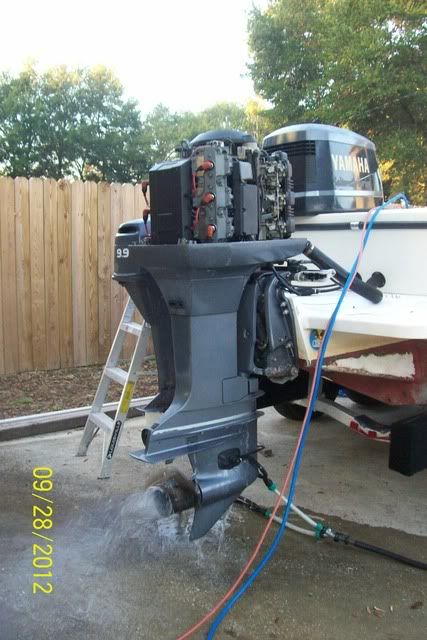
Yesterday was a sad day. :( Got word back why my '99 DF-70 Suzuki for my Flounder boat would not idle.
This boat sat in the water and owned by a marina was used as a pusher boat and general stuff. It has less than 100hrs on the motor. But it was never flushed. The inside of the motor is eaten up. One rotted hole allowing water into #1 cyl is the culprit of the no idle. There is another hole beginning. This no idle has gotten worse. At first I thought it was just a cold naturered little bugger. But the last night out [last Saturday] it didn't leave us stranded, but was a bitch to power load, as it would stall. So I took it to Posiner Marine for diagnosis. Now I need a new motor. It's not worth investing any money in.

$10K out the door for a '12 DF-90A.

Here's the build on it. :
http://www.aluminumalloyboats.com/viewt ... under+Boat
 
Back
Top