warthog5
Well-known member
I was asked on another forum to write a Blog after the "Who wires this Crap?" thread.
I was asked to write a Blog about some of this wiring from the other thread......"Who Build's this Crap!" It caught me just right,as the components were on order for installing in the "New" to me boat. [2530 Parker] I will add to this as the system is built.
This switch cluster will bring you into Y2K and make your life / boating much more simple.
Here is my explanation of how it works.
Here it is for a single motor and 2 batteries.
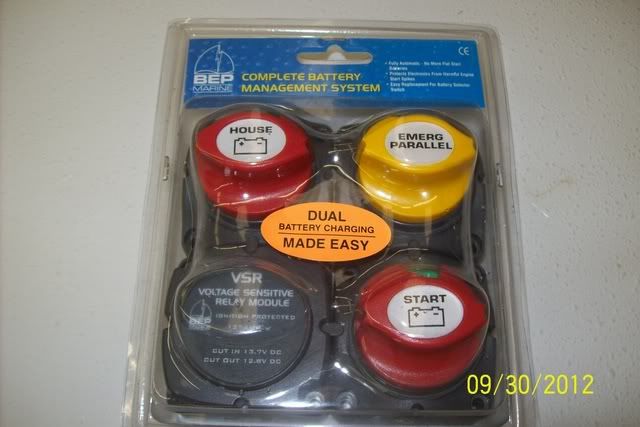
Out of the package looking at the backside.
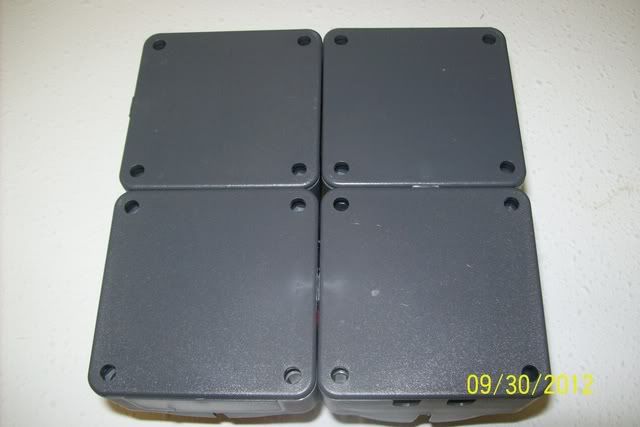
Back coves just snap off.
OK...Now there is something I don't like about it. I find a bunch of companies in the marine industry do this. I chalk it up to the "Bean Counters".
It's the Damn use of Autmotive connectors that will let the elements find it's way to the wire and wire/terminal connection.
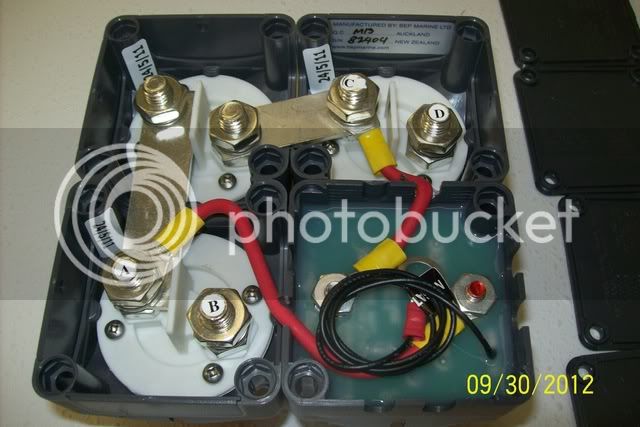
The result that I do is just make up some new leads with new 10ga and Crimp/shrink connectors.
[It's easier to make new ones than try and save the wire from the old ones]
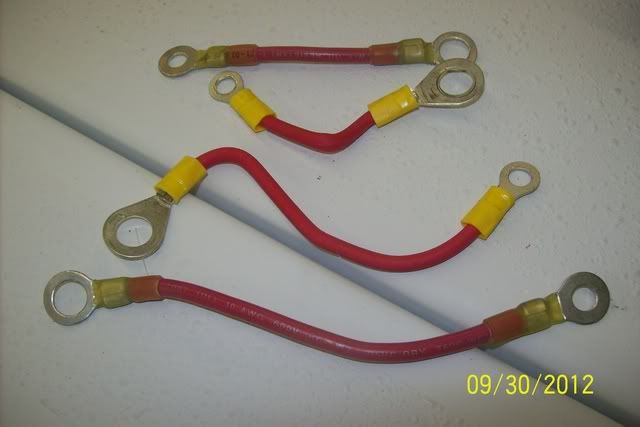
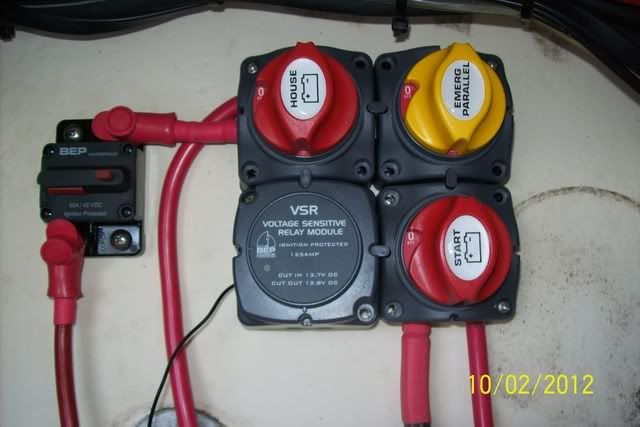
New wires installed.
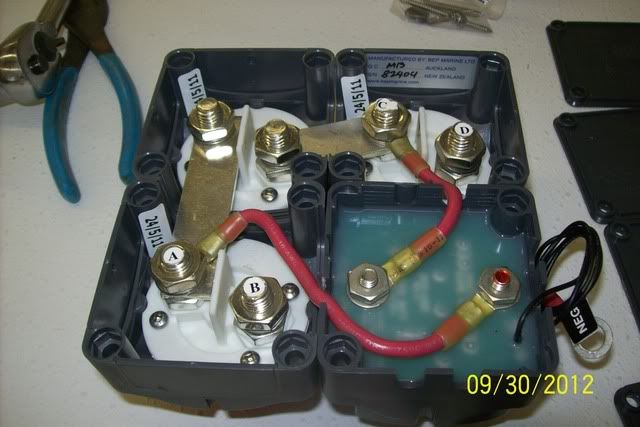
This is where I start every new wire job. The Master switch gets mounted.....Then the battery trays get mounted and batteries installed. Then you can get a proper measurement for your battery cable length. The whole electrical system builds from there.
I was asked to write a Blog about some of this wiring from the other thread......"Who Build's this Crap!" It caught me just right,as the components were on order for installing in the "New" to me boat. [2530 Parker] I will add to this as the system is built.
This switch cluster will bring you into Y2K and make your life / boating much more simple.
Here is my explanation of how it works.
BEP Cluster Switch.
You start your day by turning the Start switch and the House switch to ON.
At the end of the day you turn them both OFF.
It doesn't get any simpler than that. You don't have to remember to turn from Batt 1 when going out and switch to Batt 2 on the way back in. Just something else that you have to remember.
OK so what goes on with it is done all automatically thru the VSR [Voltage Sensitive Relay]
The Relay is in a closed position. As soon as you hit the key to crank the motor the relay opens, due to sensing a large surge of current.
Ok the motor is cranked and running now. The relay is still open. The Alt is charging the Start battery until it reaches a set voltage and charge.
Then the relay closes and is back charging Both the Start & House Battery.
Now another feature that happened when you hit the key is your electronics were ON and wired from the House battery. This will stop any spiking of the Electronics. They don't like to be spiked!
OK...Now your out sitting on the beach. The motor is OFF, but you have the Radio playing for hours. The Relay senses the drop and opens the relay again. The radio is still playing, but the relay just disconnected the Start battery out of the circuit so that it stays at Full charge to start the motor.
When you get ready to leave the beach and crank the motor the alt will charge the Start battery first and when it's back up, the relay will close and charge the House battery.
There is one more switch on the Cluster. It is the Combine switch. Think of that as Jumper Cables without having to dig them out and hook them up. This switch would normally be in the OFF position, until you need a boost on the start battery. Then turn it to ON. After the motor is running turn it back OFF.
Everything is all Automatic. No thinking about it. Your batteries will have a much better charge in them.
The unit pictured above is just slightly larger than a Perko switch. So it doesn't take up much room and takes a LOT less room than the Blue Seas version. It looks cleaner too, due to the cables that are needed on the Blue Seas version.
The cost is aprox $150 for a unit for a single outboard and 2 batteries.
Here it is for a single motor and 2 batteries.

Out of the package looking at the backside.

Back coves just snap off.
OK...Now there is something I don't like about it. I find a bunch of companies in the marine industry do this. I chalk it up to the "Bean Counters".
It's the Damn use of Autmotive connectors that will let the elements find it's way to the wire and wire/terminal connection.

The result that I do is just make up some new leads with new 10ga and Crimp/shrink connectors.
[It's easier to make new ones than try and save the wire from the old ones]

New wires installed.

This is where I start every new wire job. The Master switch gets mounted.....Then the battery trays get mounted and batteries installed. Then you can get a proper measurement for your battery cable length. The whole electrical system builds from there.


