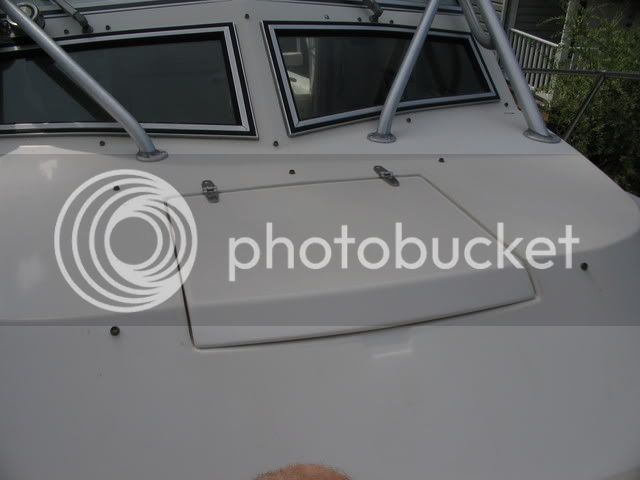
FINISHED: Front hatch refinish/rebuild project

Classic Parker Boat Forum

Help Support Classic Parker Boat Forum:

This site may earn a commission from merchant affiliate links, including eBay, Amazon, and others.

gw204

Well-known member
Joined
Feb 27, 2006
Messages
943
Reaction score
1
Location
St. Leonard, MD
Just a little reassurance for those of you that are hesitant to work with epoxy, glass and gelcoat. It really ain't as bad as it seeems.... :D

When I got my Sailfish nearly 2 years ago, there was some cracking and gelcoat chippipng on the front hatch. I dealt with it for about a year, but when I started having some leaking issues last season, I decided to take it off and address the problems once and for all. So, here goes....

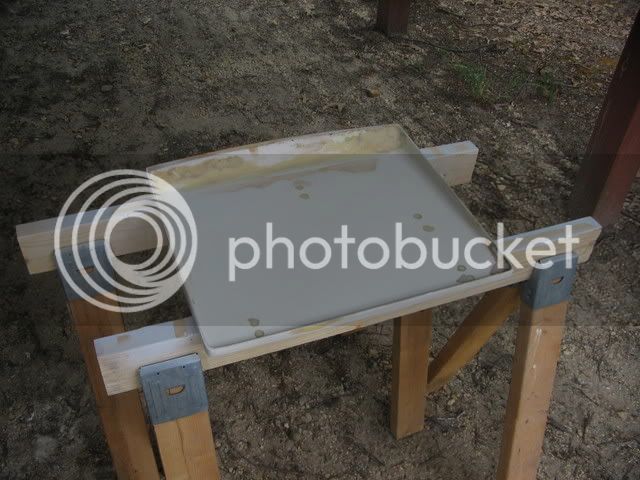
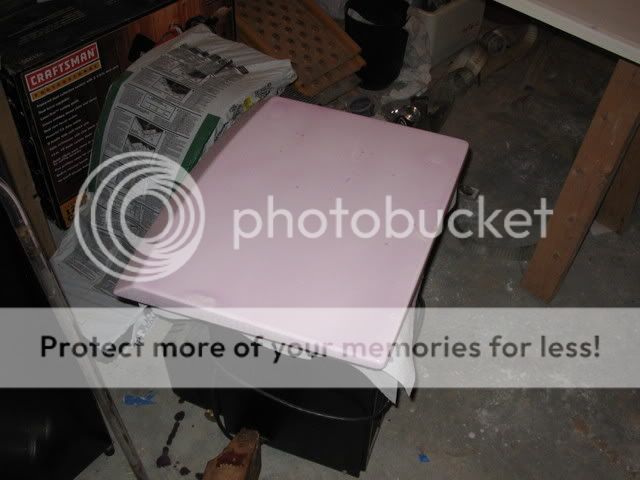
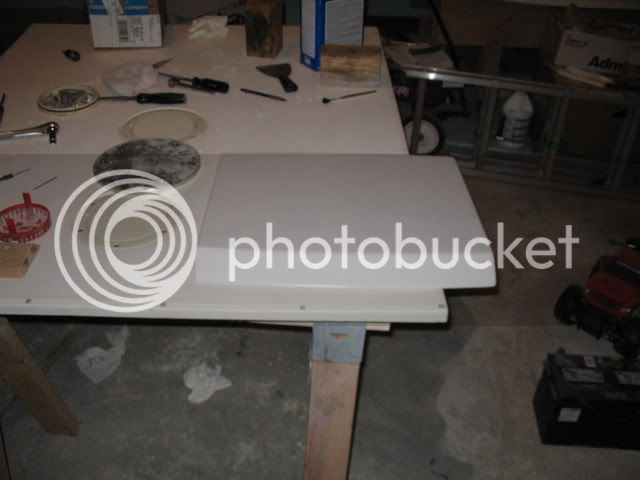
I'm missing some initial pics (I think they are on my PC at home) so we'll take a jumps forward. Here is the hatch with all holes drilled oversize, chipped areas ground out and everything filled with an epoxy/cabosil mix. There's also a bunch of the same mixture near the front. Honestly, I can't remember why I put that there (I did all this part last summer).
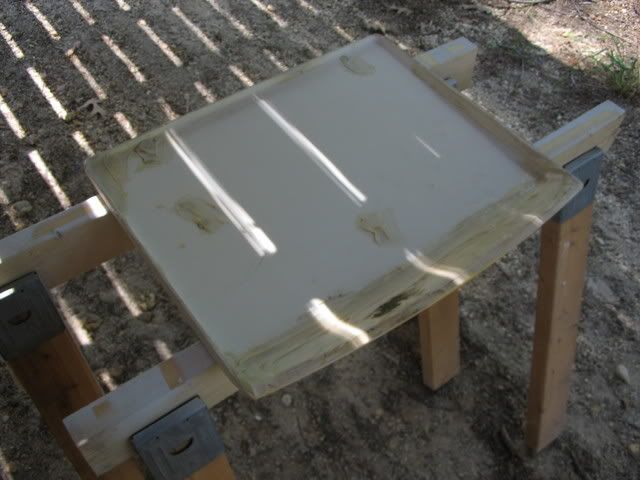
IMG_69341.jpg


There was one crack on the front edge that was mostly visible from the top side. That was ground out and filled with epoxy/cabosil as well. Then I ground down the whole front edge and layed a few layers of 3/4 oz. mat and 6 oz. cloth to reinforce the area.

I then sanded everything flush and cleaned the hatch in preparation for application of gelcoat. NOTE: Do not use epoxy/cabosil for a fairing compound...especially in hard to sand areas. It's a pain to get shaped right... :( It's not perfect, but it'll do.

IMG_69421.jpg


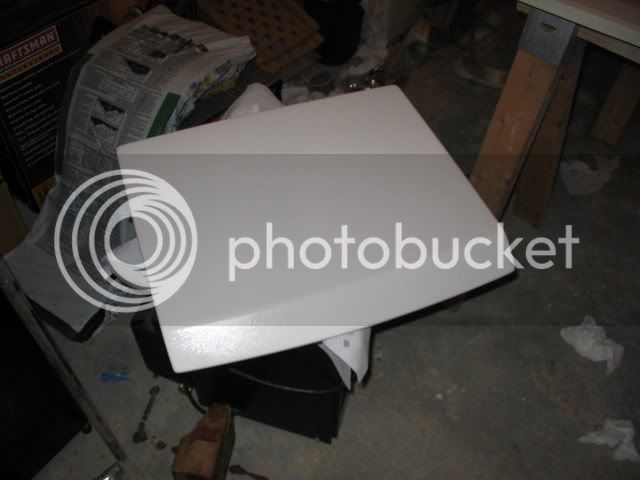
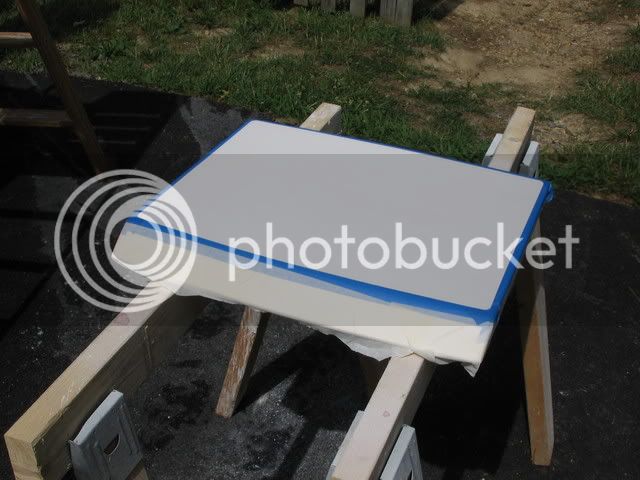
Gelcoat color matched, thinned, catalyzed and ready for spraying.
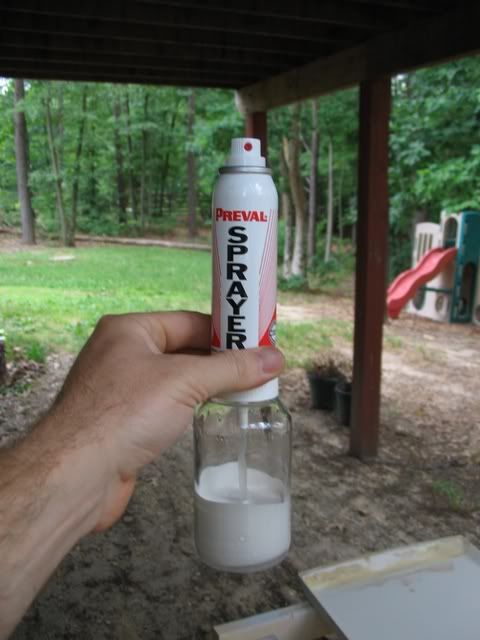
IMG_6943.jpg


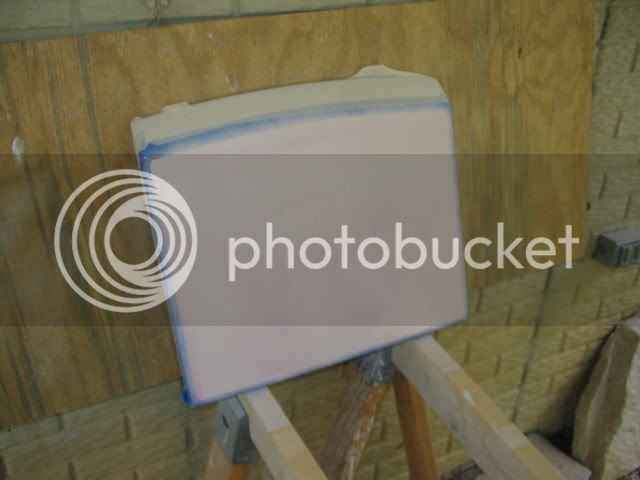
Spraying complete and awaiting application of PVA to ensure full cure.
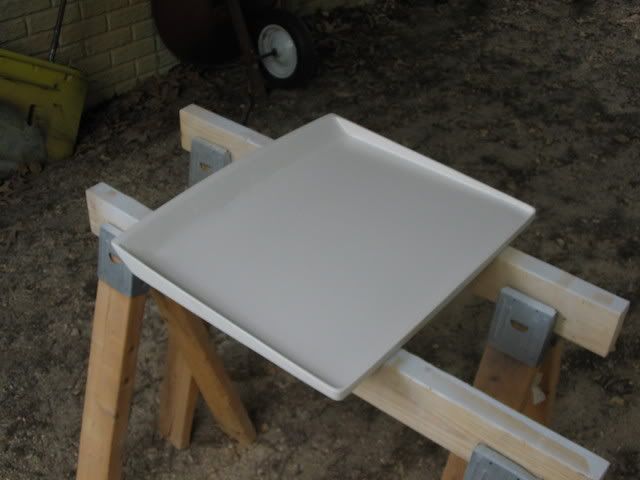
IMG_69441.jpg


The topside will be done this coming week/weekend.
 
Nice. I sure wish you were available to make some gel-coat repairs for me. I will contact you sometime and try to get exact details how to make some scratch/gouge repairs.

Gel-coat's a black art to me.
 
Found some more pics...

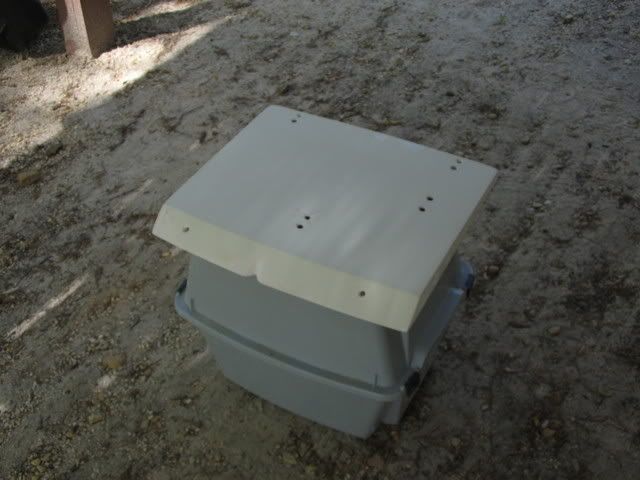
These are of the hatch after I drilled out all the holes for hardware and ground out the crack on the front lip.

IMG_8193.jpg


And yes, that's a litter box it's sitting on. :D

These pics also make me think I may have put too much glass on that front lip resulting in too much crown for the hatch to match the lines of the cabin. Oh well, too late now. :cry:


I also made a little more progress over the weekend....

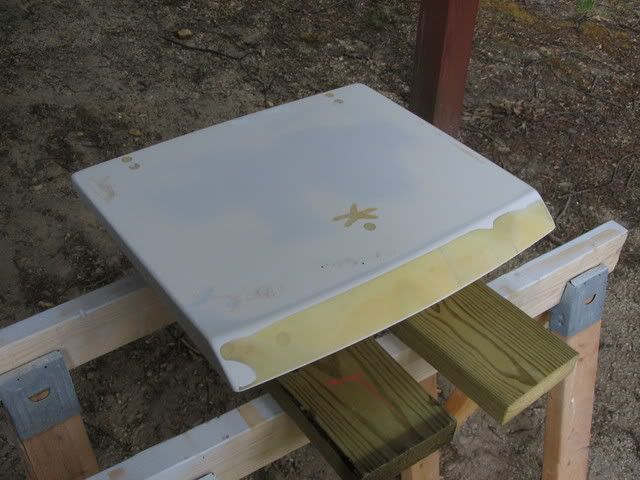
Here's the topside of the hatch sanded down, cleaned and ready for fairing.

IMG_6962.jpg


Fairing compound applied. It's just a mixture of West System epoxy and 410 Microlight filler.

IMG_6963.jpg


It should just need one final sanding prior to the application of gelcoat. I'm afraid that I didnt' put enough 410 and it may be difficult to sand because of the ratio of epoxy to filler. But I had my little mixing cup filled to the rim and I was too lazy to break it into two batches... :(
 
Brian, nice work, what did you use to thin the gel coat? I've been trying to get the hang of this whole gel coat thing and it's been a slow process. I can't seem to spray without getting an orange peel look. I even purchased a special spray gun as I have been busy with a bunch of projects. If I could get this stuff to spray on in an even coat it would make my life a lot easier. Any suggestions would be great, thanks.

I love all these projects but the gel coat has been a major pain.
 
John, I thinned the gelcoat with acetone. There's still a slight orange peel effect but it's not too bad. The areas I spray on the top side of the hatch will need to be wet sanded and buffed.

You gotta be careful with the acetone. Use too much and the gelcoat won't cure, use too little and it won't spray well. I found that using 6 ml. with 1 oz. of gelcoat (Evercoat stuff bought at Boater's World) does pretty well given the cruddy Preval sprayers I'm using.

There's another product that you can mix with gelcoat to minimize the orange peel, but I can't remember the name of it. Do a search on ClassicMako for post by Wilson Ayala. He's used it before with excellent results.
 
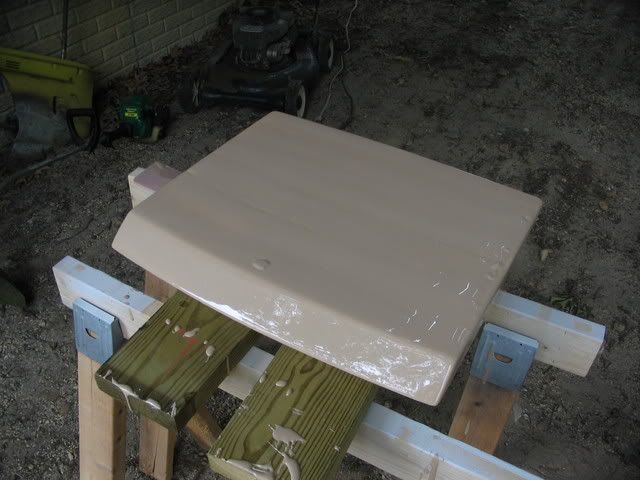
Fairing completed. Hatch sanded, cleaned and ready for gelcoat.

IMG_6984.jpg


Gelcoat applied and then the whole thing was sprayed with PVA to facilitate curing of the gelcoat. I would have taken a pic of it with just the gelcoat, but it was too dark outside and I wanted to get it PVA'ed and inside before the bugs got stuck in it... :(

IMG_6985.jpg


Despite fairing it 3 times, I still had a few little pinholes that really showed up when the gelcoat was applied. So, I layed the gelcoat down extra thick in those spot and it kinda oozed into the holes. I'll have some extra sanding in those area to do in order to get things level, but I think the pinholes won't be visible.

I'm hoping to wet sand the edges smooth tomorrow and prep (sand and tape off) the top for the nonskid finish. The nonskid in this area isn't the goofy diamond pattern, it just random "bumpyness". That should be easy to replicate just by leaving the gelcoat thick when I spray it. Stay tuned... :)
 
I know you guys have been chomping at the bit to see the finished product. Unfortunately, you'll have to scroll through the progress pics first... :)

Scrubbed off the PVA at about 11:30 PM last night.

IMG_6990.jpg


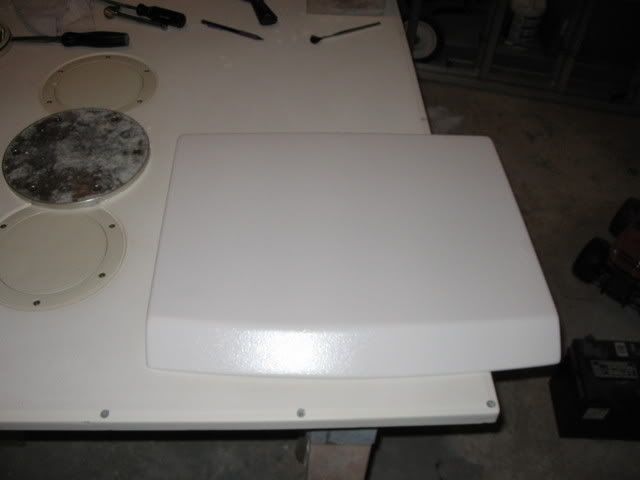
I then layed the hatch on the main fuel tank cover that I have in the basement for installation of new deck plates and some general R&R. Color match looks pretty good.

IMG_6991.jpg


IMG_6992.jpg


Started off this morning by wet sanding the edges with 400 and then 600 to knock down the orange peel. Then I masked off for spraying of the non-skid, sanded the surface to receive the non-skid and cleaned everything w/ acetone.

IMG_6993.jpg


Next came spraying of the non-skid. I used the same process as I did for the rest of the hatch, I just didn't thin the gelcoat nearly as much. I normally use 6 ml of acetone per 1 oz. of gelcoat. But in this instance I used 1 ml per 1 oz. After I had the pattern I wanted, I sprayed another layer using my standard thinned mix. Then I coated it with PVA for curing.

IMG_6994.jpg


Once cured, I removed the masking and the PVA actually peeled off in thin sheets. Never knew you could do that. Pretty cool... :)

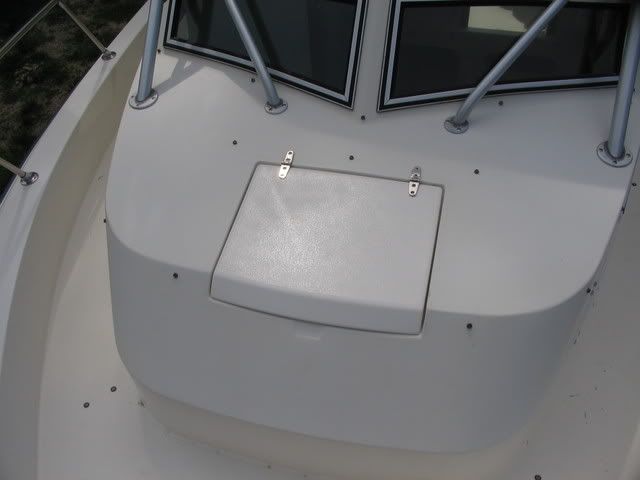
As for the finished product, I couldn't be happier. The non-skid pattern is a bit more aggressive than what Grady has on the boat, but it's good enough for me. Color match is near perfect. It's a bit whiter than the surrounding areas, but someone who didn't know something had been done would never pick up on it.

IMG_6996.jpg


IMG_6997.jpg


Now I just need to re-mount all the hardware and install new weather stripping. But that's a piece of cake.
 
Fairing compound applied. It's just a mixture of West System epoxy and 410 Microlight filler.


And that is why you have pinholes. :)

Stiring it together induces air into it. Use System Three's Quik Fair.
 
warthog5":3olt0sat said:
Use System Three's Quik Fair.

I plan to use something like that when I get around to the fairing stages of my current projects. Besides, it was just a Grady, so it didn't really matter. :wink:
 
When you say just gelcoat, what is the non stick part. Do you add some sand to gelcoat or?
 
Just a note about Sand as a additive for non-skid.

Don't use it. As the surface wears the sand will appear as Little Black Dots.

There are plenty of non-skid additives out there. They are fairly inexpensive.

Awlgrip actually makes 3 different coarseness of it. But it's more expensive and harder to find.

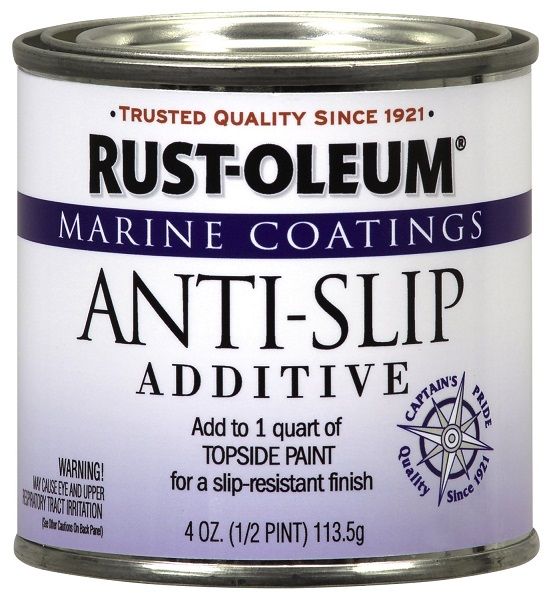
I have been using the Rustolum product for quite a few years. I get it from Lowes.
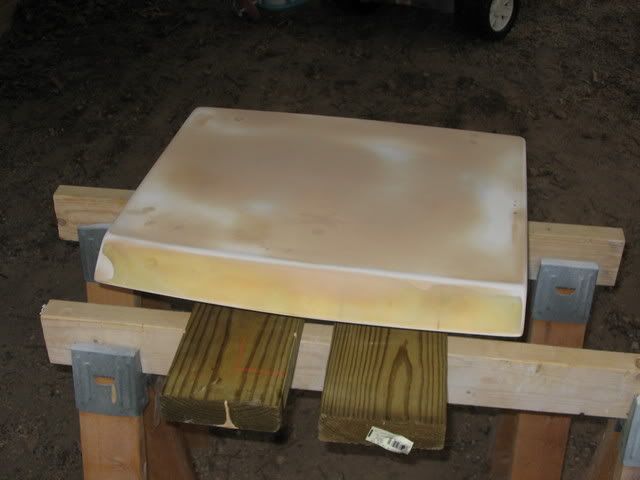
91MMGCne7dL_SL1500__zpsae9651a3.jpg
 
Back
Top