Installing a through Hull Speed/Temp

Classic Parker Boat Forum

Help Support Classic Parker Boat Forum:

This site may earn a commission from merchant affiliate links, including eBay, Amazon, and others.

esfishdoc

Well-known member
Joined
Mar 22, 2006
Messages
564
Reaction score
0
Location
Franktown, Virginia 23354
I started off with purchasing an Airmar ST 850 from BOE. They had a price that beat all others by about 25 dollars. Delivered it was $148.

Here is some info on the unit.

http://www.airmartechnology.com/uploads ... ounder.pdf

I'm getting used to the idea of drilling holes in the boat. Still, a 2 inch hole in the hull is not the easiest thing to do mentally.

I selected a spot.
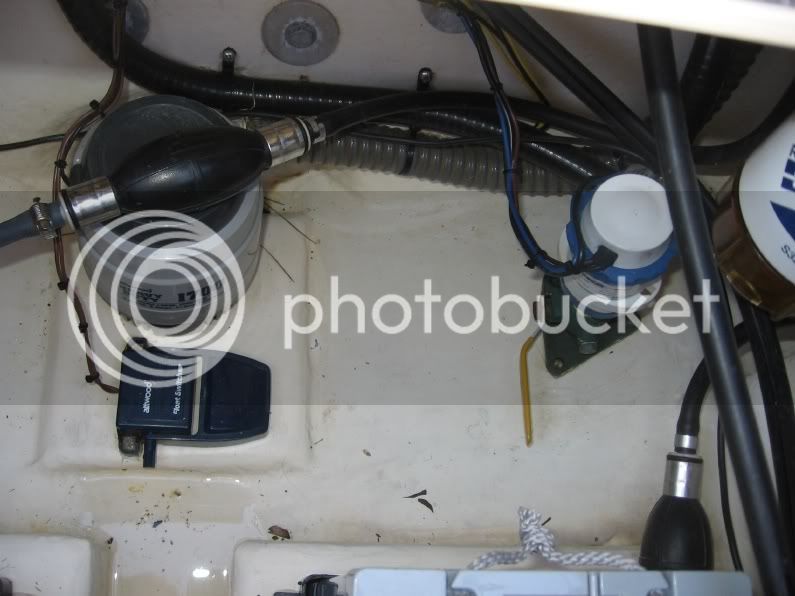
start.jpg


Drilled a pilot hole from inside to properly mark the spot for drilling on the outside.
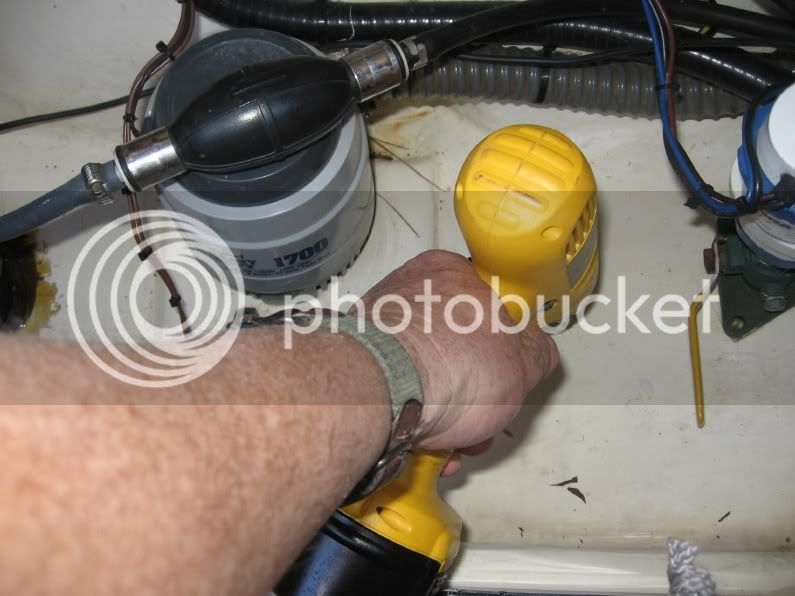
drillpilot.jpg


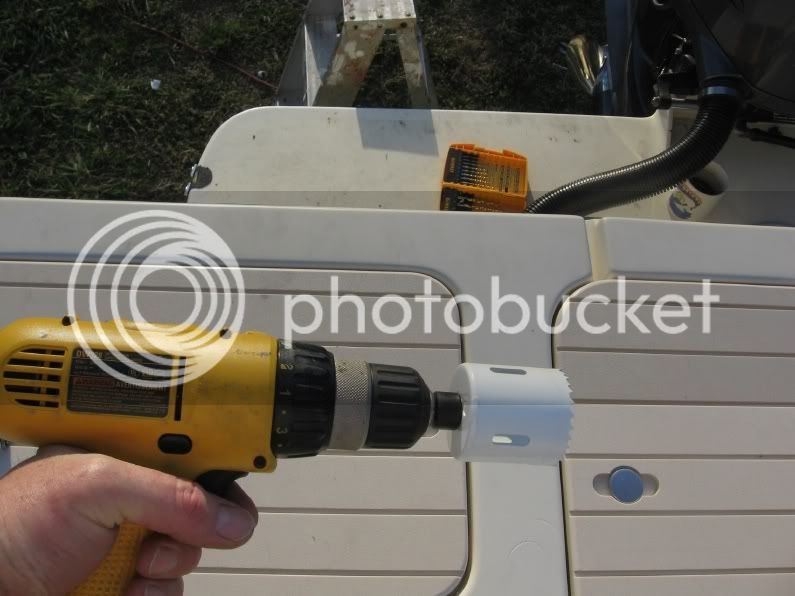
Armed with a new 2" hole saw....

2inchholesaw.jpg


Double check to make sure it is the proper size!
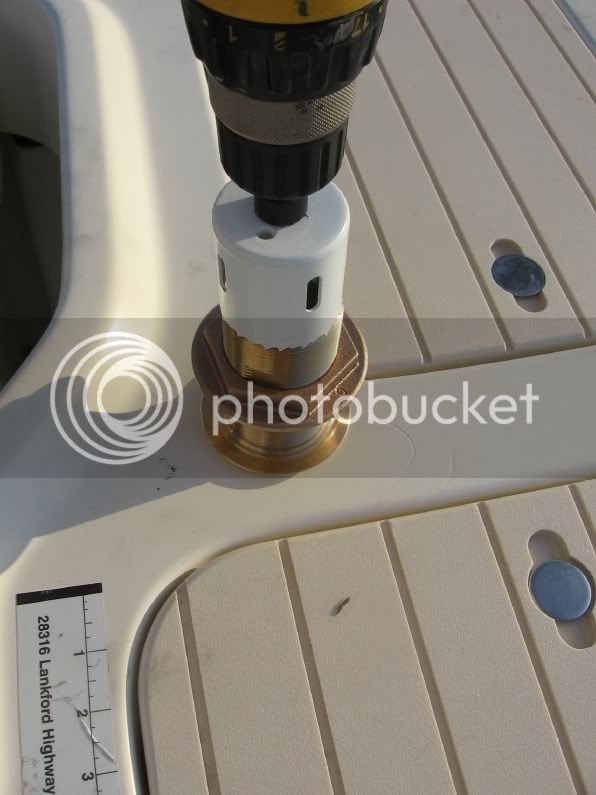
doublecheck.jpg


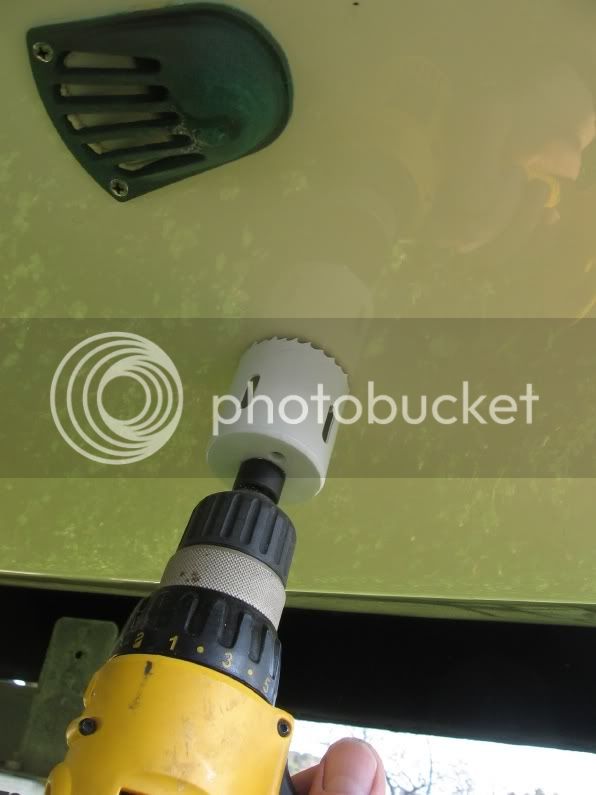
Line everthing up.

ouch.jpg


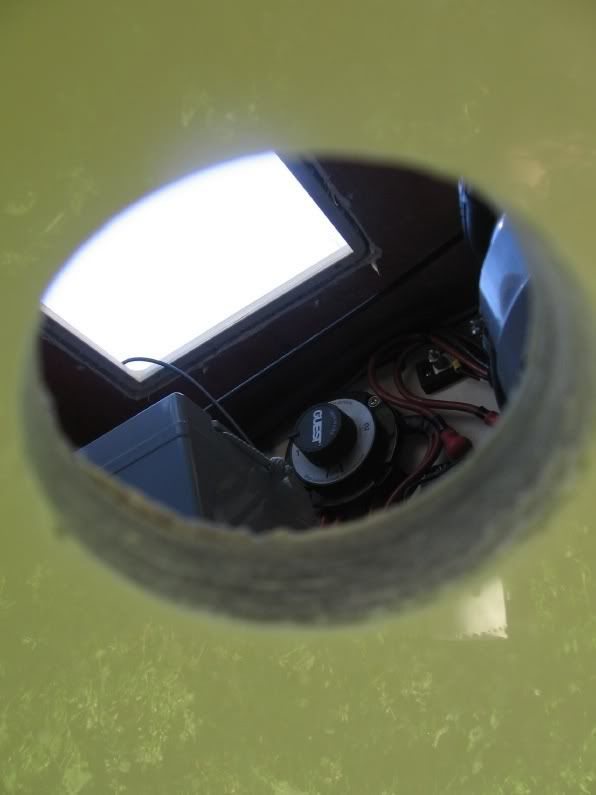
Before long a gaping 2 " hole.....

viewfromthebottom.jpg


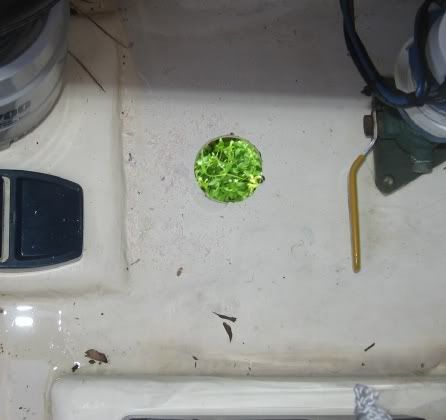
View from the top.

viewfromtop.jpg


Prep with 5200.. (I guess this thing is here to stay!)
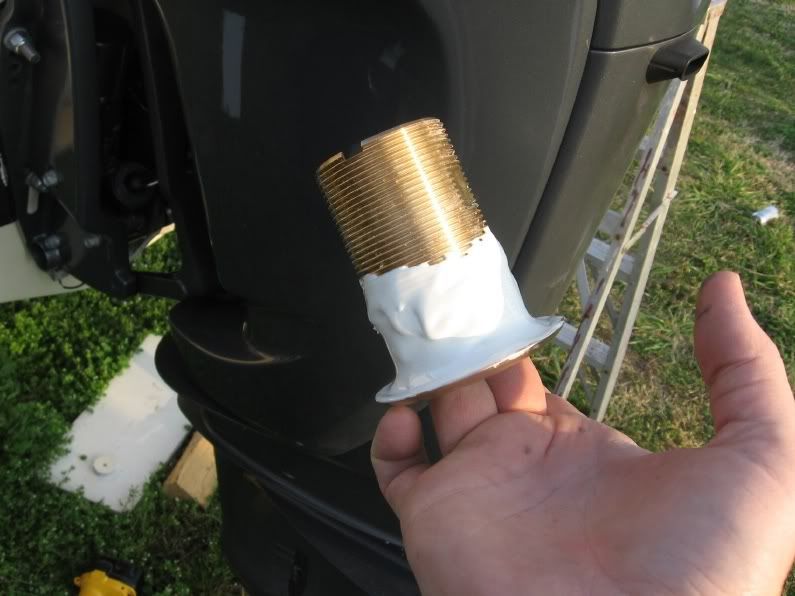
5200.jpg


Insert... press in.... and hurry up into the boat berfore it falls out.
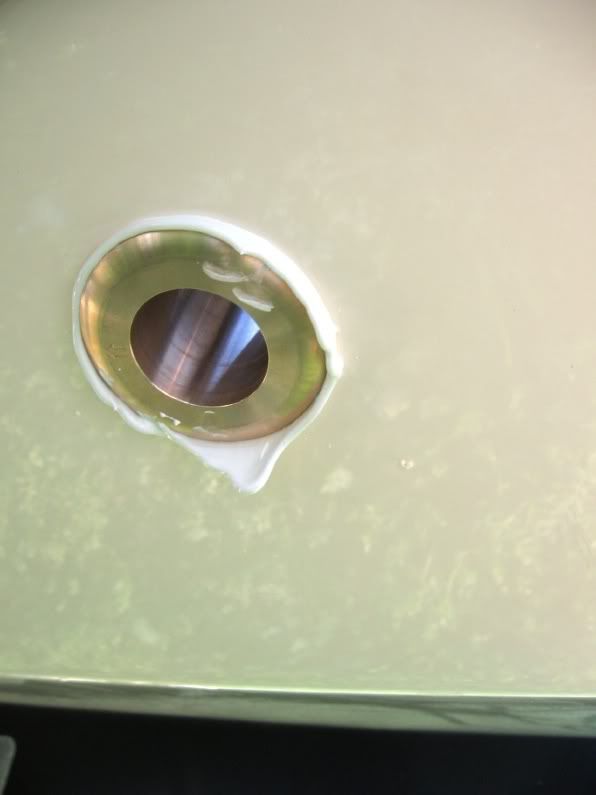
goopy.jpg


Screw on the nut and that's all there is to it.
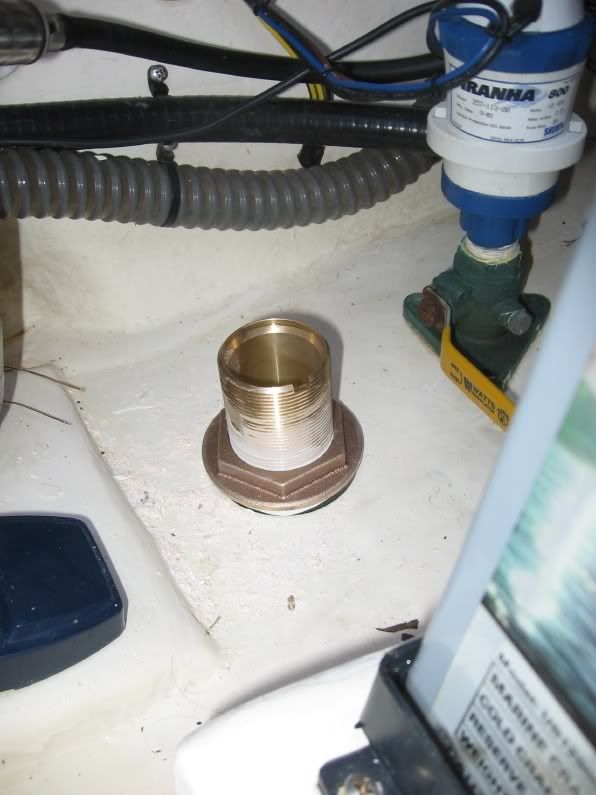
done.jpg


I'll be going out for a ride Friday to test out the new tabs and this gizzmo. (don't worry.... I'll remember to put in the rest of the probe assembly)


Richard
 
Megabyte":1yyv28rs said:
Richard, Do you have any photos of the new tabs?

Today I should finish filling in the indents from the old tabs and I'll post more photos.

Good day to be working on the boat with some small craft warnings posted.

priortohoses.jpg
 
Looks like you had plenty of room for those 30" flippers. :wink:
 
Superb documentation Richard. Thanks for posting this into the ClassicParker Knowledgebase. :D :D

Great fish-eye view up into the bilge from below the hole in the hull. Gives us all some peace of mind about the thickness of our hulls, and the quality of workmanship. 8) 8)
 
Looks like your primer bulb lays horizontal on top of a bilge pump. I have read the bulb should always be rigged vertical with outlet up. This is the way Parker rigged my bulb.

Did Parker change, or did you? I notice a (non-OEM) hose clamp on one end. Does the bulb need to be rigged "up"?
 
FishFactory":2k9xhxb2 said:
I have read the bulb should always be rigged vertical with outlet up.
The resoning behind that is to ensure the check valve seals properly. Let's just say this (as I know people with Yamaha F225s who never need to prime their bulb) - when and if you ever need to - the bulb works faster with the OB end of the fuel line towards UP.

I notice a (non-OEM) hose clamp on one end ...
Non-OEM is 'OK', but I use and recommend only AWAB brand hose clamps on all fuel and bilge/water hoses. AWAB clamps are made of a superior SS alloy, have pressed in 'teeth' for the clamping action, and do not cut into the hose. As an added bonus, they will last significantly longer than plain ole 'SS' ones in the bilge. I have never in my life seen one break ... if that tells you anything for durability.

AWAB Hose Clamp:
316SS%20Hose%20Clamp.gif


Ever wonder why cheap SS hose clamps rust? And then break? When SS is under tension, it is higly subject to revice corrosion and then ... where is the ideal place for that to start? Yup, in the cut 'slots' on the band where the screw teeth engage. I hate those std el cheapo hose clamps ... can ya' tell?
 
DaleH":2nfzpwh1 said:
Let's just say this (as I know people with Yamaha F225s who never need to prime their bulb) - when and if you ever need to.

Put my 1997 Yamaha 225 OX66 into that camp.
I've never had to squeeze my primer bulb. 8)
I just twist the key and go!


Uh Oh... did I just jinx myself there? :shock:
 
Megabyte":1xfev55w said:
DaleH":1xfev55w said:
Let's just say this (as I know people with Yamaha F225s who never need to prime their bulb) - when and if you ever need to.

Put my 1997 Yamaha 225 OX66 into that camp.
I've never had to squeeze my primer bulb. 8)
I just twist the key and go!

Ditto here, same era OX66. Same hands-off the bulb. :wink:

While we are on the subject....bulb is still original OEM. Should I replace it, and -other- fuel lines? It's going on seven seasons now... when do they need to be renewed? They don't feel brittle or stiff at all, but with Ethanol etc, is it time to think about new hoses and bulb?
 
Not surprised the OX66 Yams don't need the primer bulb pumped, as most fuel injected motors pressurize the system upon starting. Older 2-strokes, like mine, need the primer bulb to pressurize the priming (think choke) system.

Fuel lines, gaskets, and O-Rings were made alcohol compliant to an SAE rating in the early 90s. You should be good to go I'd say. But when.if you ever replace that primer bulb - buy OEM only - DO NOT try a Tempo brand bulb on any V6 motor, that's just asking for trouble.
 
DaleH":17y2gtjt said:
But when.if you ever replace that primer bulb - buy OEM only - DO NOT try a Tempo brand bulb on any V6 motor, that's just asking for trouble.

I remembered seeing that somewhere last year in a ClassicParker post, and I picked up a Genuine Yammie OEM replacement. I have been carrying it onboard in my "Spares" kit, but didn't know if I should just put it in now to jump the shark on the old one. 8)

I'll wait till next year.. plenty enough to do this Spring. (Now that the glacier has finally melted) :roll: :roll:
 
Somewhere I've read that even though one does not need to squeeze the primer bulb for the engine to start or run (and that is true) it is best to do this as the practice of not doing it puts a strain on the fuel pump and leads to premature failure.

I'm in the habit of priming most of the time and yes turning it to verticle is the way to do this.

I've never had a problem with the horizontal position. :D

I've still got some work to do in the bilge as far as securing lines and hoses.

Richard
 
esfishdoc":xp4pof0g said:
TomP":xp4pof0g said:
was that a carbide bit?thanks tom

I don't know for sure.. but I don't think so.

Not a carbide bit, but do buy a good quality one. Don't attempt this project with one of those 'nested sets' that you find in the bargain bin. They won't make it 1/2 way through the glass before becoming junk.

Buy the good blades at Home Depot or Lowes that attach to an arbor specifically made to chuck the blades.
 
I got a 2-3/8 lenox holesaw and arbor from the local hardware store.Should i use 4200 or 5200?This boat is a 18'parker c/c and the trailer rollers are in the way of a ideal spot.Do you think 18" in from transom and 7"out from centerline is ok?There is still plenty of water here and nothing in front of it.I asked if i should use a carbide bit because i was afraid of chipping the fiberglass.Anybody hear of using duck tape where your going to drill?Thanks for all your advise. TomP
 
TomP":iwucw0j2 said:
Anybody hear of using duck tape where your going to drill?

Don't use Duct tape. Use a double (or triple) layer of blue painters tape.

Image-8D428DEB8E9711D9.jpg


As for placement... if the spot you have picked out clears your rollers and is still in a good spot (in your hull), you should be fine.
 
Back
Top