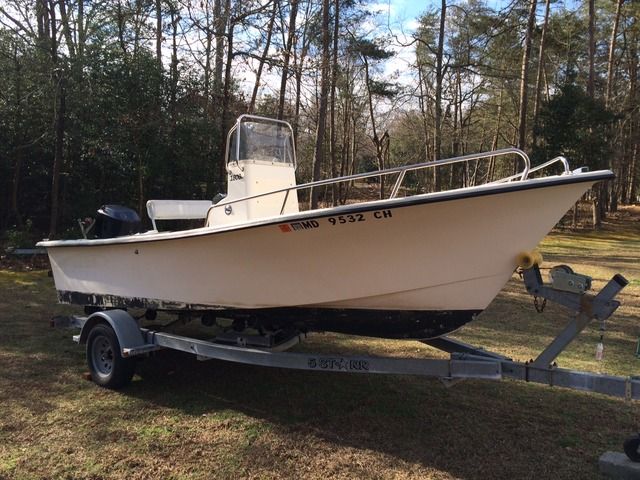
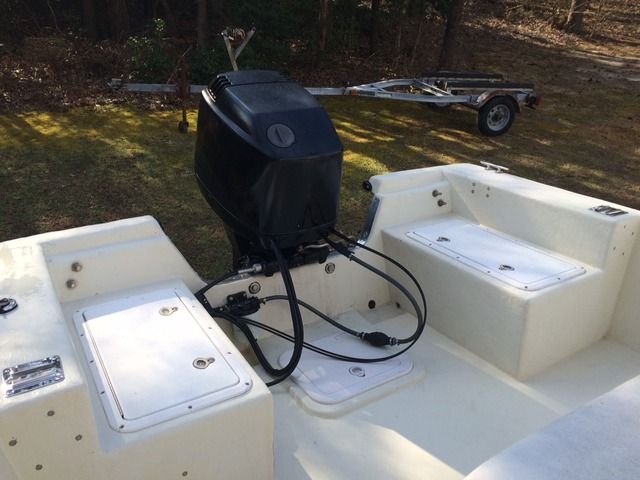
New project: '03 Maycraft 1800

Classic Parker Boat Forum

Help Support Classic Parker Boat Forum:

This site may earn a commission from merchant affiliate links, including eBay, Amazon, and others.
I've been pricing trailer and it looks like most are coming in at at least $1600 before tax and tags. That's more than I care to spend so I'm going to repair the existing one.

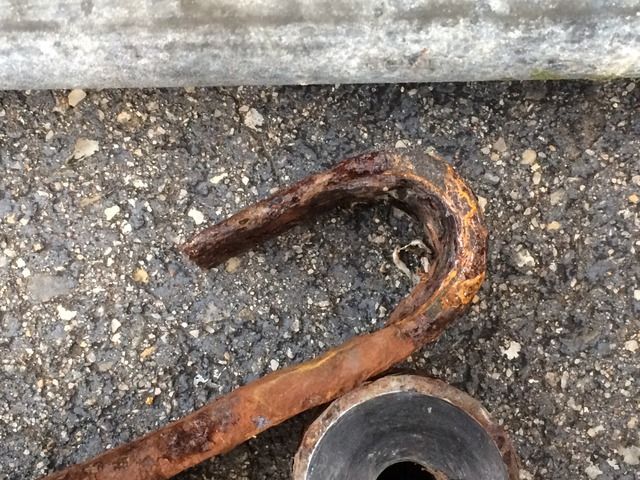
As of yesterday afternoon, the plan was to do a quick fix so I can get it back on the road for the fall fishing season. So I set out to grind off what was left of the brake mounting flanges and get to clean metal that I could cold galvanize. That didn't work out as planned. Taking it down so things were flush resulted in me exposing the joint where the spindle met the axle tube. Crap. Time to replace the axle. So, off it came...

Once that was out of the way, I got a closer look at the springs. They looked a little thin at the top of the rear loops.
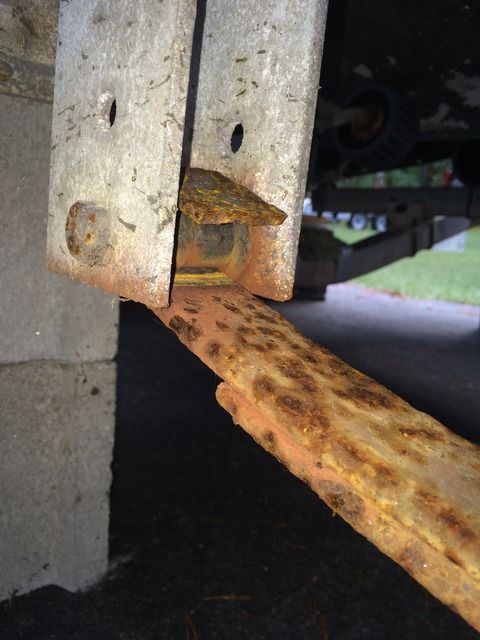
IMG_2399_zps510qpujg.jpg


So they came off too and went into the scrap pile.
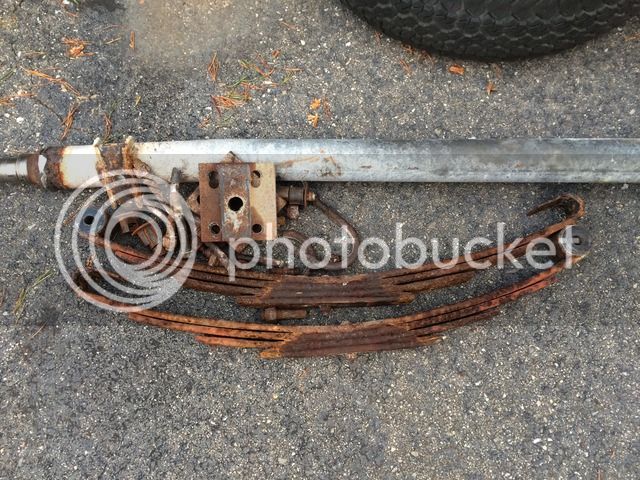
IMG_2400_zpsqem0sknp.jpg


IMG_2402_zpsd3w7dgtp.jpg


That axle uses the old style sure lube system where the grease goes in through a zerk in the cap and then flows out through the back of the spindle itself. In this case, the excess just ends up inside the axle tube....which seems stupid to me. So, I'm going to try and get an axle with the new style posi lube spindles/hubs this time around. That being said, the only once I've seen with the dimensions I need has a 2" drop at the spindles. This may require that I move to spring over, instead of spring under and I'm not sure if that's ok or not.
 
Springs and hubs seem to be cheap enough that it doesn't make sense to buy used. From what I'm finding, my axle dimensions aren't very common so I think I'll have to go new there as well. But as my luck would have it, I found a used axle that would have worked for me, but the seller refused to ship (which I can understand) and he was in Georgia. :(
 
I may end up going with this axle:

http://www.easternmarine.com/8750-squar ... 0-lb-49857

Same overall length, but the track is 1/2" wider. No big deal. It's pre-drilled on the bottom (spring under axle) for a 70" spring center, but I need 72". Has super lube spindles.

It doesn't bow in the center like the current one so I would most likely have to mount it spring over using a pair of $2.50 spring seats to ensure hull clearance. It's about $175 cheaper than the exact replacement so that sounds like a win. New springs and hubs from etrailer w/ free shipping should get the suspension and axle wrapped up for around $300.

Stay tuned.
 
Still waiting on a good axle to come in. I picked one up two Saturdays ago and while mocking it up I discovered that it had excessive toe-in. So I took it back and my supplier reluctantly ordered another one. They kept telling me that all the axles are build in a jig (which I believe) and most likely the next one will be delivered with the exact same measurements.

Anyway, I started filling more holes...

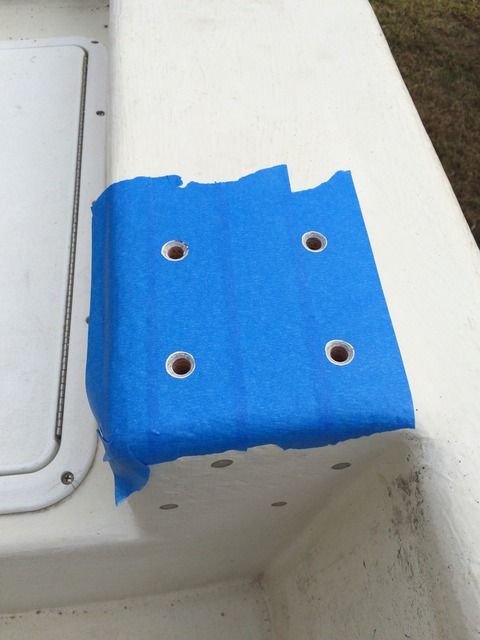
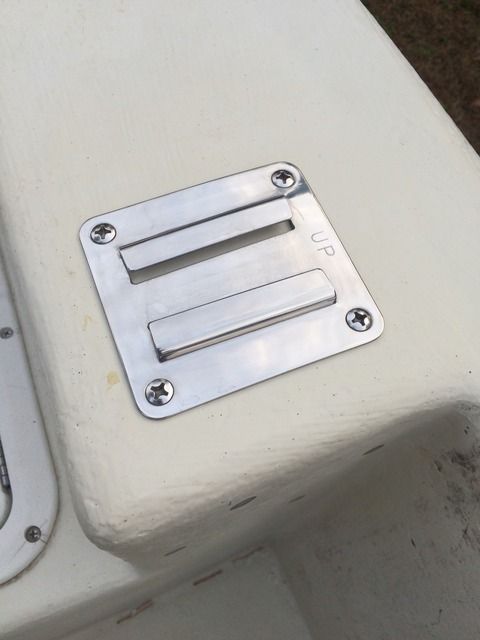
There are 4 in the each back corner that needed to be filled. I had attempted to mount two plates for removable rod holders and ended up drilling the holes one size too big. So each screw stripped. Had to bore them out more and refill with epoxy...which isn't necessarily a bad thing.

IMG_2547_zpsuctbnjsl.jpg


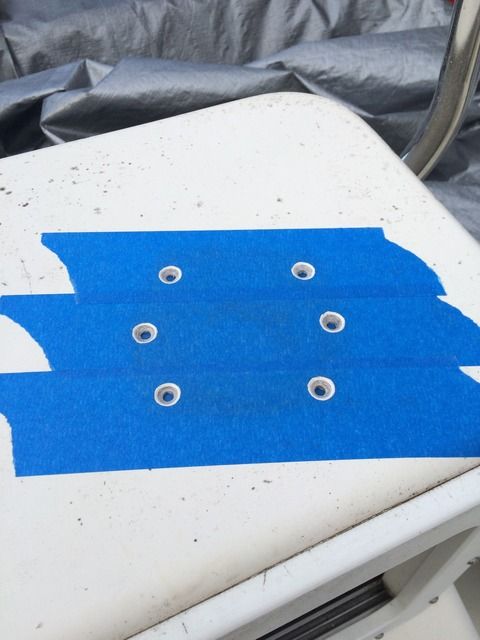
Then there were 6 more left over from old electronics installs on the top of the console.

IMG_2548_zpsr3kg0g1d.jpg


No pics of filled holes because I screwed up. I tried to take the easy/lazy route and mix up my epoxy thin enough to allow it to run down into the holes and fill them without having to inject with a syringe. Well, I went to thick and couldn't get them to fill properly w/out having big voids at the bottom. So, I gave up and will drill them out AGAIN and do it properly.

The holes on the console weren't deep, so I was able to just press the mix into those.


I've also decided to casually put the boat up for sale. I bought this in haste and now realize it's too small for what I want to do. So, if anyone is interested let's talk.
 
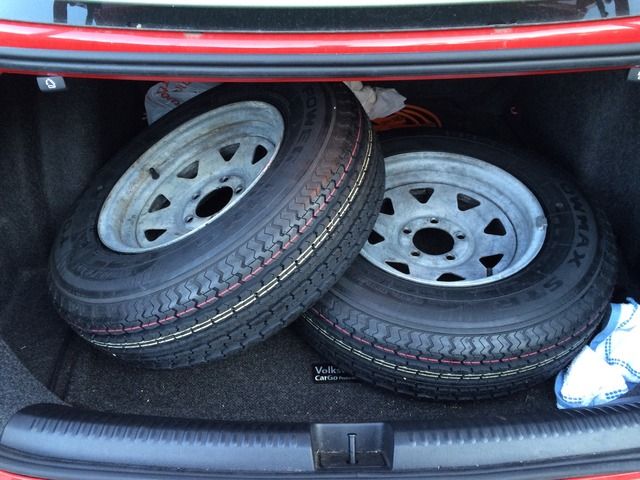
New tires mounted and balanced on replacement rims. Still waiting on an axle to mount them to... :(

IMG_2614_zpsuaengpgc.jpg
 
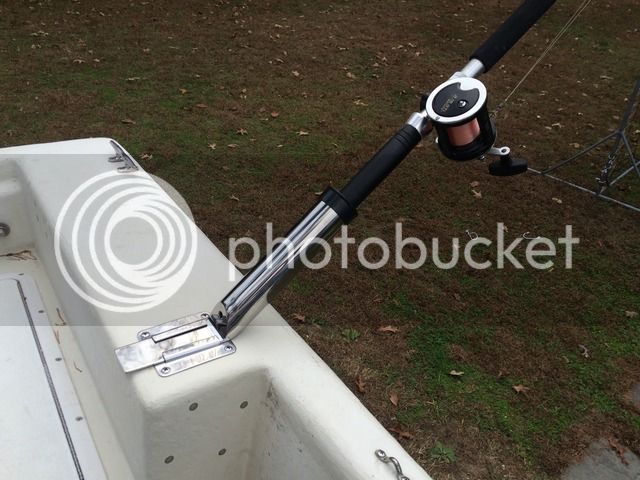
Got a little more done over the weekend. Rod holder mounting plate screw holes were filled in and then drilled to the proper size. Plates were secured with SS screws and some 4200 in each hole.

IMG_2643_zpsoqhx54tr.jpg


IMG_2645_zpsnk3kwfo7.jpg


Still waiting for my axle... :(
 
So...several weeks ago I was told by my axle supplier that Load Rite had switched from Tie Down axles to Dexter. Knowing that Dexter axles have an excellent reputation, I chose to wait rather than try to find something sooner. Well, I got a call last Thursday that my second axle had come it. It was another Tie Down. :x The shop measure it and said it had the dimensions as the one I initially returned. Knowing that they failed to measure the first one accurately and I had to show them it had excessive toe in, I figured there was a chance this second one could be OK. Unfortunately, I didn't get a chance to get to the shop to look at it myself. Hopefully that will happen this weekend.

All was not lost though. I did start making preparations to at least get the springs on and of my garage.

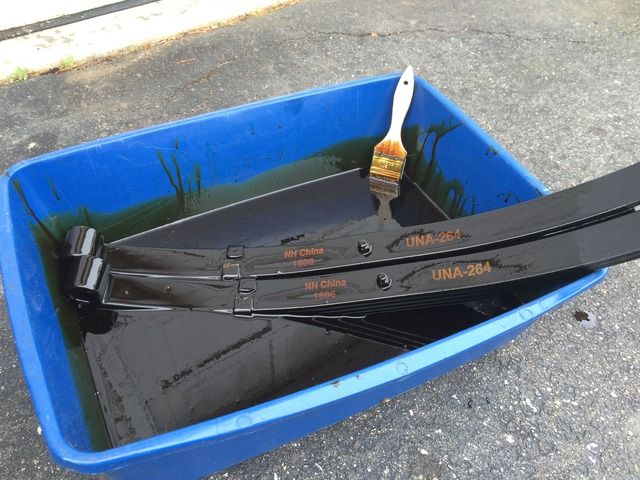
I've been reading about all of the different methods that people use to fight rust on these things....and there are plenty so I won't list them all. In the end I decided to use motor oil. I swear it didn't have anything to do with the fact that I also had to change the oil in my daughter's car and would already have the oil and a pan out. Not a terribly difficult process, but has the potential to be super messy if you aren't careful.

1. Drain oil from car.
2. Do the rest of the steps necessary to successfully complete the oil change.
3. Remove car from ramps.
4. Pinch oil pan under car.
5. Very carefully dislodge pan from underneath car.
6. Dunk springs.
7. Coat what you can with a chip brush.
8. Repeat step 7 and bunch of times.

These will stay in there for the next week or so in order to absorb as much oil as they can. I'll flip them around mid week and get the other ends coated before installing them.

IMG_2717_zpslkv2woru.jpg


Yes, that's a litter box.
 
gw204":34i92yry said:
That axle uses the old style sure lube system where the grease goes in through a zerk in the cap and then flows out through the back of the spindle itself. In this case, the excess just ends up inside the axle tube....which seems stupid to me. So, I'm going to try and get an axle with the new style posi lube spindles/hubs this time around. That being said, the only once I've seen with the dimensions I need has a 2" drop at the spindles. This may require that I move to spring over, instead of spring under and I'm not sure if that's ok or not.


Check this place out..... They are reasonable and ship fast.
http://www.sturdybuiltonline.com/Galvan ... c_148.html
 
warthog5":pvexgzog said:
Check this place out..... They are reasonable and ship fast.

http://www.sturdybuiltonline.com/Galvan ... c_148.html

Yeah, I had seen that site. They have an axle that's close to the same dimensions as mine, but not exact. 1-1/2" shorter in terms of overall length and hub face measurement...and I wasn't sure if it was OK to decrease the track width or use hub spacers to maintain the same track width.

Anyway, I picked up the second Tie Down axle from the parts place. It seems a little better in terms of toe in. I was coming down with a stomach bug when I picked it up so I didn't spend much time arguing with the place about whether or not it would work. It took me 15 minutes to explain the difference between toe-in and camber and that was all I could take. So, we'll see how it works out. After I finish mounting it, I'll stick the old tires on there for the first few runs to make sure things aren't wearing screwy.
 
Have you ever seen "oil filled hubs" by Tie Down Engineering? I had them on my 1801 trailer but hear they don't make them any longer. Does anyone know why, or who does? I'm guessing the acrylic cap where you can see the oil level was vulnerable to breaking off when hit, and loosing all the oil. I love anything maintenance-free.
 
Jersey Jim":l60omktu said:
I love anything maintenance-free.

"Maintenance free" and "Boat trailer" should never be used in the same sentence. :lol:
 
New axle is installed and I put the old tires/rims on for the time being. Haven't had a chance to pull it anywhere yet though and even if she doesn't move until spring, at least it's not my new tires sitting out there stationary in the sun.

The quality of the Tie Down axle leaves a lot to be desired. It's definitely not on the same level as the original Reliable Tool axle that came off. In hind sight, I should have just gotten some speedi sleeves and been done with it. I tried to cut the spindles off of it and I don't see any possible way that they were in danger of failing. Oh well...

Also picked up a new tow pig yesterday. 2017 Tundra crew max. You know, cause everyone needs a truck rated for 10,000+ to pull an 18' Maycraft. I guess I've been reading THT too long...
 
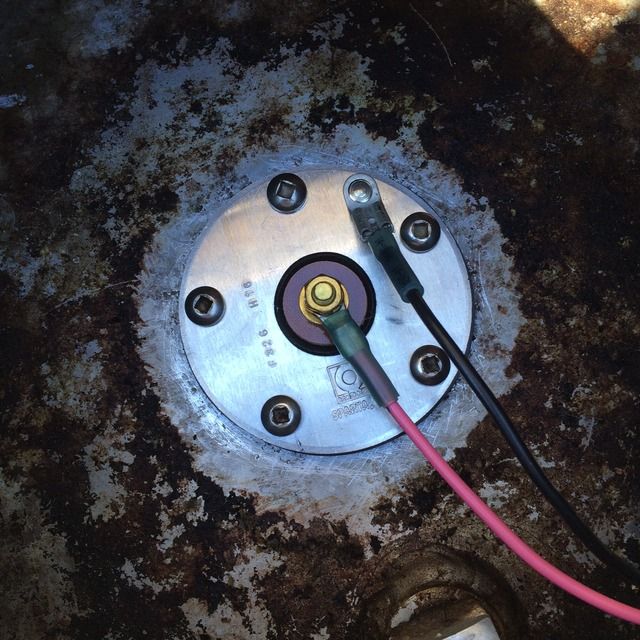
Stuck in a new fuel tank sending unit and pulled new wires from the sender to the console. Stupid gauge still only swings between full and super full, so I think it needs to be replaced too.

IMG_2929_zpsbhbn0nfz.jpg


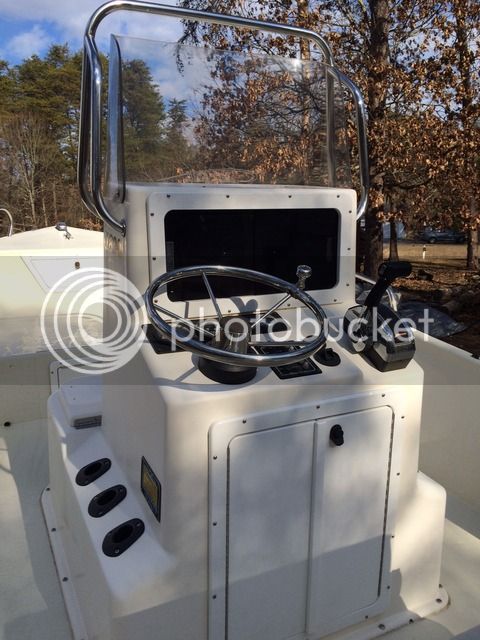
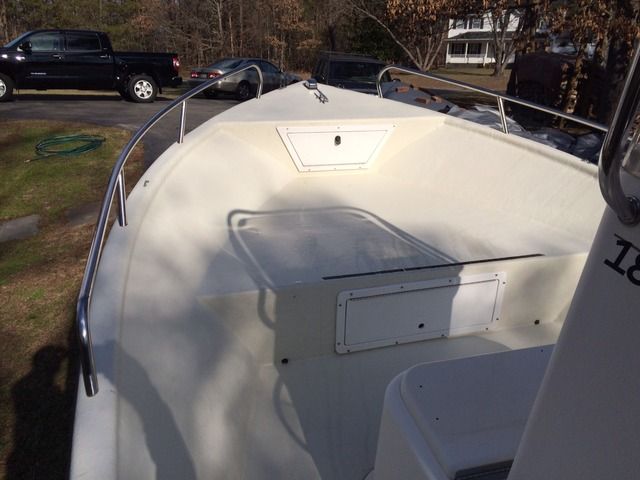
Then I fogged the engine, gave her a quick bath, took some pics for a Craigslist ad and recovered her. The 'ol girl cleans up pretty good. :D

IMG_2935_zpsukg24kru.jpg


IMG_2945_zps77kgafum.jpg


IMG_2947_zpsjqgyvecr.jpg


IMG_2949_zps5lg3rdlx.jpg
 
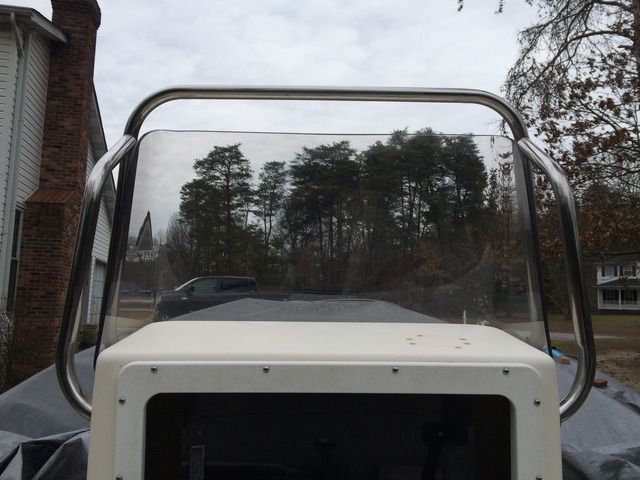
It's not very noticeable in the pics but the windshield looked pretty ratty, so I pulled it off to see if I could freshen it up a little. I had an old Meguiar's headlight restoration kit in the garage that contained 1000 and 3000 grit sanding pads, some Plastx cleaner/polish and a buffing pad...why not give it a try.

The windshield has some crazing in it that I knew I wasn't going to be able to get out and I wasn't sure what effect the sanding pads would have, so I went with just the Plastx. Chucked the buffing pad up in my drill and following the instructions on box. It didn't turn out perfect, but it's a heck of a lot better.

IMG_3014_zpsoi8daxpx.jpg


Remounted it with new grommets and ss machine screws with finish washers...you know...for a little extra class. :D
 
When my drop curtains had plastic windows, I used that product on them and it worked pretty well.
 
Today marks the end of the Maycraft project. She was sold and delivered to her new owner early this morning.

Anybody got a 2330 sitting around they aren't using? :)
 
gw204":2r8h21xp said:
Anybody got a 2330 sitting around they aren't using? :)

Probably the rarest ClassicParker there is. :wink:

Congratulations on the sale of the Maycraft.
 
Back
Top