Aquasport 170 Project - 10/22/07 Update

Classic Parker Boat Forum

Help Support Classic Parker Boat Forum:

This site may earn a commission from merchant affiliate links, including eBay, Amazon, and others.

gw204

Well-known member
Joined
Feb 27, 2006
Messages
943
Reaction score
1
Location
St. Leonard, MD
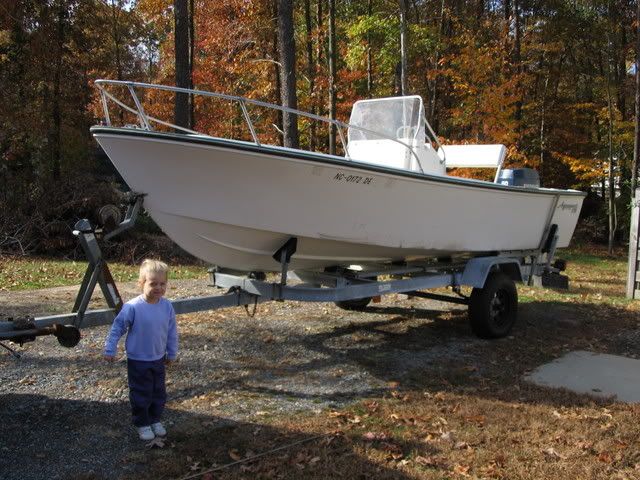
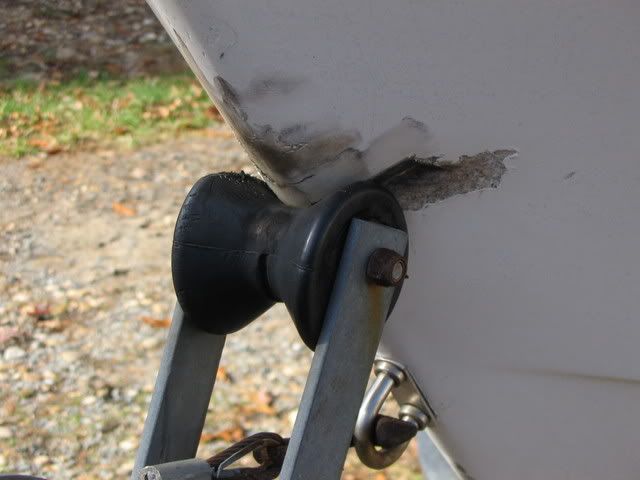
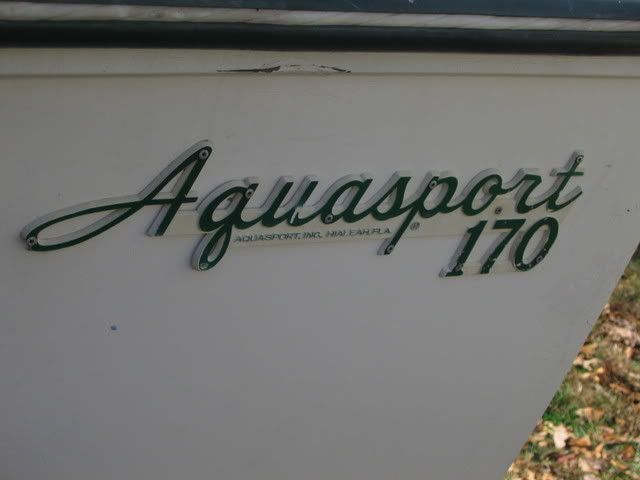
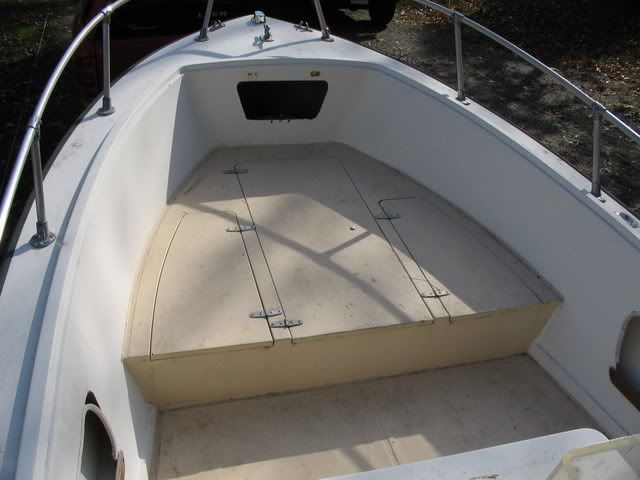
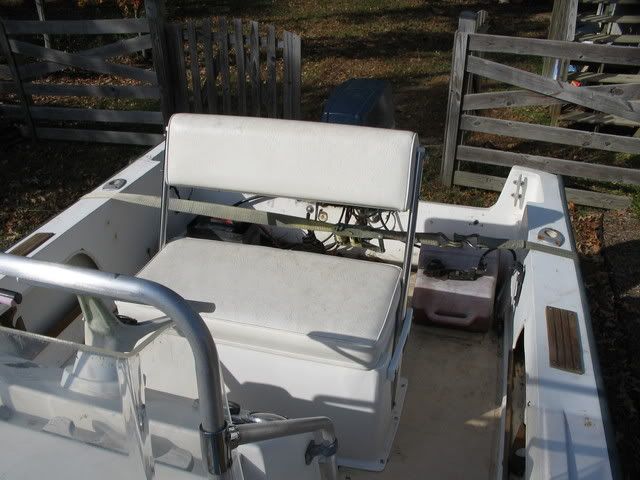
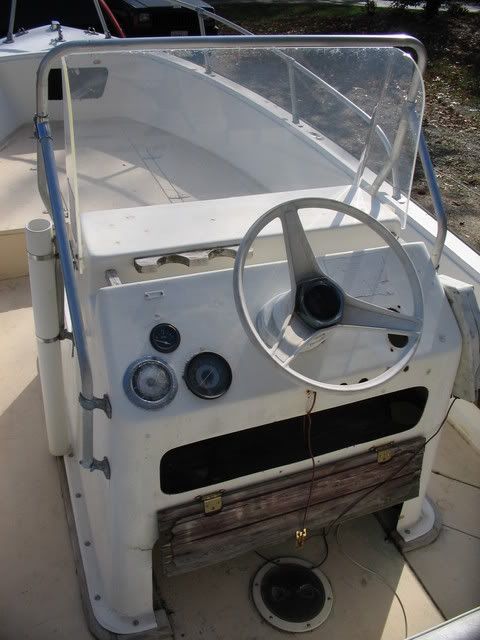
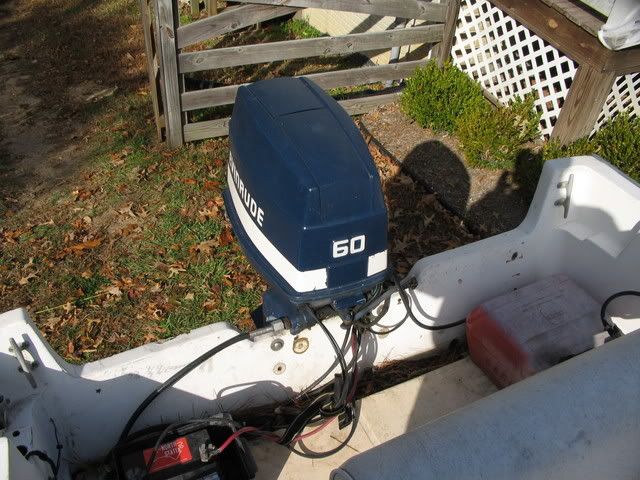
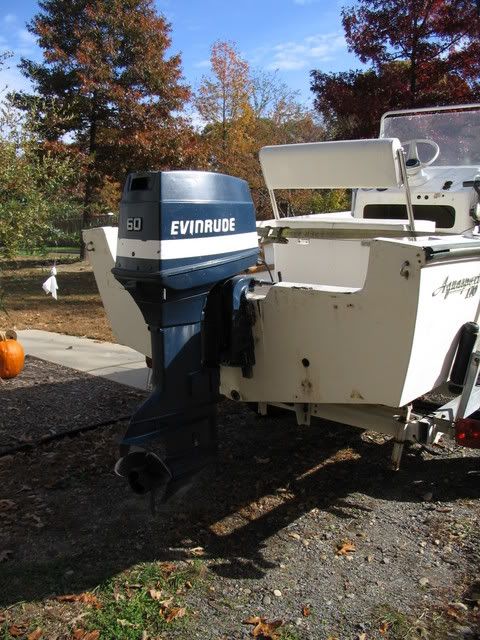
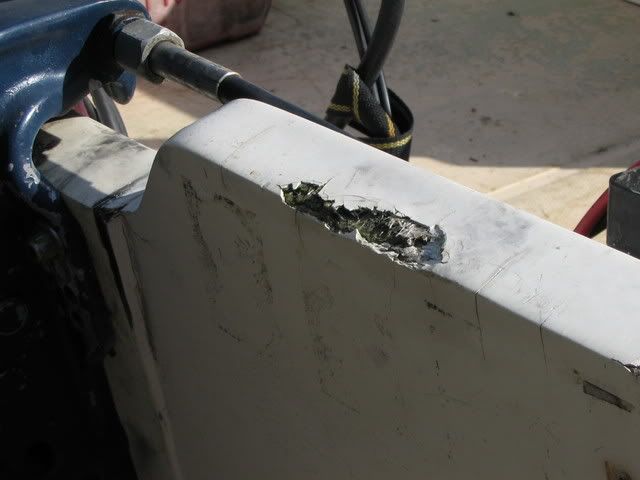
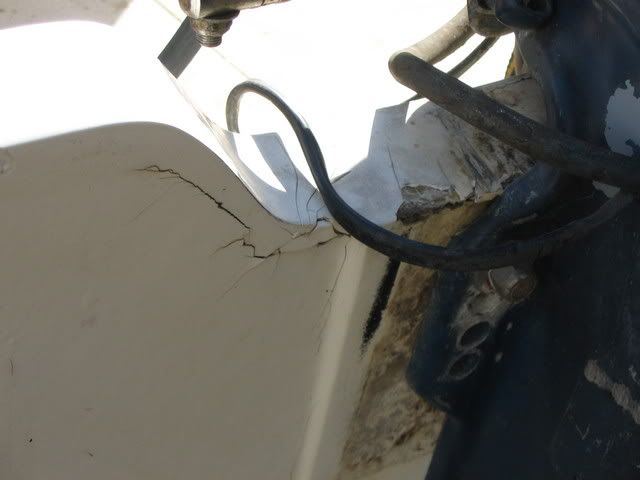
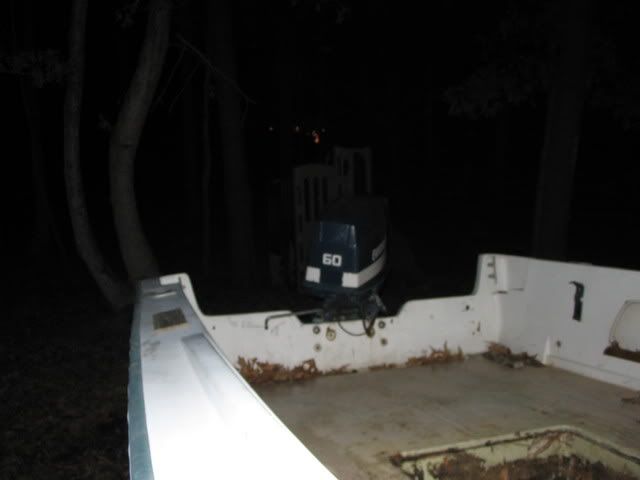
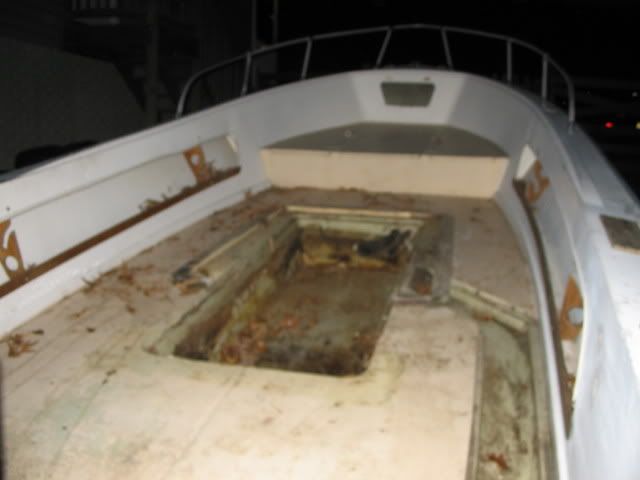
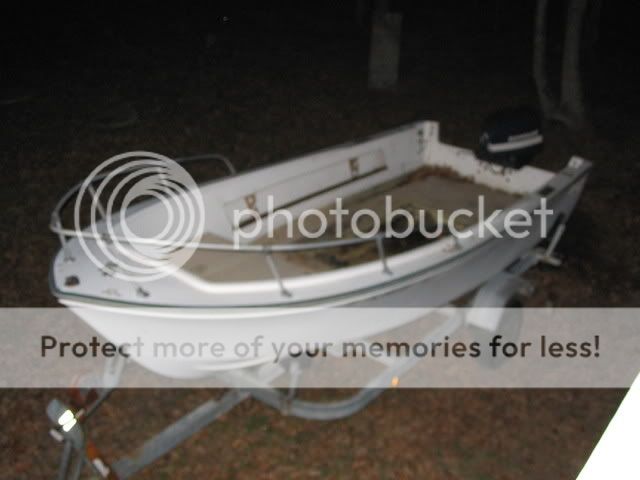
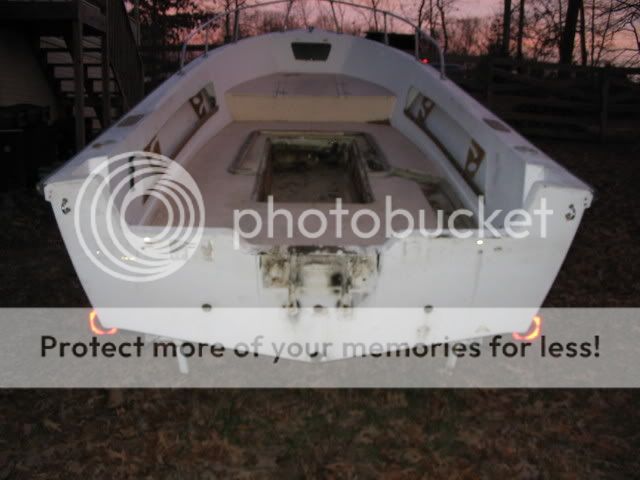
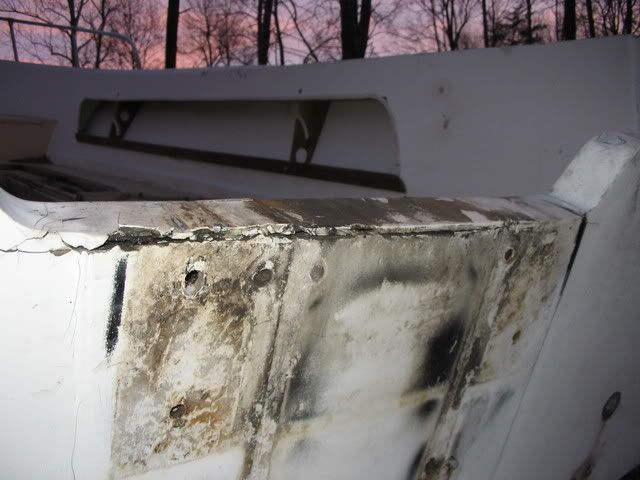
I thought you guys might get a kick out of this.... It's the 1975 Aquasport 170 I picked up late last year and am doing a full rebuild on. :)

She looked like this when I brought her home from NC.

IMG_6633.jpg


IMG_6635.jpg


IMG_6636.jpg


IMG_6637.jpg


IMG_6638.jpg


IMG_6639.jpg


IMG_6640.jpg


IMG_6643.jpg


IMG_6644.jpg


IMG_6645.jpg


IMG_6646.jpg


IMG_6648.jpg
 
Then there was day 1 of teardown on Nov. 12. I copied the writeups in the posts below from my progress reports on ClassicMako and ClassicAquasport.

I decided to take advantage of a beatuiful Nov. day and really start digging into my Aquasport yesterday .

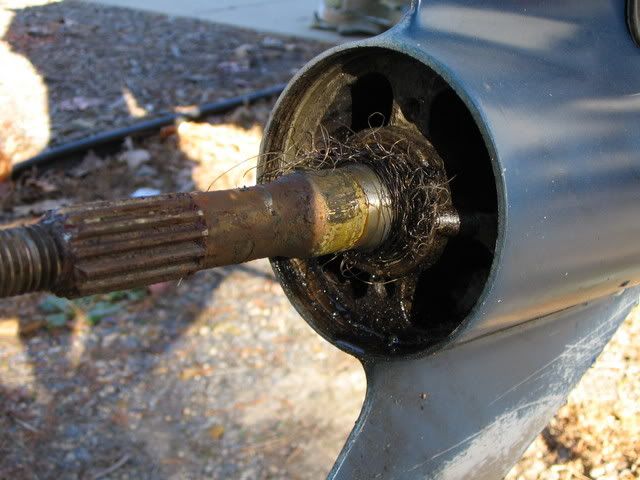
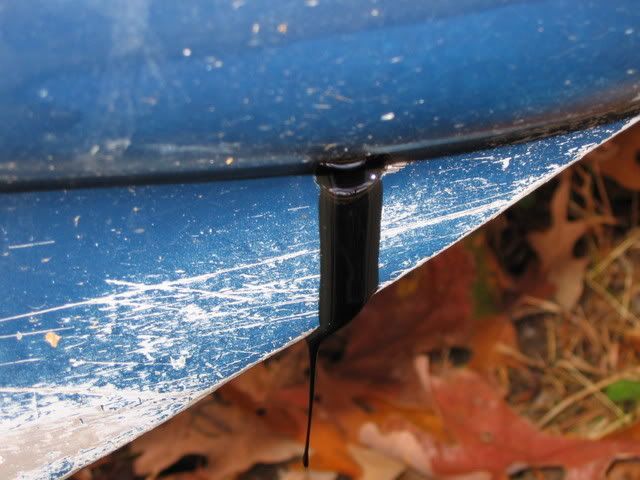
The first thing I wanted to do, was take another stab at getting the motor running. So, I drained the gear lube to see if there was any evidence of water intrustion through the prop shaft seal that was infested with fishing line. Much to my surprise, the oil that came out seemed OK.

IMG_6652.jpg


Once that had drained, I filled with fresh gear lube and reinstalled the drain plugs with new O-rings. Then I sprayed the powerhead with CRC engine degreaser to get it cleaned up a bit. After that was done, I hooked up the battery, put on the engine muffs, connected the portable fuel tank (which now has a new line and bulb, 2.5 gals of high test, 2 oz. of Stabil (a double shot) and 5 oz. of SeaFoam) and pumped her up. To aid the battery I pulled my Jeep around and set up the jumper cables.

I crossed my fingers and hit the key. It turned over like a champ but wouldn't catch. I tried again and got the same thing. DUH, plug in the safety lanyard. So, I did that and still got nothing.

I pulled the air box cover and shot some starting fluid into the carbs. Between that and the foggin oil I sprayed in last weekend, there must have been too much liquid in there and it hydrolocked. Pulled the plugs, turned it over and got it freed up. Reinstalled the plugs, hit the key, she turned over and caught. She didn't sound good, but she ran. After about an hour on the hose, it was idling much better. Once a carb rebuild and general tune-up is are done, I think it will run really well. Compression numbers after a good warm up were 110, 106 and 111. I tried to take some shots of it running, but my camera batteries died.

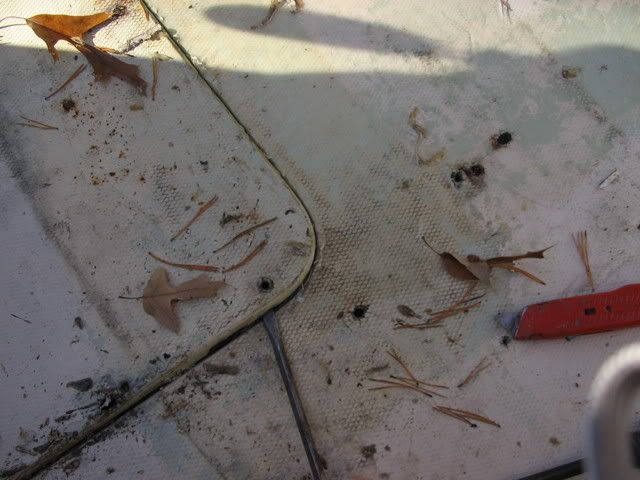
While my wife went to the store to get more batteries, I attacked the gas tank cover. After cutting the caulking wity my utility knife, I was able to get one corner pried up. This allowed the water in the compartment to begin draining (you can't really see it in this picture though).

IMG_6654.jpg


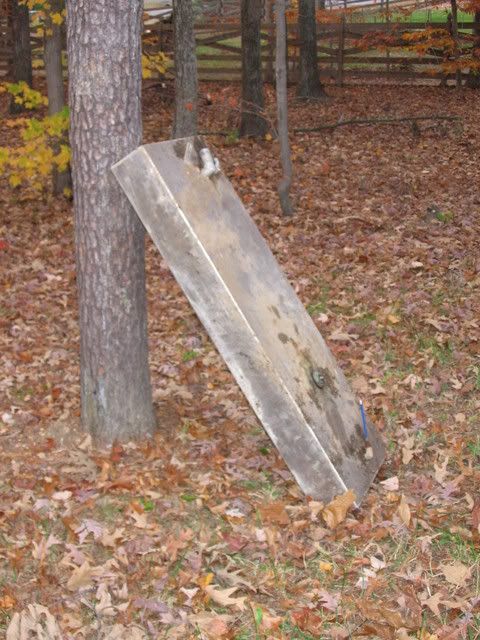
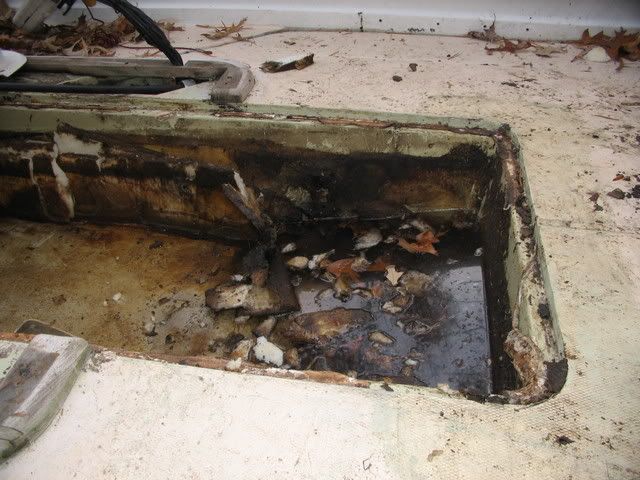
The tank cover came up after a bunch more prying and pulling. There was a nice mess underneath it...but no fuel smell or gas sheen on the water. The cover was ridiculously heavy so I imagine the core is saturated. The bottom side remained wet for quite a while....
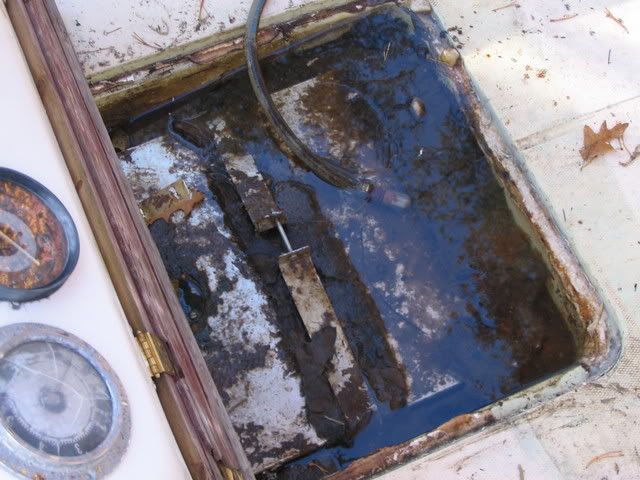
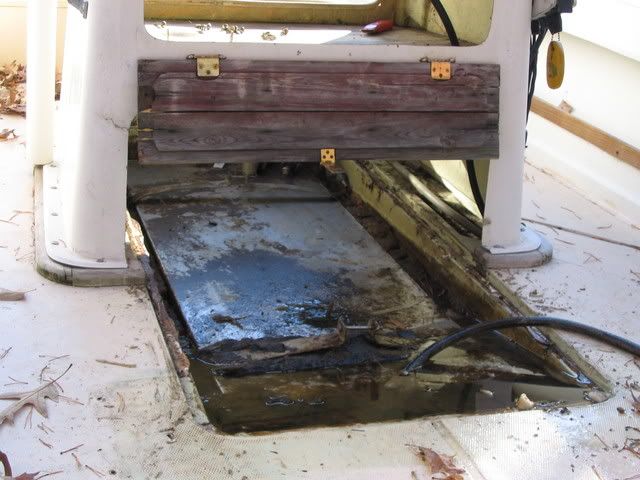
IMG_6656.jpg


IMG_6657.jpg


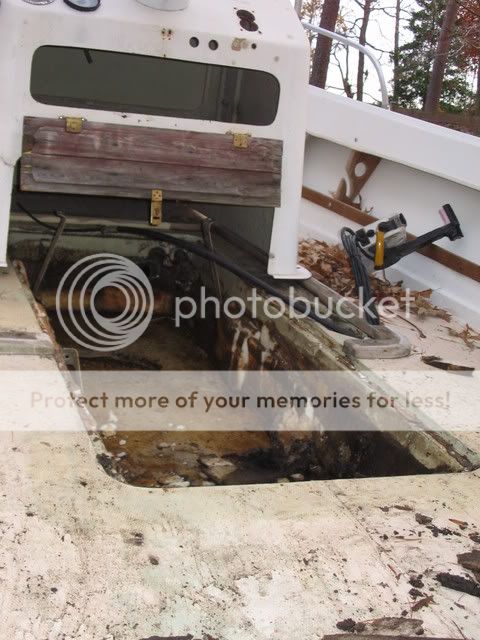
I then proceeded unbolting steering cable and throttle from the console so I could slide it forward to get better access to the tank. Once that was done, I removed the sending unit and pumped the fuel out of the tank and into portable containers for disposal. Then I began cutting the foam and removing the clamps around the tank. From that point, I used a large steel bar I found in the yard a few years ago to gently pry on the tank to try an break it free. After about 30 minutes of prying and cutting, prying and cutting, the end of the tank popped up enough so I could get a line under it and lift it up. Then I slid it right out of it's coffin and out of the boat. The tank is actually in remarkably good condition. I suspect it was replaced a few years ago. There's only a few small pits down near the bottom.

IMG_6662.jpg


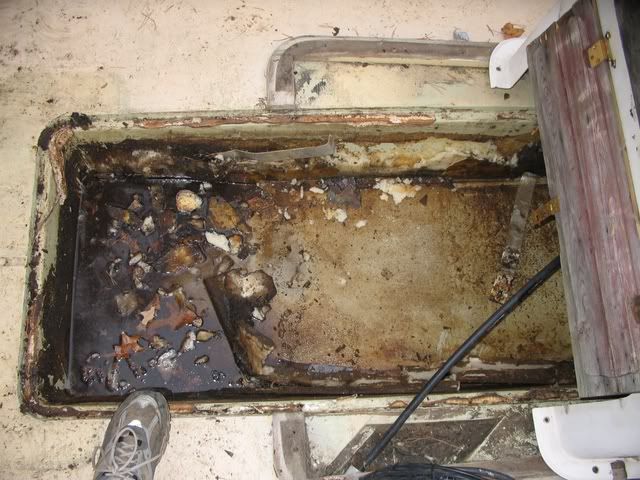
So, this is how she currently sits. After removing the console I can begin cleaning the tank coffin. It's really nasty in there...

IMG_6659.jpg


IMG_6660.jpg


IMG_6666.jpg


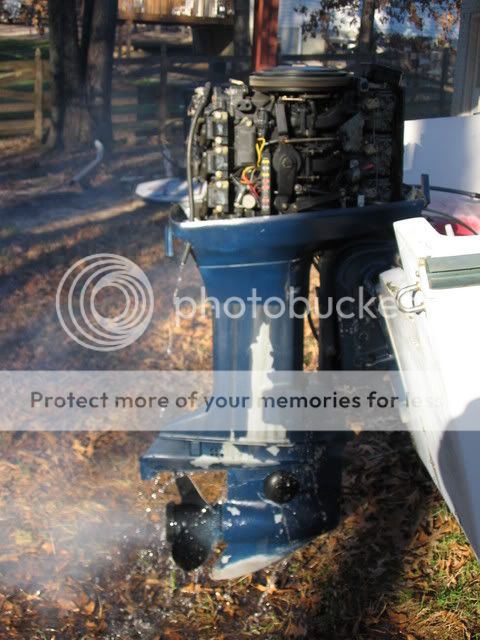
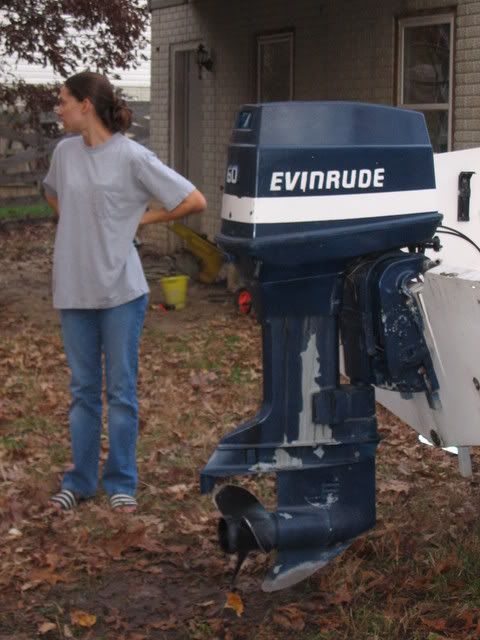
And the E-rude. Compared to my wife in the background, it looks like the biggest 60 HP in history. That CRC degreaser caused the paint to peel on the leg...but I didn't care. Somebody gave it a really crappy paint job sometime in the past.

IMG_6663.jpg


After the coffin cleaning comes engine removal and then transom deconstruction.
 
The next update on Dec. 11...

I guess I'll just keep this thread running and change the date in the title as I progress....

Anyway, I spent a little more time tinkering with the 170 yesterday. :)

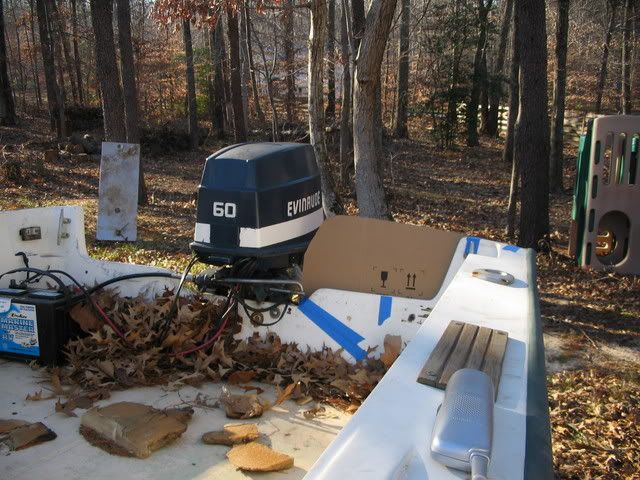
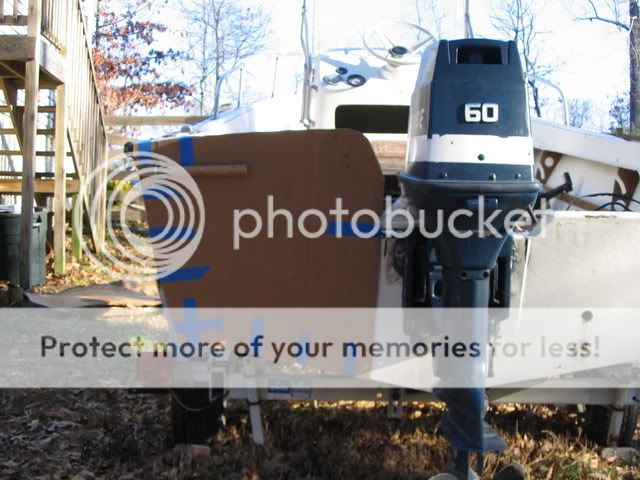
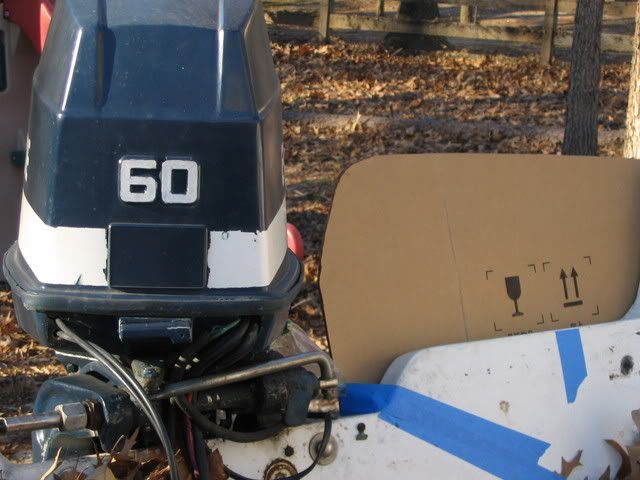
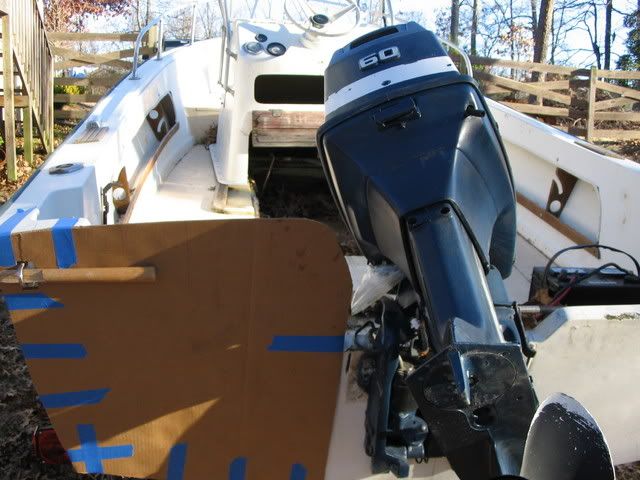
Before the motor got removed, I wanted to take some time to figure out how much wiggle room the outboard needed at full turn to each side while tilted up. I'm not sure how big of a powerplant I'll be putting back on there, but this will give me an idea of how much I could enclose the transom if I stick with a 3 cyl. So, I got out some cardboard, some tape, a bait knife and went to work. The outside edges were easy to trim. The inside one along the motor took a bit more time. Tilt a little, cut a little, tilt a little, cut a little, etc. In the end, this is what I had. It gives me about an inch of space on each side, which I'll more than likely open up more when the time comes.

IMG_6767.jpg


IMG_6768.jpg


IMG_6769.jpg


IMG_6770.jpg


Then I started the Evinrude up so I could fog it before it gets delivered to the new owner this weekend. She took a little coaxing to keep running at first, but I was eventually able to get he stabilized and sprayed.

IMG_6772.jpg


Take that mosquitos!!! :D

IMG_6773.jpg


After that, the engine was completely derigged and buttoned up. The control cables, wiring harness, etc. was all removed. This weekend I'll be trailering the boat up to Annapolis to drop off the engine. I figure it's easier to take the whole boat up and pull the motor off on the spot than try to get it off at the house and into the back of my truck.

Next step was busting the remaining foam and a bunch of ice out of the tank well. I tired to be ginger about it since I may reuse the well, but I'm not sure yet.

Lastly, I removed the windshied and railing from the console before my brother helped me lift the console out of the boat. It will get cleaned up and stored in the basement for the winter. Pardon the out of focus pictures....I need a new camera.

IMG_6778.jpg


IMG_6779.jpg


IMG_6780.jpg


After the motor gets pulled, I'll be starting on the transom. :)
 
Motor came off on Dec. 16...

IMG_6819.jpg


IMG_6820.jpg


The outer transom skin was doing some serious moving during removal. I suspect a lot of delamination. Hopefully, I can start cutting into it tomorrow.
 
The first real cuts came on Dec. 30th...

Well, I finally made my first real cut. :)

This morning I marked lines on the gunwale, liner sides and floor, broke out the grinder with a cutoff wheel and tore into her. Things didn't go as smoothly as I had hoped though. My plan was to cut around the under gunwale rod lockers, but I didn't realize they ran all the way up to the bottom of the gunwales and were heavily glassed in place. Chalk that one up to poor investigation... :(

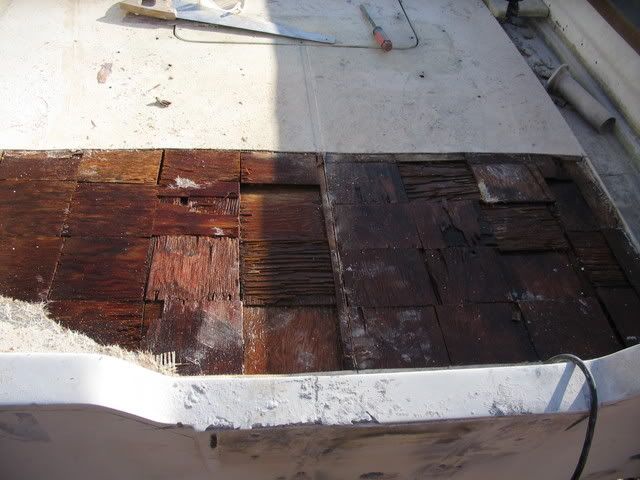
So, I had to make a few addl. cuts before I was able to remove a portion of the gunwale caps and liner sides. Those came out pretty easily. Then I moved on to cutting the aft 30" of floor out. I got through the outer skin easily and that pulled up with little effort as it was completely delaminated and core underneath was soaked.

IMG_6808.jpg


Then I had to break out my jig and hand saws to get through the core and bottom layer of glass. I figured they would pop out easily, but that was not the case. I actually had to pry, peel and break them out. Reason being, the floor was extrememly well bonded to the tops of the massive stringers!

Once the floor section was out, I got a good look at the guts of this boat. The stringers are foam filled and are about 6" wide. After chipping off the glass and bedding compound from the tops, I discovered that the foam inside (accessed via the pour holes) appeared to be nice and dry.

I removed a big chunk ( about 14" square) of foam from outside of each stringer and they were completeley saturated. I would estimate each weighed 10 to 15 lbs. :u

IMG_6810.jpg


After cleaning up a bunch of gunk (including what looked like and old ketchup packet) and small chunks of soggy foam from the bilge, I discovered some of the tabbing on the port stringer had broken free. No big deal as I plan to remove the stringers anyway and either fill with new foam or replace them entirely with new foam or wood cored pieces. I also found lots of delamination of the inner layers of glass on the transom.

I tried to take more pics, but the batteries in my camera died and I didn't have any more on hand. I'll get some more tomorrow and toss up some more pics. :)
 
Transom removal occurred on Jan. 13 and that's how she sits now. I'm waiting on some warmer weather to prep and recore the transom...

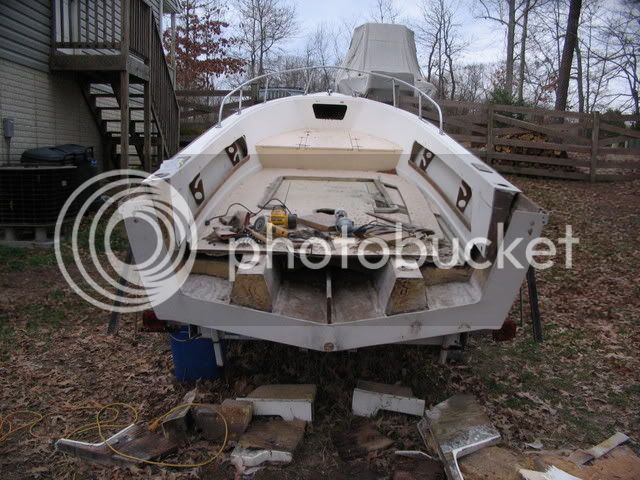
Well, I never got around to shooting any more pics before I continued deconstruction. Yesterday, I jumped in with both feet...
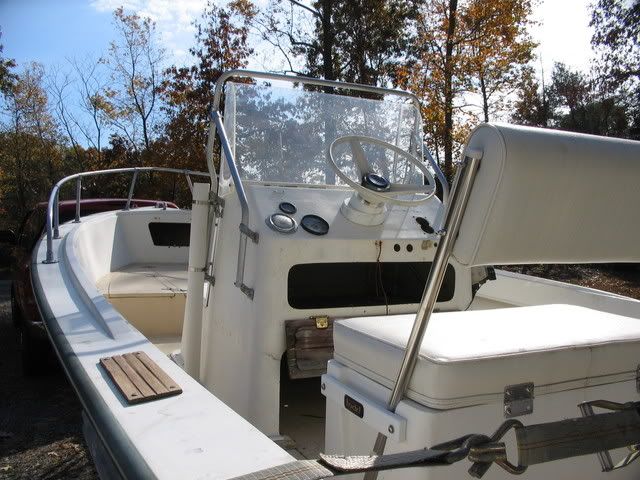
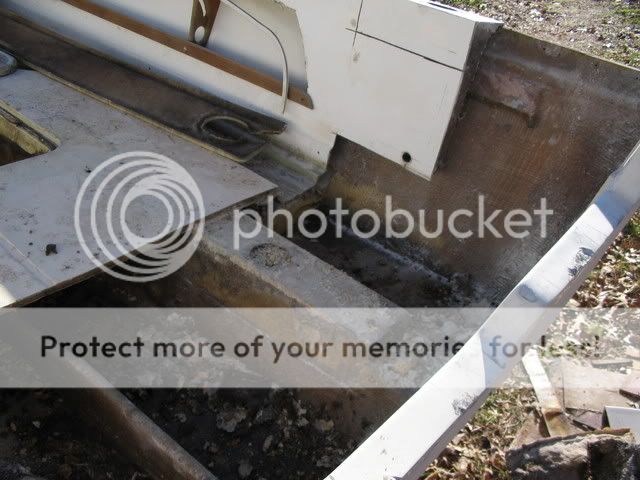
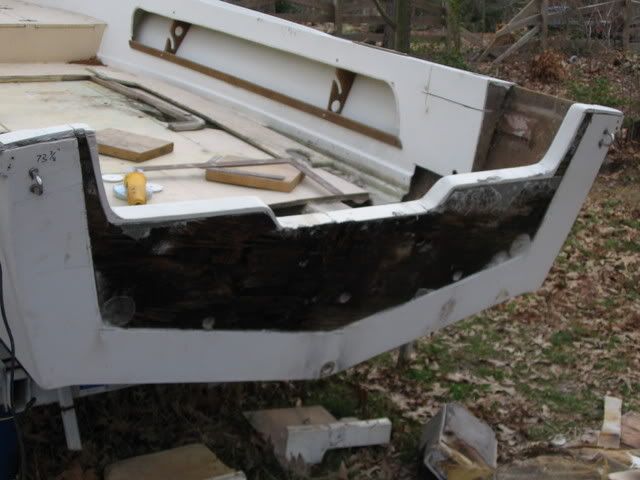
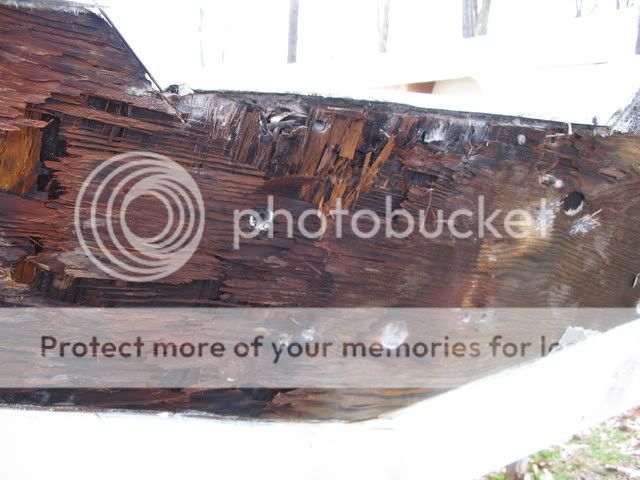
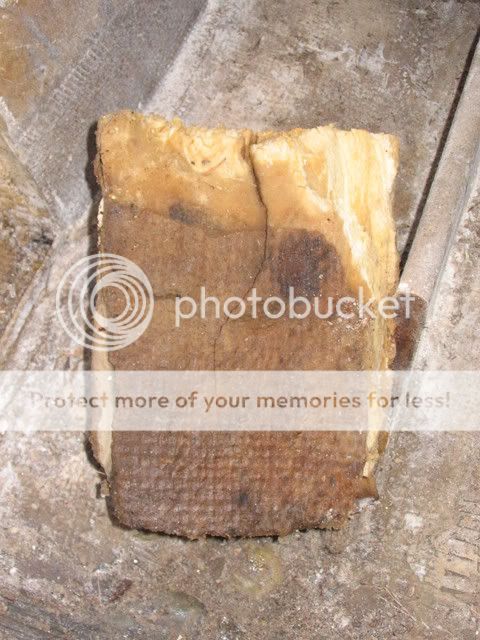
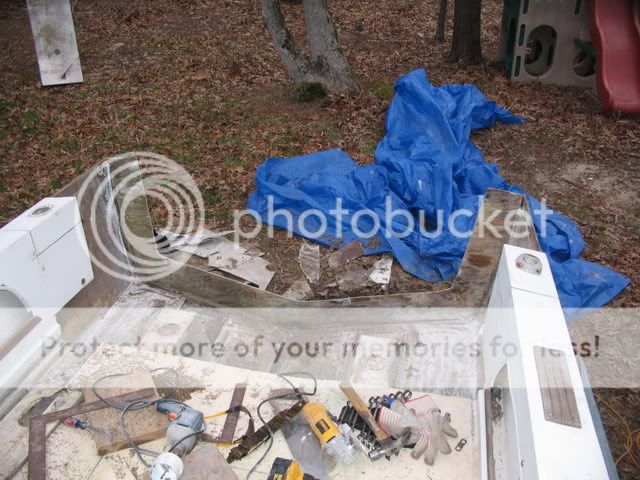
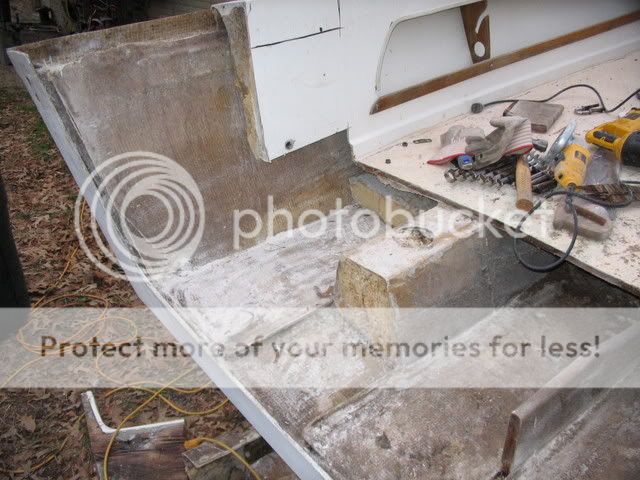
Following Shine's example, I decided to remove most of the outer skin as well. I marked a line 6" in from each side, and 6" up from the bottom. Then I went at it with a sawzall I borrowed from my brother. Much to my dismay, I was having lots of trouble getting through this thing. So, I reverted to grinder-only operation and just cut through the outer skin and pried that off. Once the core was exposed, I could see it was completely soaked and 100% rotten.
IMG_6819-1.jpg


IMG_6820-1.jpg


I will be laminating a new outer skin by setting up a temporary bulkhead across the transom. I figure the 6" I left all the way around should give me plenty of surface area for the new skin to bond to. I'll also be adding an addl. layer or two of 1808 to the outer skin and will run that up the sides and bottom a few inches. Sound good?
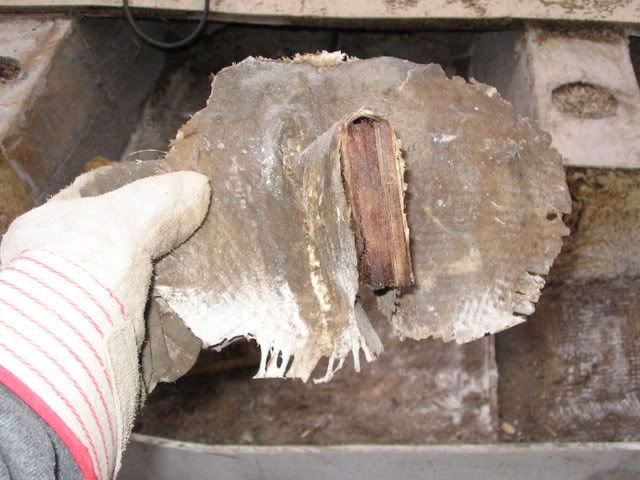
Then I started cutting the inner skin and stringers with my grinder as well. First I popped out the aft 12" of each stringer. The center wood-cored one was rotten and the two outer ones were comprised of soaken wet foam. You can see from the first pic that the glass doesn't completely encapsulate the core of that center stringer. :(

IMG_6837.jpg


IMG_6835.jpg


Next I cut the inner skin into sections using the grinder and was able to pry most of those sections out. Others didn't budge. Then I realized that when the boat was built, the nuts holding the ski eyes on had been glassed over. Once I exposed them and removed the nuts, those sections came out easily.

It was during this phase that I discovered part of the reason the core was toast. About 2" of wood was exposed at the deepest point in the bilge. It had never been glassed over... Poor thing never stood a chance. :(

Anyway, after I had the out skin and most of the inner skin removed, I figured the sawzall could easily get through the core. But I was again wrong. I think that because the core was so wet, as I cut through it things would swell and squeeze the blade. So, I had to figure something else out.

Then it hit me. I've never had trouble getting through anything with this.... :D

MS250.gif


30 seconds later, most of the core fell out. :)

I then removed the outer most parts of the core by chopping and prying it out. The most effective tool (at least that I had on hand) proved to be the claws on my hammer. Once I had the bulk of it out, I hit everything with a stiff scraper. There's still a very thin later of wood attached to the glass, but that'll come out when it comes time to begin grinding.

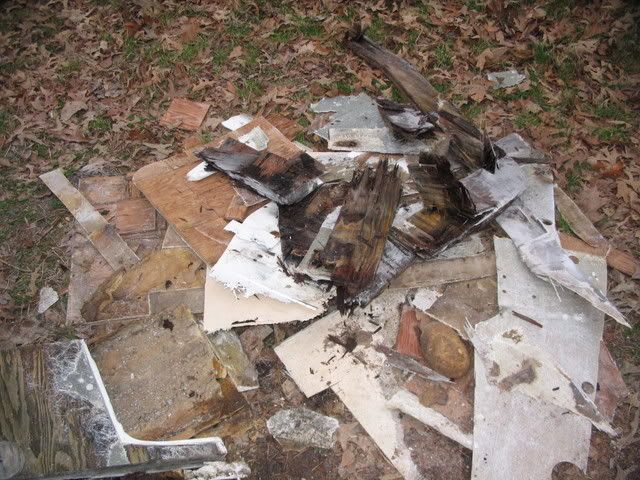
Removing the debris from the boat was the last thing I did.

IMG_6829.jpg


IMG_6830.jpg


IMG_6833.jpg


Mmmmmmm.....look at all this good stuff. :)

IMG_6834.jpg
 
Nice work...we had a 1973 17-0 aquasport when I was a kid. There's nothing nicer than the sheerlines of the older aqua 17's, 19-6's, and 22-2's.
 
Excellent project post Brian! :D

Long before ClassicParker was born, I spent a lot of time on ClassicMako and ClassicSeacraft watching these sort of projects.

What I learned is that the tools and techniques employed to modify and rebuild these boats, are the same skills and materials needed to restore or maintain our Parkers.

This is excellent 'project material'. :wink:
Looking forward to your updates as the project progresses.
 
Thanks guys. :)

I probably won't get much opportunity to work on it again for a month or two. Right now, my big push is to get my living room painted and the Grady prepped for launch.
 
Brian - thanks for posting your progress. You have way more guts than I. Please keep us updated on the project.

Brad
 
The key is to not make you first project the only boat you have. That way if you screw up, you can still get out on the water. :)
 
On the other side of the coin though is the fact that when you have two boats, the one that needs the repairs gets little work, while the good one gets a lot of fishing time.

My project to fix the original Porkchunker is taking much longer than I had planned. :( :( :(
 

Attachments

  • 101_0149 (Small).JPG
    101_0149 (Small).JPG
    55.6 KB
  • Picture 003 (Small).jpg
    Picture 003 (Small).jpg
    31.6 KB
  • 20060607 149 (Small).jpg
    20060607 149 (Small).jpg
    23.5 KB
  • 20060607 157 (Small).jpg
    20060607 157 (Small).jpg
    31.4 KB
  • Porkchunker 008 (Small).jpg
    Porkchunker 008 (Small).jpg
    23.8 KB
That last pic was taken after the first of the fairing compound was spread, hardened, and sanded off. She needs one more before I start sanding the rest of the bottom for receiving the paint.

Dad put one layer of glass cloth on the keel back in 1958 when he built her. She now has 4 layers.
 
Porkchunker":110qvvuj said:
Brian,

Good luck on finishing your project boat. Once the fishing season starts, it is hard to get back to them...trust me.

Thanks, but I don't think that will be a problem. I actually enjoy doing this kind of "work" just as much as I enjoy the playing part. I've got a flush mount project in the works for my Grad (http://www.greatgrady.com/forum/viewtopic.php?t=4426), the gas tank covers are pulled up for inspection and replacement of fuel lines, the front fiberglass hatch was removed and I may glass over the hole to install a real hatch, rigger bases are pulled off for R&R, etc.

So, both of my boat are out of commission right now....and I love it! :)
 
BTW - that's a classly little rig you've got there yourself. I remember seeing pics a while back. Keep up the good work! :)
 
gw204":2zgj5tcu said:
So, both of my boat are out of commission right now....and I love it! :)

You and Ringleader have something in common! :)
Though, I think Ed's boat is a little more busted than yours is right now. :D

Have you been watching his 261 project?
Awesome!! 8)


I also agree about Daves woodie. The twins on that thing make it double cool. :wink:
 
Megabyte":2fisza8h said:
You and Ringleader have something in common! :)
Though, I think Ed's boat is a little more busted than yours is right now. :D

Have you been watching his 261 project?
Awesome!! 8)


I also agree about Daves woodie. The twins on that thing make it double cool. :wink:

Yeah, Ed definitely has me beat. That boat is gonna be sweet when he's done!

I wish I could get a set of twins on my woodie too..... :D
 
gw204":1ht54e0z said:
Megabyte":1ht54e0z said:
...I also agree about Daves woodie. The twins on that thing make it double cool. :wink:

Yeah, Ed definitely has me beat. That boat is gonna be sweet when he's done!

I wish I could get a set of twins on my woodie too..... :D

My woodie can only afford a single...and I had better not try to re-power. Even talking about a re-power could be dangerous. :shock: :shock: :shock:
 
Back
Top