mcyc
Well-known member
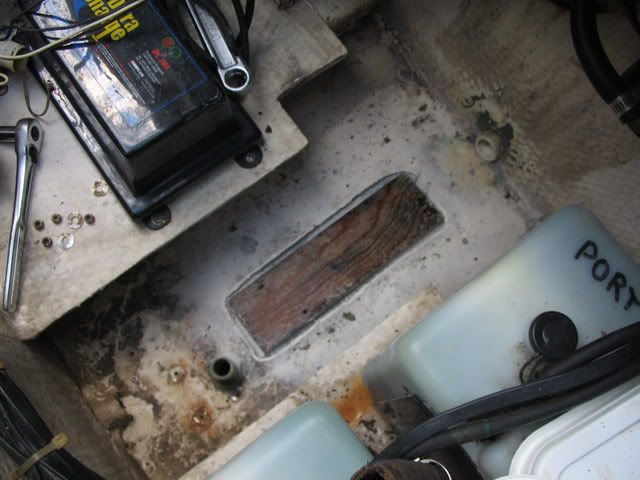
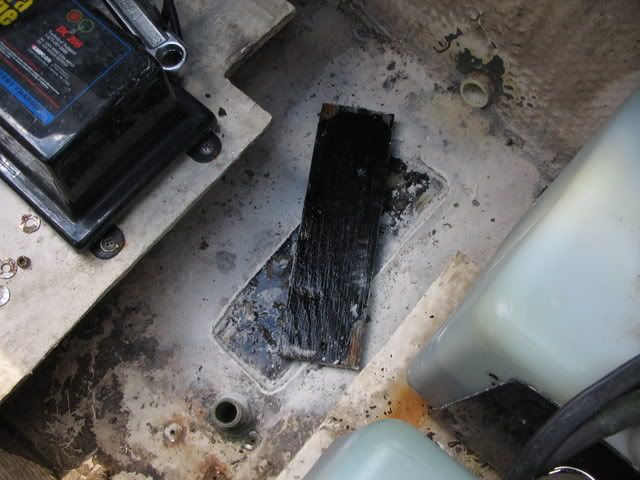
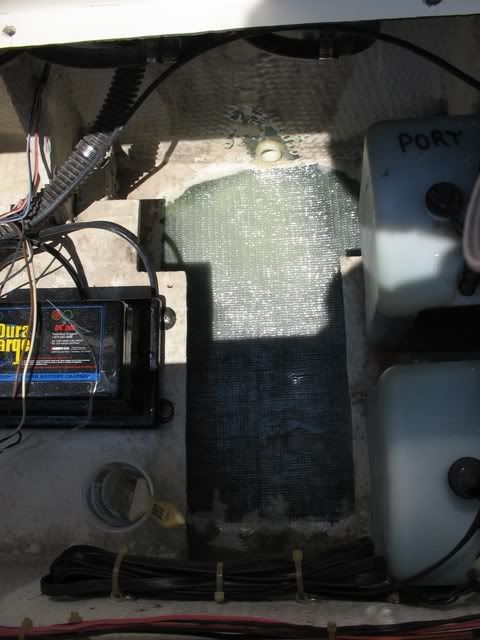
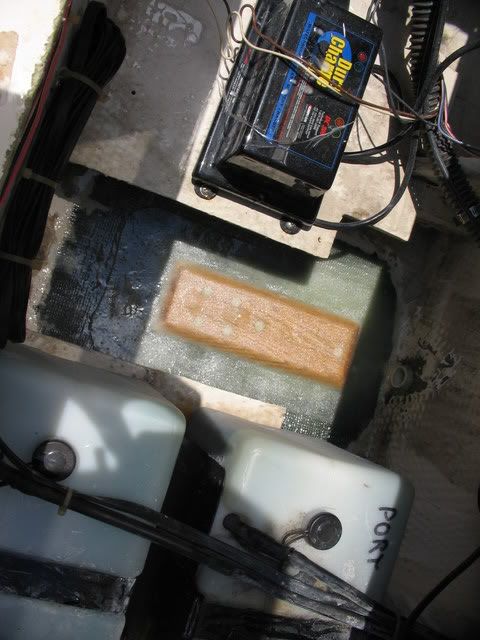
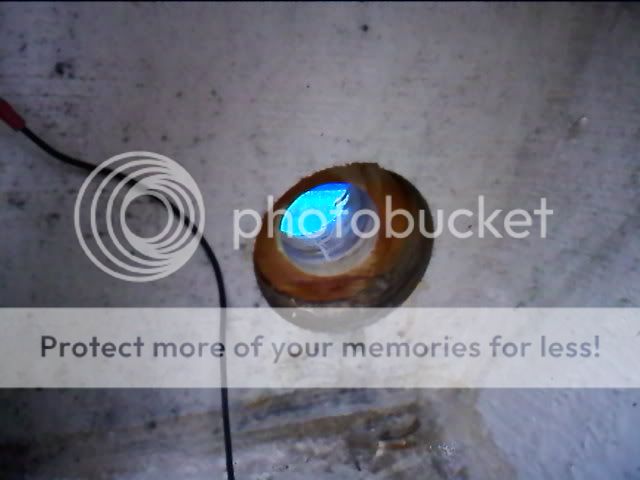
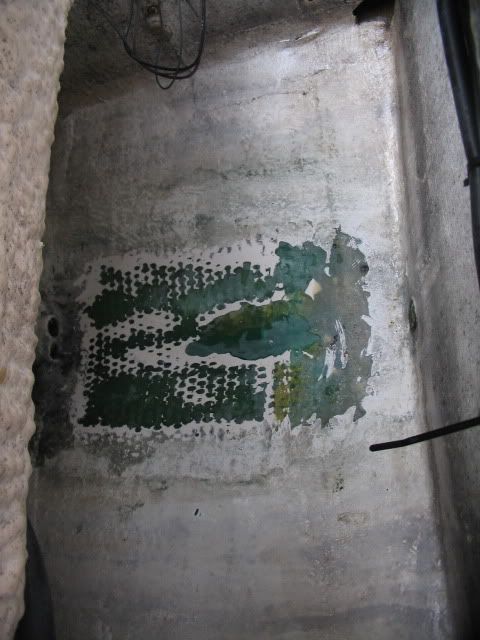
I was cleaning my boat yesterday and found a carck located near my bilge pump. Can someone help me post pictures of the damage. Once i get the pictures up can you guys give me an idea of how bad the damage is.


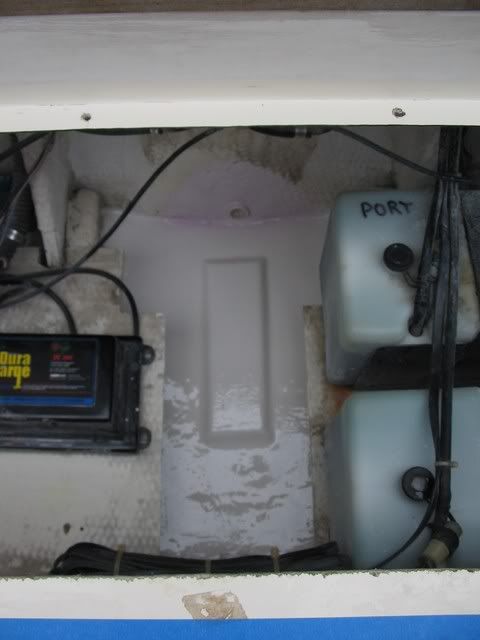
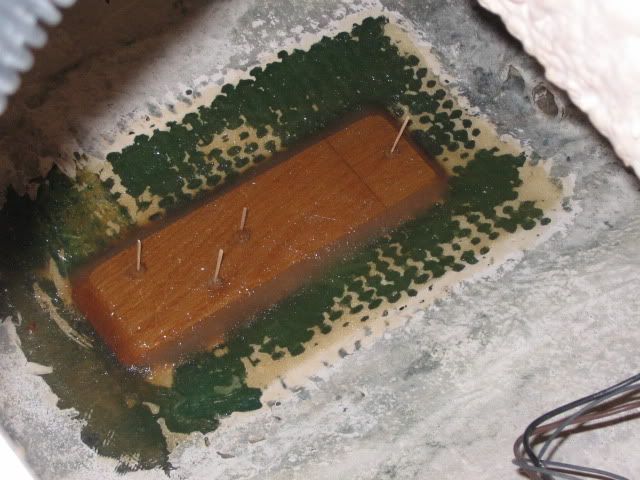
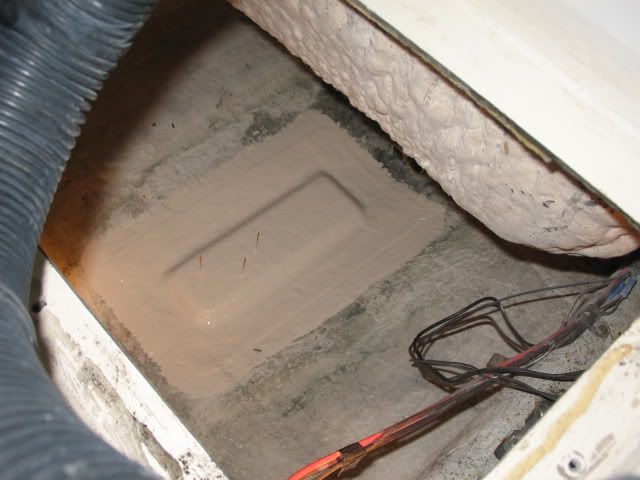
That's the perfect way to do it. Bra-freakin'-vo!gw204":g9ynr7fg said:I had to make a similar repair on my old Grady...
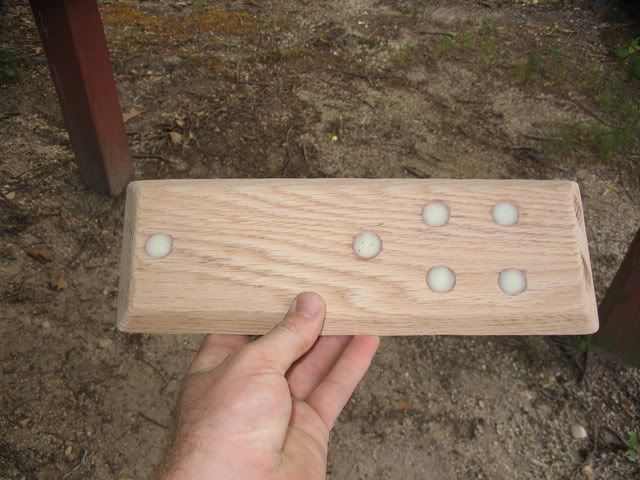
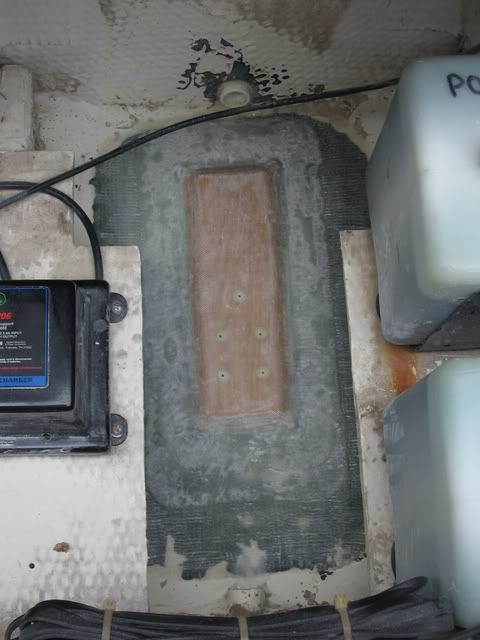
7. Drill your final screw holes and bed the pump and float switch with your favorite caulking. Should should be able to at least see dimples in the gelcoat where your pilot holes are.
Enter your email address to join:

