Upgrades

Classic Parker Boat Forum

Help Support Classic Parker Boat Forum:

This site may earn a commission from merchant affiliate links, including eBay, Amazon, and others.
377b1e7cc99c5891ad13d47273187e0c.jpg


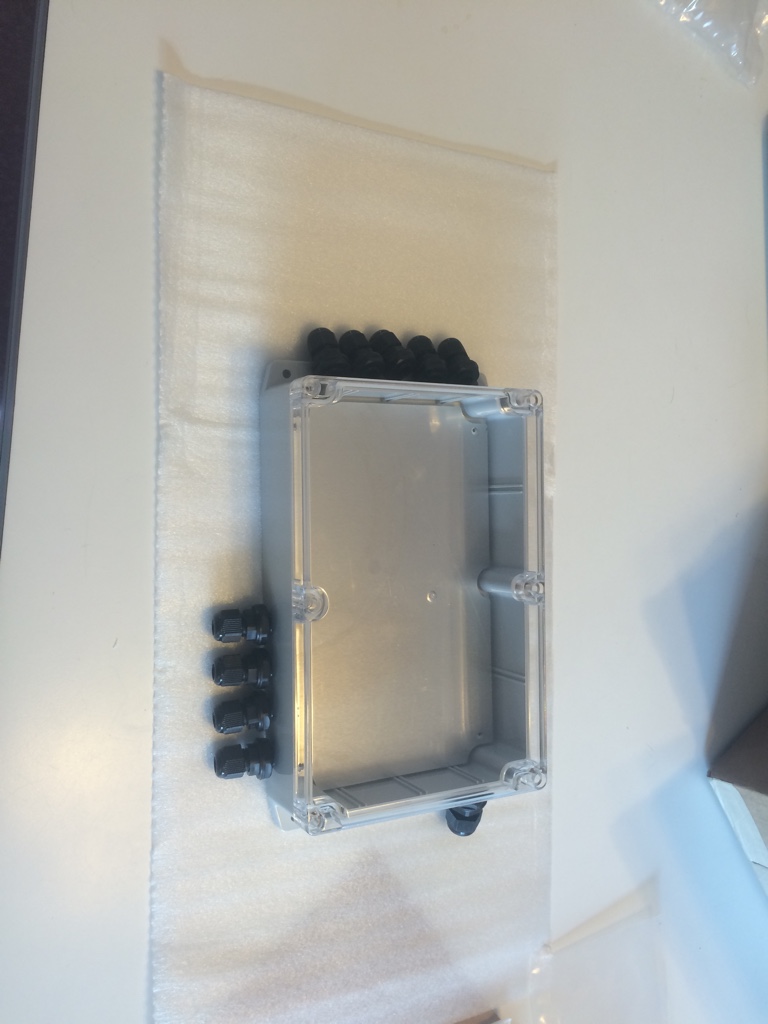
Junction box showed up today hopefully I can get most of the wires connected this weekend . Definitely taking my time on this project so that I can get everything the way I want it . Plus there this thing called work that keeps me from spending my time on the boat lol . Maybe I'll paint the bottom tomorrow after work
 
6800e004ac8d6288a649aa9e8489e648.jpg


Should have the all New house wiring and battery system all buttoned up tomorrow night

5dca984b36054cc531c2b40835b978a8.jpg


8bd93afd9a157071b6ac297dd98fe835.jpg
.


Sent from my iPhone using Tapatalk
 
Change that bare copper end to a tinned copper end. The bare copper coroides FAST on a boat. It can wick the corrosion under the heat shrink w/ glue also and attack the cable. I see it all the time.

I'd shorten those factory battery cables too. Less resistance, better ends [with what I mentioned above] and can be laid in the boat to look cleaner. :)
 
thanks bobby i didn't know about the bare copper ends the boat had a lot of the i cut out all the ones that where on wires to long but tried to use some older ones i change them all out last night thanks again for the input
i gotta say this is a PIA project working by my self and there where plenty of times i install and uninstalled wires and pumps cause it wouldn't work one way or another imo it would look better this way so i been doing a lot of stuff 2 or 3 times before i made it a final install any way i will need to trim battery wires and Finnish that mechanical room this weekend and than start with the reinstall of my radar and gps tiding up the helm and than shrink wrap will come off as well tomorrow and the 2nd coat of bottom paint will happen sunday theres still a lot to do ahead one step at a time

again thanks warthog5!
 
So I was getting ready to do barrier coat to my transom since I sanded it down so much and realized my trim and tilt motors were leaking and that the top hard plastic rings for all dry rotted one step closer to steps backhttp://uploads.tapatalk-cdn.com/

20160417/1a4480795f1c356f9b2eabfe0d37bcfd.jpg
826e7e2910572fc3bfccff770197cfc2.jpg


abf2eb7c83ec518419fbcbc19686a08d.jpg


At least now I get the paint behind that area will have to have so many barnacles there


Sent from my iPhone using Tapatalk
 
That is usually a hard unit to remove.....This is due to corrosion in the bolt threads. I've seen some for sale that had broken bolts in them.
 
It's the set backs that always seem to slow you down. The barrier coat looks good and you work so far also is looking great. Hang in. I have a question on the bottom coat. On mine when it was bottom painted they left about a 1" gap all around the engine mount brackets. I've always assumed it was because the bottom paint doesn't react well the the aluminum engine bracket? I'm going to be touching mine up before returning to the coast so I'll probable just keep it the same. Mine stays in a trailer and is typically only in the water for 3ish days or so at a time so the bottom paint isn't a big deal for functional purposes. Was just curious if you know the deal with the paint around the bracket? Continued success with your project.
 

Attachments

  • image.jpeg
    image.jpeg
    119.1 KB
On mine when it was bottom painted they left about a 1" gap all around the engine mount brackets. I've always assumed it was because the bottom paint doesn't react well the the aluminum engine bracket?


Correct! It will eat the metal up.
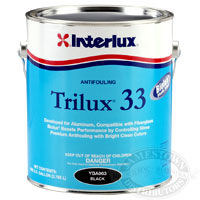
You need a bottom paint specifically designed for alum. It's the same for a alum engine bracket.


Like This:

int-887.jpg
 
Back
Top